Hello there, fellow garden enthusiasts! I’m so excited to chat with you today about a truly special plant: Uvaria brevistipitata. If you’re drawn to the lush, tropical beauty of plants that offer a bit of exotic flair without demanding a jungle, you’ll adore this one. Its delicate, star-shaped flowers are simply enchanting, and the satisfaction of coaxing new life from just a small piece of the parent plant is incredibly rewarding. Now, I won’t sugarcoat it – Uvaria brevistipitata can be a little bit finicky for absolute beginners. But with a little care and attention, you’ll find it to be a wonderfully achievable project. Let’s get our hands dirty!
The Best Time to Start
For most tropical and subtropical plants, like our Uvaria brevistipitata, the late spring or early summer is your golden window. This is when the plant is actively growing, pushing out new shoots and has plenty of stored energy. Starting when the weather is reliably warm and days are longer really gives your cuttings the best shot at rooting and establishing themselves quickly. Avoid trying this in the dead of winter when growth slows to a crawl.
Supplies You’ll Need
Here’s what you’ll want to have on hand before you begin:
- Sharp, clean pruning shears or a sharp knife: For making clean cuts.
- Rooting hormone powder or gel: This is crucial for encouraging root development.
- Well-draining potting mix: Think a 50/50 blend of peat moss or coco coir and perlite or coarse sand. You want to avoid anything that stays soggy.
- Small pots or seed trays: Clean ones are a must!
- Plastic bags or a propagation dome: To create a humid environment.
- A watering can with a fine rose or a spray bottle: For gentle watering.
- Optional: Bottom heat mat: This can really speed things up, especially if your home air is a bit cool.
Propagation Methods
We’ll focus on the most reliable method for Uvaria brevistipitata: stem cuttings.
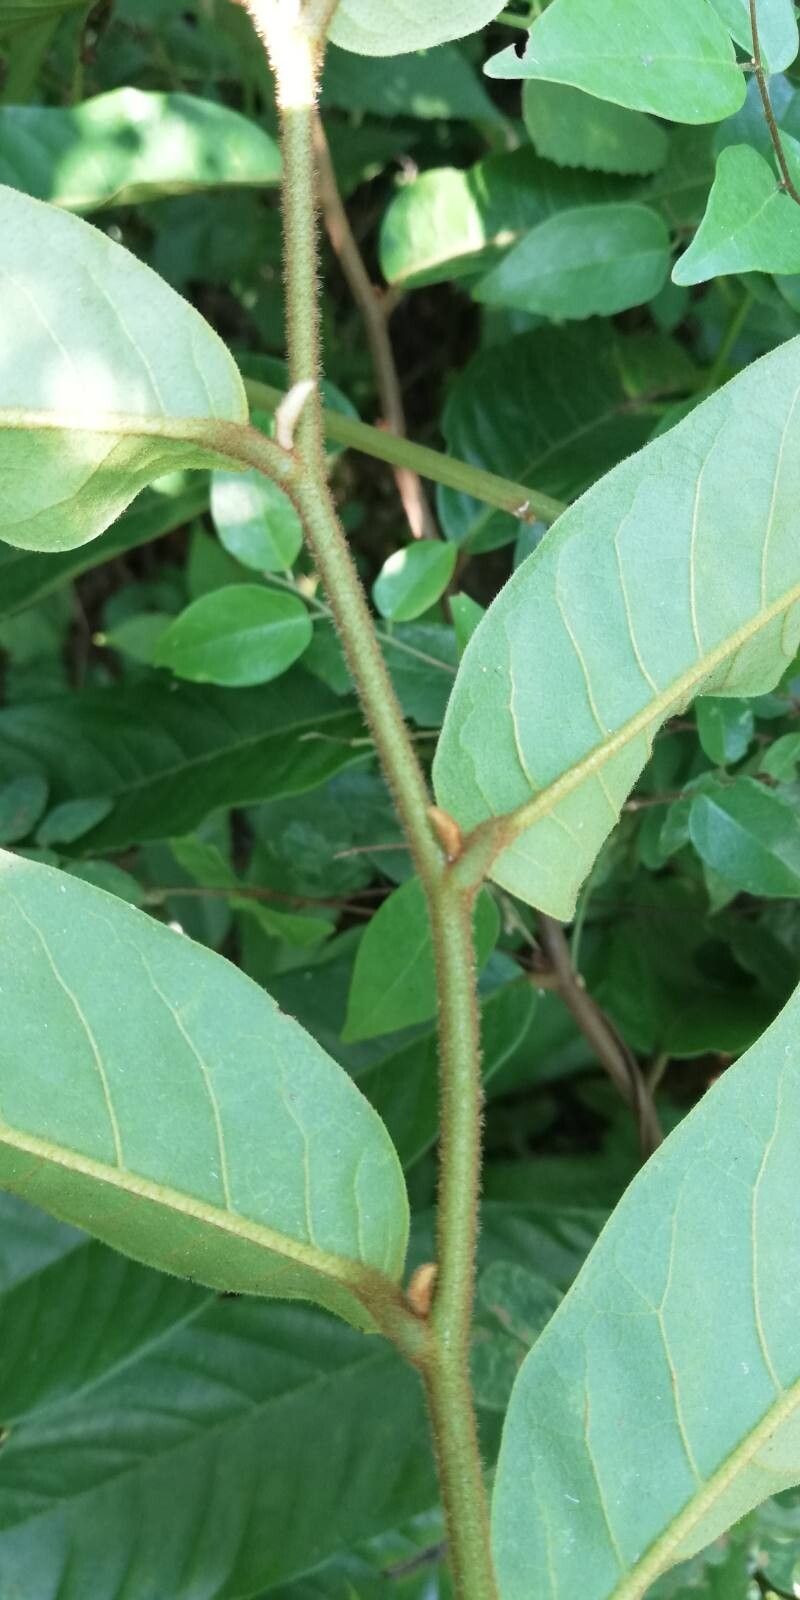
- Select Your Cuttings: Look for healthy, non-flowering stems that are about 4-6 inches long. Ideally, these should be from the current season’s growth – they’ll be a bit softer than old woody stems. Make your cut just below a leaf node (where a leaf attaches to the stem).
- Prepare the Cuttings: Gently remove the lower leaves, leaving just a few at the top. This prevents them from rotting in the soil and directs the plant’s energy towards rooting.
- Apply Rooting Hormone: Dip the cut end of the stem into your rooting hormone. Tap off any excess. This stuff really helps give your cuttings a fighting chance.
- Planting: Fill your clean pots with your prepared potting mix. Make a small hole in the center with your finger or a pencil. Insert the prepared cutting into the hole, firming the soil gently around it.
- Create Humidity: Water the soil lightly until it’s evenly moist but not waterlogged. Then, cover the pot with a plastic bag or a propagation dome. This traps moisture and creates that humid environment your cuttings crave. Make sure the leaves don’t touch the plastic if possible – that can encourage rot. You can use stakes inside the pot to hold the plastic up.
- Placement: Place the potted cuttings in a bright location with indirect light. Avoid direct sun, which can scorch the tender cuttings.
The “Secret Sauce” (Pro Tips)
Here are a couple of little tricks I’ve learned over the years that can make a big difference:
- Bottom Heat is Your Friend: If you can invest in a bottom heat mat, do it! Many tropical plants absolutely love that gentle warmth from below. It mimics the perfect conditions for roots to form and can significantly speed up the rooting process for Uvaria brevistipitata. Just place your pots on top of the mat.
- Don’t Be Afraid to ‘Wiggle’ (Gently!): After about 4-6 weeks, you can give your cuttings a very gentle tug. If you feel resistance, it means roots have formed! If there’s no give after 8-10 weeks, it might be time to try again with new cuttings, but still be patient!
Aftercare & Troubleshooting
Once you see signs of new growth – tiny leaves appearing at the top – that’s your cue that roots are developing! At this point, you can gradually acclimate your new plant to lower humidity. Start by opening the plastic bag for an hour or two each day, slowly increasing the time until you can remove the cover entirely. Continue to keep the soil consistently moist but not soggy.
The most common problem you’ll encounter is rot. If a cutting turns black and mushy, it’s usually a sign of too much moisture and not enough air circulation, or a lack of rooting hormone. Unfortunately, once rot sets in, it’s hard to save. Don’t get discouraged if you lose a few – it’s part of the learning process! Just clean up and try again.
A Little Patience Goes a Long Way
There you have it! Propagating Uvaria brevistipitata is a journey, and like all good things from the garden, it requires a bit of patience. Don’t rush the process, celebrate the small victories, and remember that each cutting you nurture is a testament to your growing skill. Happy propagating, and enjoy the delightful blooms to come!
Resource:
https://identify.plantnet.org/k-world-flora/species/Uvaria%20brevistipitata%20De%20Wild./data