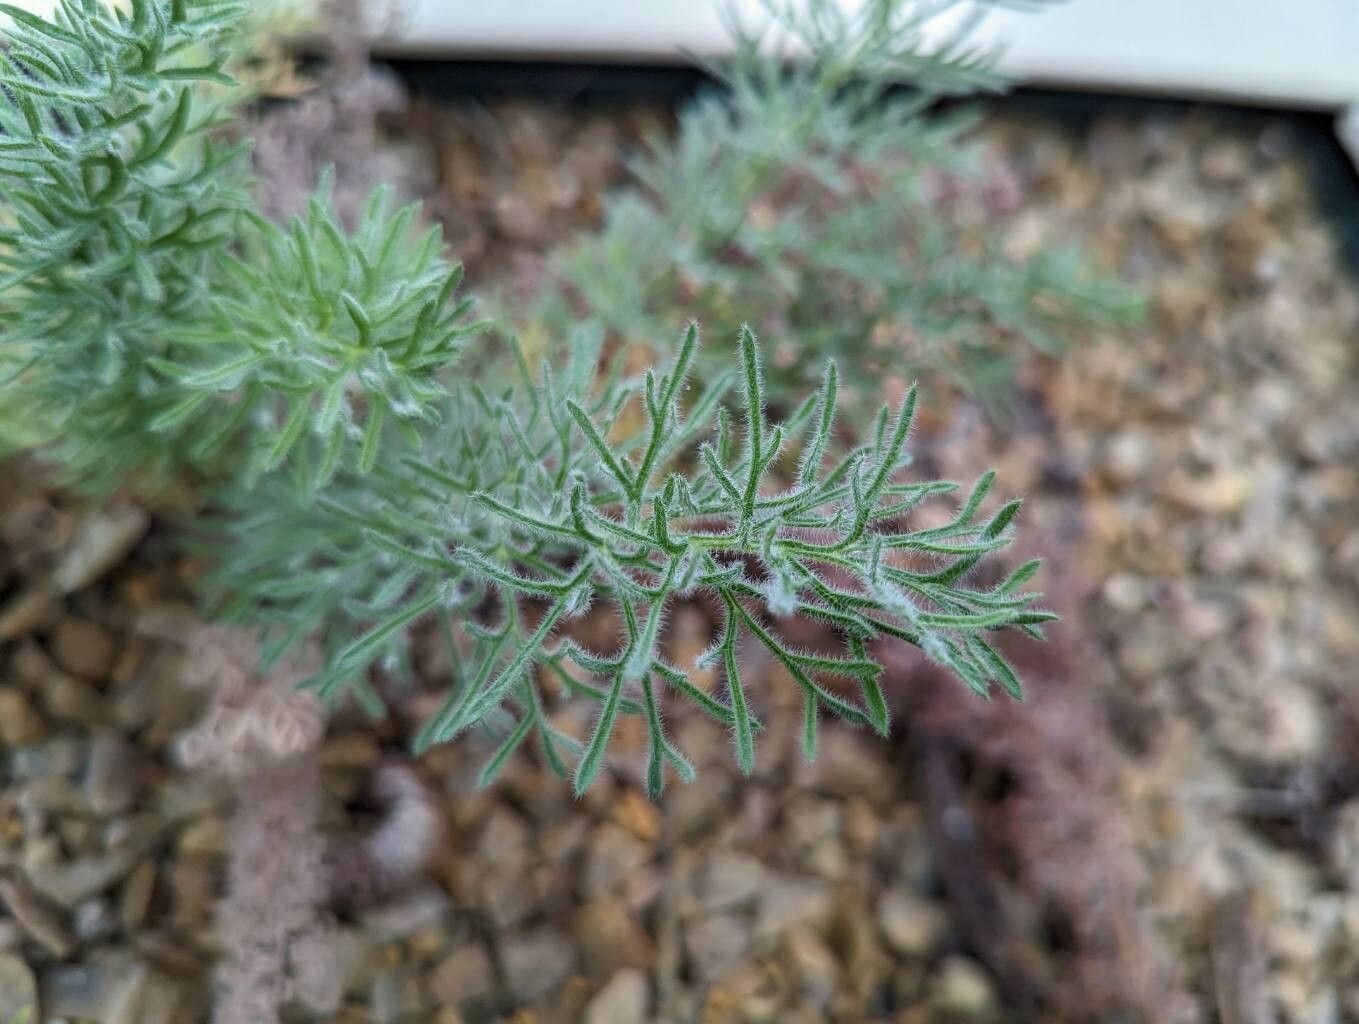
Oh, hello there! Grab yourself a mug of something warm, let’s chat about one of my absolute favorites – Pelargonium bowkeri. This little gem, with its delicate, fern-like foliage and enchanting, often pale, blossoms, is a true delight in any garden or indoor collection. Propagating it feels like unlocking a little bit of botanical magic to share. Now, I’ll be honest, P. bowkeri can be a bit more particular than your average pelargonium, so while it’s a rewarding project, it might not be the very first plant I’d recommend for an absolute beginner. But with a little care and attention, you’ll have new babies to enjoy!
The Best Time to Start
Honestly, the sweet spot for propagating P. bowkeri is usually late spring to early summer. This is when the plant is actively growing, and has plenty of energy reserves to channel into producing new roots. You’re looking for healthy, vigorous growth – no leggy or weak bits here!
Supplies You’ll Need
Before we get our hands dirty, let’s gather our tools. It’s always good to have everything ready:
- Sharp Pruning Shears or Knife: Cleanliness is key to preventing disease.
- A Well-Draining Potting Mix: I personally love a mix of perlite, coco coir, and a bit of coarse sand. Regular potting soil can hold too much moisture for these guys. You want it light and airy.
- Rooting Hormone (Optional but Recommended): Especially for P. bowkeri, a good rooting hormone can give your cuttings a real head start. Look for one containing indole-3-butyric acid (IBA).
- Small Pots or Seed Trays: Clean pots are a must.
- Plastic Bags or a Propagator Lid: To create a humid microclimate.
- Watering Can with a Fine Rose: For gentle watering.
- Labels: So you don’t forget what you planted where!
Propagation Methods
For P. bowkeri, stem cuttings are my go-to method. It’s reliable and gives you a good chance of success.
- Taking the Cuttings: Select a healthy shoot that’s about 3-5 inches long. Look for ones that have a few leaves and a healthy tip. Using your clean shears, make a cut just below a leaf node (where a leaf joins the stem). This is crucial because that’s where the magic happens – new roots will emerge from here.
- Preparing the Cuttings: Gently remove the lower leaves, leaving just two or three at the very top. This reduces water loss and prevents leaves from rotting in the soil. If the leaves are quite large, you can even cut them in half to further minimize transpiration.
- Applying Rooting Hormone: Dip the cut end of the stem into your rooting hormone powder or gel. Tap off any excess.
- Planting the Cuttings: Fill your small pots with your prepared, moist potting mix. Make a pilot hole with a pencil or your finger, about an inch deep. Gently insert the cutting into the hole, ensuring the leaf nodes are below the soil surface. Firm the soil gently around the stem.
- Creating Humidity: Water the soil lightly. Then, carefully place the pot inside a clear plastic bag or cover it with a propagator lid. This will trap moisture and create a humid environment, which is vital for the cuttings to root. Make sure the leaves aren’t touching the sides of the bag if possible!
The “Secret Sauce” (Pro Tips)
Here are a couple of tricks I’ve learned over the years that can really make a difference with trickier plants like P. bowkeri:
- Don’t Drown Them: While humidity is key, overwatering the soil is a fast track to rot. The soil should be moist, not soggy. It’s better to err on the side of slightly dry than too wet.
- Bottom Heat is Your Friend: If you have a heated propagator or a heat mat, a little warmth from below can significantly speed up root development. Aim for a soil temperature of around 70-75°F (21-24°C). This mimics the ideal conditions for roots to form.
Aftercare & Troubleshooting
Once your cuttings are planted, the waiting game begins! Place them in a bright, but indirect light location. Avoid direct sunlight, as it can scorch the young cuttings.
Roots should start to appear within 4-6 weeks, and you might even see some new leaf growth. When you see this happening, you can gradually acclimate them to normal humidity by opening the plastic bag a little more each day over a week or so.
The most common problem you’ll encounter is rot. This usually happens because the soil is too wet or there isn’t enough air circulation. If a cutting starts to look black and mushy at the base, unfortunately, it’s usually a lost cause, and it’s best to discard it to prevent the rot from spreading. Don’t get discouraged if a few don’t make it – that’s part of the learning process!
A Encouraging Closing
So there you have it! Propagating Pelargonium bowkeri is a delightful journey into nurturing new life. Be patient with them, offer them the right conditions, and you’ll be rewarded with these beautiful plants to cherish. Don’t be afraid to experiment, and most importantly, enjoy the process. Happy gardening!
Resource:
https://identify.plantnet.org/k-world-flora/species/Pelargonium%20bowkeri%20Harv./data