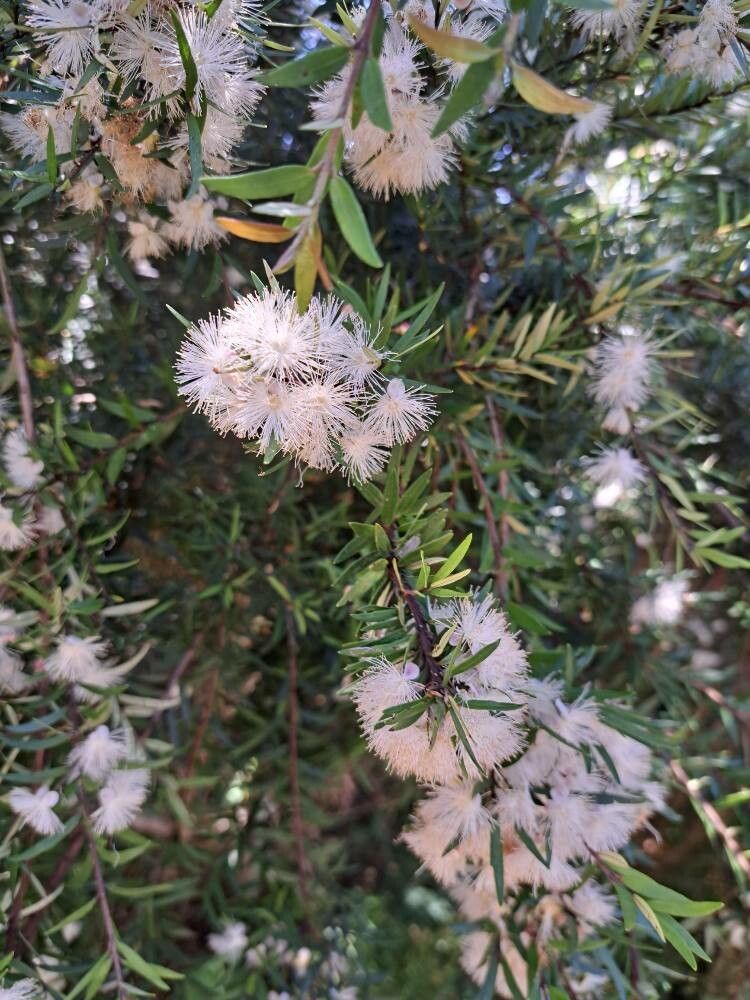
Oh, hello there! I’m so glad you’ve stumbled upon my little corner of the gardening world. Today, we’re diving into the wonderful realm of propagating Myrceugenia lanceolata, also known as the Strawberry Guava. If you’ve ever admired its glossy, evergreen leaves and the sweet, edible berries it produces, you’ll know exactly why I’m so excited to share this with you. Growing new plants from existing ones isn’t just about expanding your collection; it’s a deeply rewarding connection to nature’s relentless cycle of life. For Myrceugenia lanceolata, propagation is moderately easy, making it a fantastic project for those who’ve dabbled a bit in the garden and are ready for a new challenge.
The Best Time to Start
When it comes to getting your cuttings to take root, timing is everything. I’ve found the absolute sweet spot for propagating Myrceugenia lanceolata is in the late spring or early summer. This is when the plant is actively growing and has plenty of youthful vigor. You want to take your cuttings from semi-hardwood shoots. Think of it as wood that’s not brand new and soft, but not ancient and woody either. It should be bendy enough to snap cleanly without breaking.
Supplies You’ll Need
Gathering your supplies beforehand makes the whole process so much smoother. Here’s what I always have on hand:
- Sharp Pruning Shears or a Craft Knife: Clean cuts are crucial!
- Rooting Hormone: I prefer a powder form for ease of use.
- Small Pots or Seed Trays: Clean pots are a must to prevent disease.
- Well-Draining Potting Mix: A good blend is 50% peat moss or coco coir and 50% perlite or coarse sand.
- Clear Plastic Bags or a Propagator Lid: To create a humid microclimate.
- Water Mister: For keeping humidity levels up.
- Labels: To remind yourself what you planted and when!
Propagation Methods
For Myrceugenia lanceolata, stem cuttings are my go-to method. It’s reliable and gives you a great chance of success.
Stem Cuttings:
- Select Your Cuttings: Choose healthy, disease-free stems from your parent plant. Look for those semi-hardwood shoots I mentioned earlier.
- Make the Cut: Using your clean pruning shears or craft knife, take cuttings that are about 4-6 inches long. Make the cut just below a leaf node (where a leaf attaches to the stem).
- Prepare the Cuttings: Gently remove the lower leaves from the bottom half of the cutting. Be careful not to damage the stem. You can leave about 2-4 leaves at the top. If the remaining leaves are very large, you can snip them in half to reduce water loss.
- Apply Rooting Hormone: Dip the cut end of the stem into your rooting hormone, tapping off the excess.
- Plant Your Cuttings: Fill your clean pots with your well-draining potting mix. Make a hole in the center with a pencil or your finger. Insert the treated end of the cutting into the hole, ensuring the nodes where you removed the leaves are below the soil line. Gently firm the soil around the base.
- Create a Humid Environment: Water the soil gently. Then, cover the pot with a clear plastic bag (making sure the leaves don’t touch the sides if possible) or place it in a propagator with a lid. If using a bag, I like to secure it to the pot with a rubber band.
The “Secret Sauce” (Pro Tips)
Now, here are a few little tricks I’ve learned over the years that can really boost your success rate:
- Bottom Heat is Your Friend: Myrceugenia lanceolata loves a bit of warmth from below. Placing your pots or propagator on a heat mat specifically designed for plant propagation can significantly speed up root development. It mimics the conditions of a warm, sunny soil bed.
- Don’t Drown Them! While humidity is key, overwatering the soil is the quickest way to rot your cuttings. The soil should feel consistently moist, like a wrung-out sponge, not soggy. Let the surface dry out slightly between waterings.
- Patience, Grasshopper! This is probably the biggest “tip” of all. For Myrceugenia lanceolata, you’re often looking at 4-8 weeks for significant root development. Don’t be tempted to pull them up too early to check! You’ll know they’re rooting when you see new leaf growth or feel gentle resistance when you lightly tug.
Aftercare & Troubleshooting
Once your cuttings have developed a good root system (you’ll see them peeking through the drainage holes or feel healthy tugging resistance), it’s time to give them a bit more space.
- Transplanting: Gently transplant your new seedlings into individual pots using a good quality potting mix. Water them in well.
- Acclimating: Gradually reduce the humidity over a week or two. If they were under a plastic bag, start by opening it for a few hours a day, then remove it entirely.
- Watering: Continue to keep the soil consistently moist but not waterlogged. As they grow stronger, you can start feeding them with a diluted liquid fertilizer.
The main issue you might encounter is rot. This usually stems from overwatering or poor drainage. If you see your cuttings turning black and mushy, it’s unfortunately a sign of rot, and it’s best to discard them and start fresh, paying closer attention to watering and soil mix. Fungal gnats can also be a nuisance; they’re attracted to consistently moist soil, so allowing the surface to dry out a little can help deter them.
So there you have it! Propagating Myrceugenia lanceolata is a rewarding journey that will grant you more of these delightful plants to enjoy. Don’t be discouraged if your first attempt isn’t perfect. Every gardener learns through trying, failing, and trying again. Be patient, observe your cuttings closely, and most importantly, enjoy the process of nurturing new life. Happy growing!
Resource: