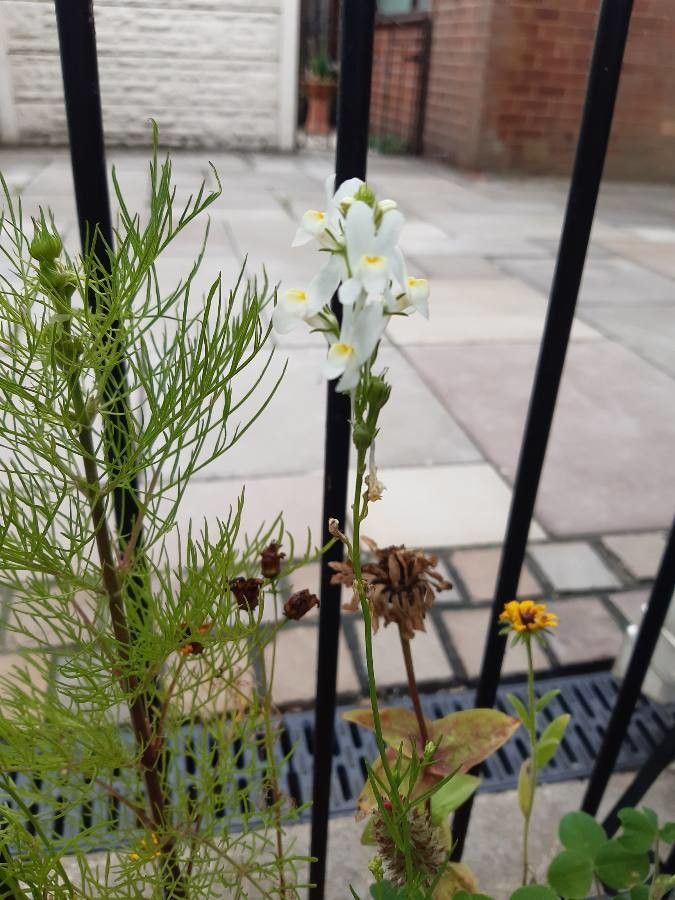
Oh, Linaria bipartita! What a charmer. Some folks call it Toadflax, but I always think of it as those delicate little snapdragons, a whisper of wildness in the garden. They bloom with such a joyful profusion of vibrant colors—pinks, purples, whites, and rich yellows—and their airy stems dance in the breeze. If you’ve ever admired a patch of these beauties and wished you had more, you’re in luck. Propagating them is a wonderfully rewarding process that’s surprisingly beginner-friendly. You’ll be amazed at how easily you can fill your garden with these delightful wildflowers.
The Best Time to Start
For Linaria bipartita, the sweet spot for propagation is late spring to early summer. This is when the plant is actively growing and has plenty of energy. Starting around April or May, after the last chance of frost has passed but before the intense heat of mid-summer sets in, gives your new plants the best chance to establish themselves before things get too hot or too dry. You can also try taking cuttings in late summer, but you might find you need to overwinter them indoors.
Supplies You’ll Need
Gathering your supplies beforehand makes the whole process smoother. Here’s what I usually have on hand:
- Sharp pruning shears or a clean knife: For taking clean cuttings. Dull tools can bruise the stems.
- Rooting hormone (optional but recommended): This isn’t strictly necessary for Linaria bipartita, as they root quite readily, but it can give you a significant boost. Gel or powder works well.
- Small pots or seed trays: With drainage holes, of course!
- Well-draining potting mix: A good starting point is a mix of seed-starting mix and perlite or coarse sand (about a 50/50 ratio). This prevents waterlogging, which is the enemy of new cuttings.
- Watering can or spray bottle: For gentle watering.
- Labels and a permanent marker: To keep track of what you’ve planted and when.
- A warm, bright spot: But out of direct, scorching sunlight initially.
Propagation Methods
Linaria bipartita is most easily propagated from stem cuttings. It’s straightforward and yields great results.
Stem Cuttings:
- Select healthy stems: Look for vigorous, non-flowering stems from a well-established plant. You want stems that are about 4-6 inches long.
- Make your cut: Using your sharp shears or knife, cut the stem just below a leaf node (where a leaf attaches to the stem). This is where roots are most likely to form.
- Prepare the cutting: Gently remove the lower leaves. You want to leave just a few leaves at the top to help the cutting photosynthesize. If the remaining leaves are very large, you can cut them in half to reduce water loss.
- Apply rooting hormone (if using): Dip the cut end into the rooting hormone, tapping off any excess.
- Plant your cuttings: Fill your small pots with your prepared potting mix. Make a small hole in the center with your finger or a pencil. Insert the cutting into the hole, ensuring the bottom leaf nodes are buried in the soil. Gently firm the soil around the stem.
- Water gently: Water thoroughly but gently, so as not to dislodge the cuttings. A mist spray bottle is perfect for this stage.
- Provide warmth and humidity: Place the pots in a warm location. Some people like to cover the pots with a clear plastic bag or a propagator lid to create a humid environment. Make sure the leaves don’t touch the plastic.
The “Secret Sauce” (Pro Tips)
Here are a couple of things I’ve learned over the years that really make a difference:
- Don’t be afraid to be ruthless with your parent plant. Take a few cuttings from each healthy stem. The plant will quickly bounce back and likely branch out more.
- Bottom heat is your friend. If you have a seedling heat mat, placing your pots on it can significantly speed up root development. It mimics that lovely warm soil they love.
- Patience is key, but keep an eye on the soil moisture. The cuttings love to stay consistently moist, but not soggy. If you see the top layer of soil drying out, give them a gentle drink.
Aftercare & Troubleshooting
Once your cuttings have developed a good root system—you can usually tell when you see new leaf growth or can feel a little resistance when gently tugging—it’s time for them to go into their own pots or into a larger garden bed.
Rooted plants need consistent moisture, especially during hot weather. Gradually transition them to more light if they’ve been under cover, and once they look robust, you can pinch back the top to encourage bushier growth.
What if things go wrong? The most common issue is rot. This usually happens when the soil is too wet and there’s not enough air circulation. If you see your cutting looking limp and mushy, it’s likely too late. Prevention is key: use that well-draining mix and don’t overwater. Another sign of trouble is a cutting that shows no signs of life after a few weeks. This could mean the cutting wasn’t strong enough, the hormone didn’t take, or the conditions weren’t quite right. Don’t get discouraged; just try again!
A Encouraging Closing
Propagating Linaria bipartita is more about enjoying the process and learning as you go than achieving perfection. Each cutting you nurture is a little piece of your garden’s success. So, get your hands dirty, celebrate every new root, and watch your garden come alive with these beautiful, delicate blooms. Happy planting!
Resource:
https://identify.plantnet.org/k-world-flora/species/Linaria%20bipartita%20(Vent.)%20Willd./data