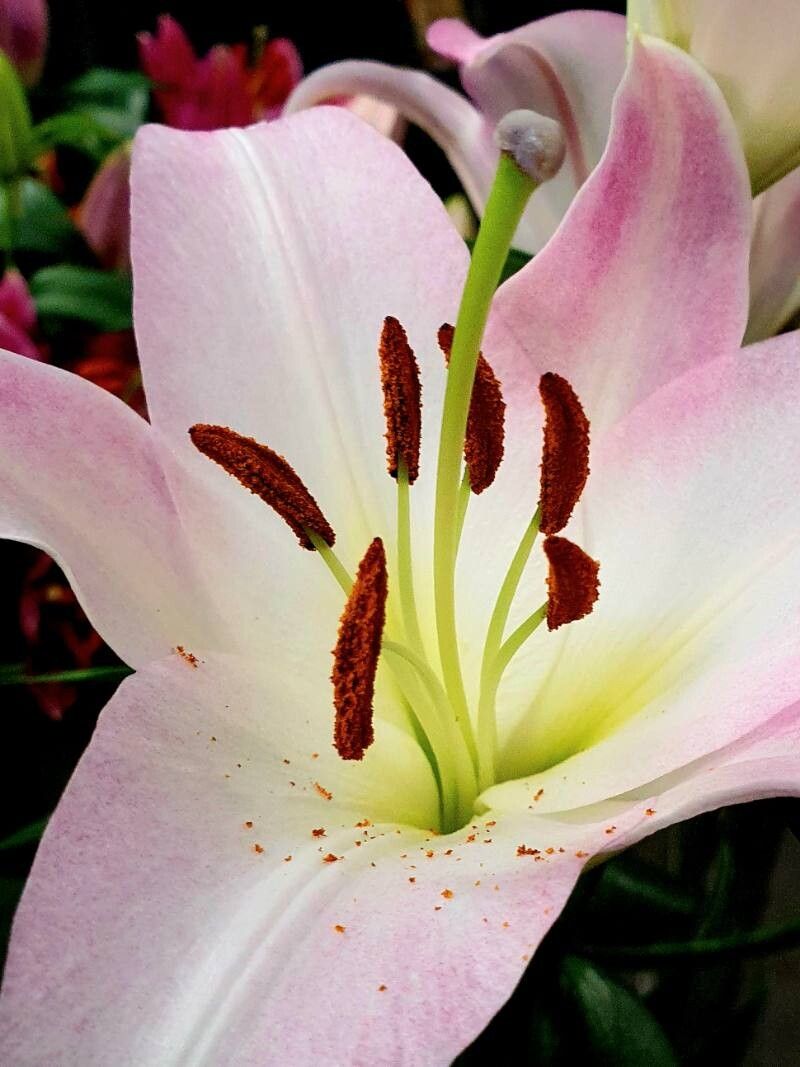
Oh, Lilium candidum! The Madonna Lily. Honestly, there’s nothing quite like that pure white trumpet, the intoxicating perfume on a still summer evening. It’s a timeless beauty, isn’t it? Bringing more of these gorgeous blooms into your garden year after year is truly one of the most satisfying gardening endeavors. And I’m here to tell you, it’s absolutely achievable!
Now, I won’t lie. Lilium candidum can be a touch fussier than your average tulip or daffodil. They have a particular way of doing things. But with a little patience and a few insider tricks, you’ll be rewarded with a thriving lily patch in no time. Think of it less like a challenge and more like getting to know a special friend.
The Best Time to Start
For Lilium candidum, patience is key, especially when it comes to timing. The absolute best time to work with them is late summer to early autumn, right after they’ve finished flowering and their stems are starting to yellow. This is when the bulb has stored up the most energy and is ready to focus on producing new growth. Waiting until after the leaves have naturally died back is crucial – they are still feeding the bulb!
Supplies You’ll Need
Assembling your toolkit is half the fun! Here’s what I always have on hand:
- Sharp, clean pruning shears or a small knife: For precise cuts.
- Well-draining potting mix: A general potting mix with added perlite or horticultural grit is excellent. Alternatively, a mix specifically for bulbs works wonders.
- Small pots or trays: Terracotta pots are my personal favorite because they breathe.
- Rooting hormone (optional but recommended): A powder or gel can give your cuttings a helpful boost.
- Watering can with a fine rose: For gentle watering.
- Labels and a permanent marker: To keep track of your precious new plants!
Propagation Methods
While Madonna lilies don’t take readily to stem cuttings in the same way many other plants do, their primary method of propagation is delightfully straightforward: division.
Division of Lily Bulbs:
This is the most reliable way to increase your Lilium candidum stock.
-
Gently Unearth: Around late summer or early autumn, when the foliage is dying back, carefully dig around the base of your existing lily plant. Use a garden fork or trowel, and be gentle! You want to loosen the soil and expose the bulb cluster without damaging the bulbs.
-
Lift the Cluster: Once you can see the bulbs, carefully lift the entire cluster from the ground. You might find several bulbs nestled together, sometimes with smaller offsets attached.
-
Separate the Bulbs: This is where the “division” happens. Gently pull apart the bulbs. You’re looking for bulbs that are a decent size, ideally with some tiny root nubs already present. Don’t worry if some smaller bits break off.
-
Inspect and Prepare: Discard any bulbs that show signs of rot or disease. Trim away any dead or damaged roots, but leave the healthy ones intact.
-
Replant Immediately: The key to successful division is prompt replanting. Madonna lilies don’t like to be out of the ground for long.
- Dig a hole about 6-8 inches deep.
- Place the bulb cluster in the hole, ensuring the tip of the bulb points upwards.
- Cover with your well-draining potting mix, leaving about 2-3 inches from the soil surface to the top of the bulb. This depth is important to protect them.
- Water gently but thoroughly.
The “Secret Sauce”
Here are a few things I’ve learned over the years that really make a difference for these particular lilies:
- Don’t Overwater Early On: While they need moisture, soggy conditions are their nemesis. Especially in fall when they aren’t actively growing, too much water can lead to rot. Let the soil dry out slightly between waterings.
- Think About Drainage, Drainage, Drainage! I cannot stress this enough. Madonna lilies hate wet feet. If your soil is heavy clay, amending it liberally with grit or planting in raised beds becomes non-negotiable. It’s better to be a little dry than a little too wet.
- A Touch of Mulch: Once they’re planted, a light layer of mulch (straw, leaf mold, or compost) can help retain moisture and keep the soil temperature more consistent. Just keep the mulch a little away from the actual bulb base to prevent rot.
Aftercare & Troubleshooting
Once you’ve replanted your divided bulbs, keep them consistently moist but not waterlogged. The real magic happens in the spring when you should start seeing those lovely green shoots emerge.
Signs of Success:
- New Leaf Growth: This is your clearest indicator!
- Healthy Stems in Spring: Strong, upright growth is a good sign.
Common Signs of Trouble:
- Rot: If a bulb feels soft, mushy, and smells unpleasant, it has likely rotted. This is almost always due to overwatering or poor drainage. If you catch it early, you might try repotting in fresh, dry soil, but often, it’s too late.
- No Growth: Sometimes, a bulb might fail to emerge. This could be due to the bulb being damaged during division, disease, or simply not having enough stored energy. Don’t give up all hope immediately; sometimes they take a year to recover.
A Fond Farewell
Growing Lilium candidum from division is a beautiful way to connect with your garden and the rhythm of the seasons. It requires a gentle touch and a keen eye, but it’s incredibly rewarding. Be patient with your new divisions, and enjoy the delicious anticipation of those fragrant white trumpets gracing your garden in the summers to come. Happy gardening!
Resource:
https://identify.plantnet.org/k-world-flora/species/Lilium%20candidum%20L./data