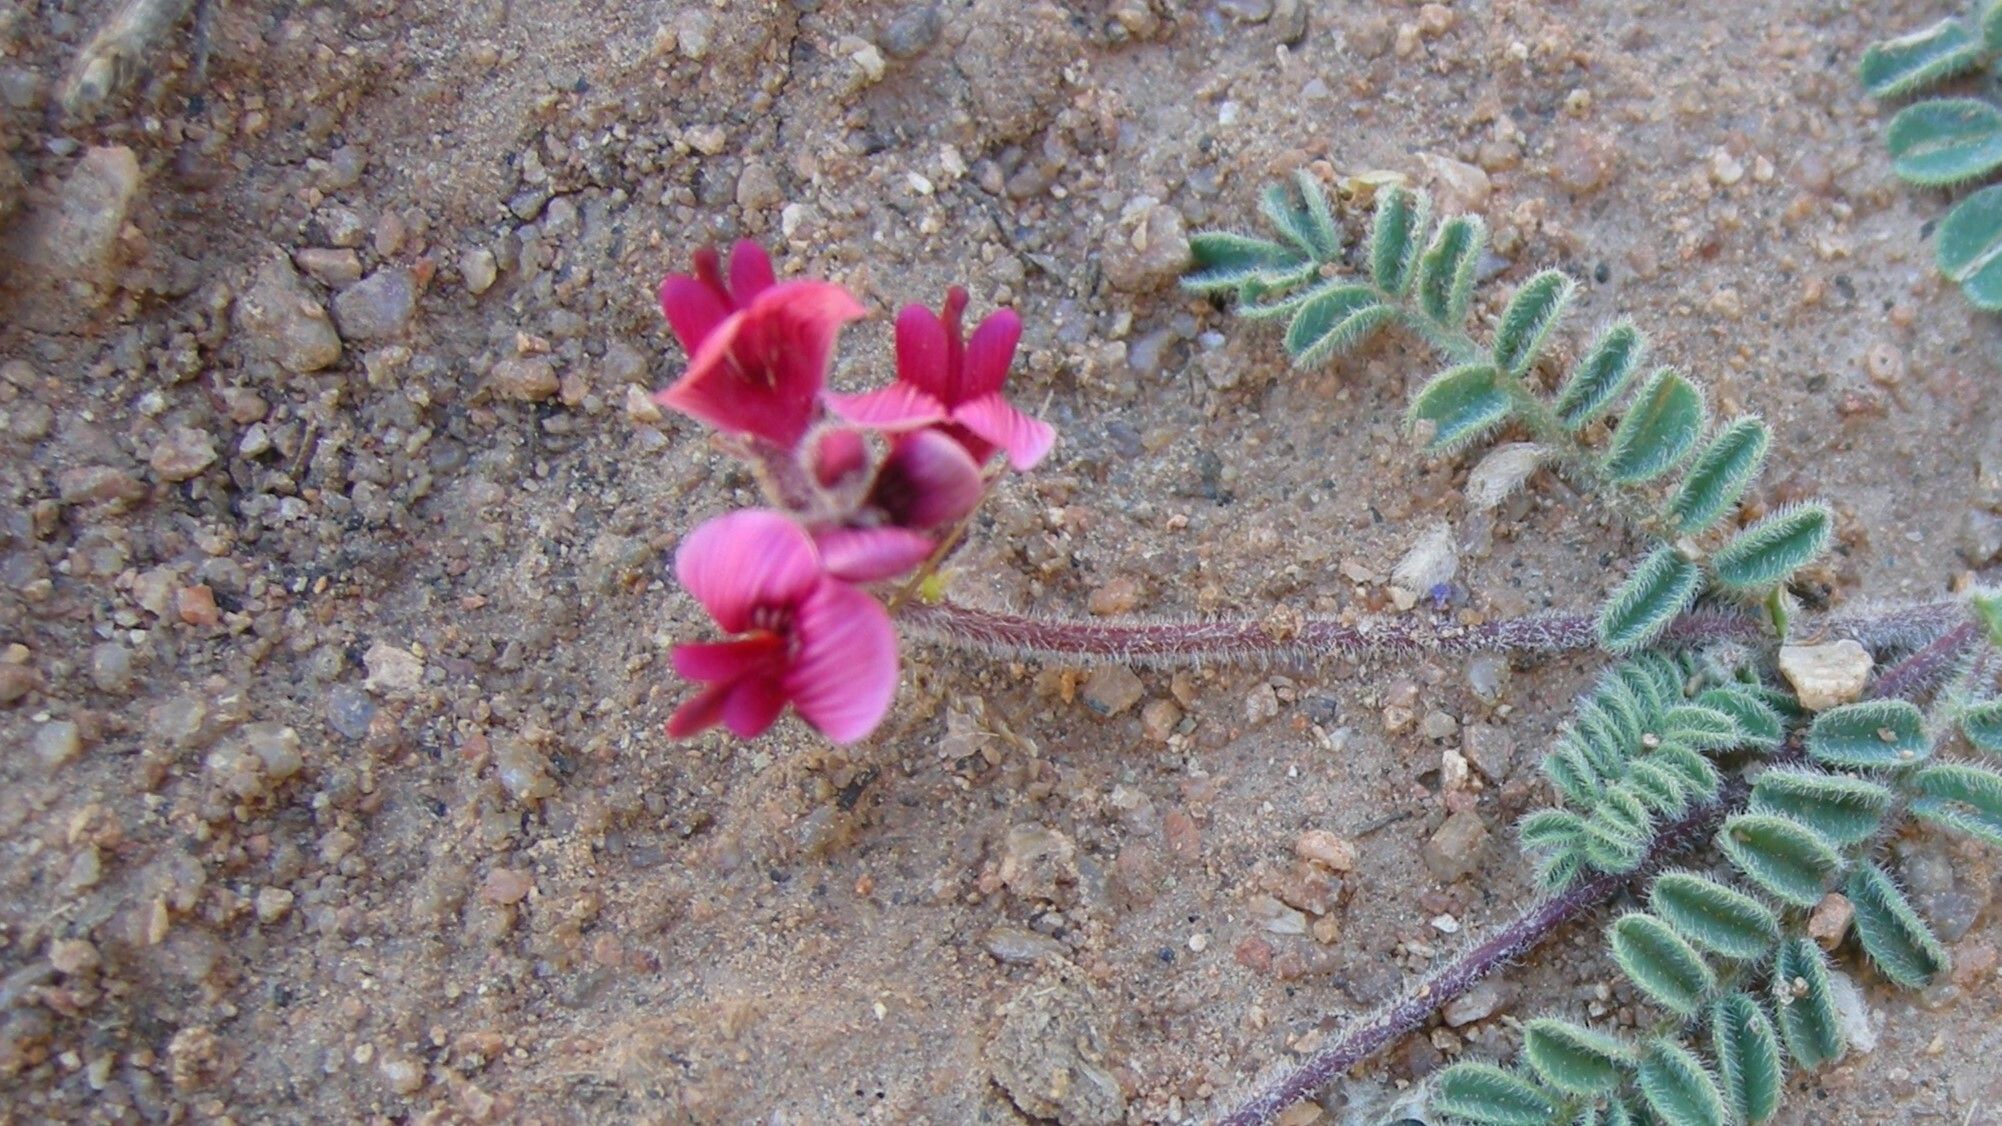
Hello, fellow plant lovers! Today, we’re diving into the wonderful world of propagating Lessertia diffusa, also known as “Gomphrena” or common Cape Everlasting. If you’re drawn to its vibrant, papery flowers that seem to hold their color forever, you’re in for a treat. Sharing these beauties with friends or simply expanding your own collection is incredibly satisfying. Now, for the real scoop: is Lessertia diffusa a beginner-friendly plant to propagate? I’d say it’s moderately easy, with a little patience and the right approach. You’ll be rewarded with success if you follow a few key steps!
When to Get Your Hands Dirty
The sweet spot for propagating Lessertia diffusa is usually in late spring or early summer. This is when the plant is actively growing and has plenty of energy to put into developing new roots. You’re looking for young, non-flowering stems that are still a bit soft and flexible, not tough and woody. Think of it like harvesting a tender asparagus spear before it gets tough.
Your Propagation Toolkit
Gathering the right supplies makes all the difference. Here’s what I always have on hand:
- Sharp Pruning Shears or a Craft Knife: Clean cuts are essential to prevent disease.
- Potting Mix: A well-draining blend is crucial. I like a mix of perlite, coco coir, and a bit of sandy loam. You can also use a specialized succulent or cactus mix.
- Small Pots or Seed Trays: With drainage holes, of course!
- Rooting Hormone (Optional but Recommended): This little boost significantly increases your chances. Look for one with auxin.
- Plastic Bags or a Clear Plastic Dome: To create a humid environment.
- Spray Bottle: For misting.
- Labels and a Marker: To keep track of your cuttings.
Let’s Get Propagating: Stem Cuttings
This is my go-to method for Lessertia diffusa.
- Select Your Cuttings: Choose healthy, vigorous stems from your parent plant. You want pieces that are about 4-6 inches long.
- Make the Cut: Using your clean shears or knife, make a clean cut just below a leaf node. These nodes are where roots will most likely form.
- Prepare the Cutting: Gently remove the lower leaves – you don’t want anything submerged in soil or water once planted. Leave a few sets of leaves at the top. If your cuttings are very long, you can pinch off the very tip to encourage branching later.
- Apply Rooting Hormone (if using): Dip the bottom inch of the cutting into your rooting hormone powder or gel. Tap off any excess.
- Plant Your Cuttings: Fill your small pots or trays with your prepared potting mix. Make a small hole with a pencil or your finger for each cutting. Gently insert the prepared end of the cutting into the hole, ensuring the node where you made the cut is below the soil surface.
- Water Gently: Water the soil thoroughly after planting. You want it moist, but not soggy.
- Create a Humid Environment: This is key! Cover the pots with a plastic bag or a clear dome. Make sure the plastic doesn’t touch the leaves of the cuttings; this can lead to rot. You might need to insert a few small stakes to prop it up.
- Place in Bright, Indirect Light: Find a spot that receives plenty of bright light but avoids direct, scorching sun. A windowsill that faces east or north is often perfect.
My “Secret Sauce”: Insider Tips
- Bottom Heat is Your Friend: If you have it, placing your pots on a gentle seedling heat mat can really speed up root development, especially if your ambient temperatures are cooler.
- Don’t Be Afraid to Mist: Regularly mist the leaves of your cuttings, especially if you’re not using a closed dome. This helps keep them from drying out while they’re trying to establish roots.
- Patience with the Leaves: You might see the initial leaves droop a bit. Don’t panic! As long as they are still green and haven’t turned mushy, they are still photosynthesizing and helping the cutting. Once you see new growth emerging, you know things are going well.
Life After Roots & What to Watch For
Once your cuttings have developed a good root system – you’ll know when you gently tug on them and feel resistance, or you see roots poking out of the drainage holes – it’s time for a bit more care.
- Harden Them Off: Gradually introduce them to less humid conditions. Start by removing the plastic for a few hours a day, then increase the time over a week or two.
- Transplant: Once they’re strong and have a decent root ball, you can transplant them into slightly larger pots with fresh potting mix.
- Troubleshooting: The biggest enemy here is rot. If your cuttings turn black and mushy, or the leaves yellow and drop suddenly, it’s usually a sign of too much moisture and not enough air circulation. If they shrivel up and look dried out, they might be getting too much direct sun or not enough humidity. Don’t be discouraged if some don’t make it; it’s part of the learning process!
There you have it! Propagating Lessertia diffusa is a wonderfully rewarding endeavor. Be patient with your little green babies, give them the right conditions, and you’ll soon have a garden bursting with these cheerful blooms. Happy propagating, and enjoy the process of bringing more beauty into your world!
Resource:
https://identify.plantnet.org/k-world-flora/species/Lessertia%20diffusa%20R.Br./data