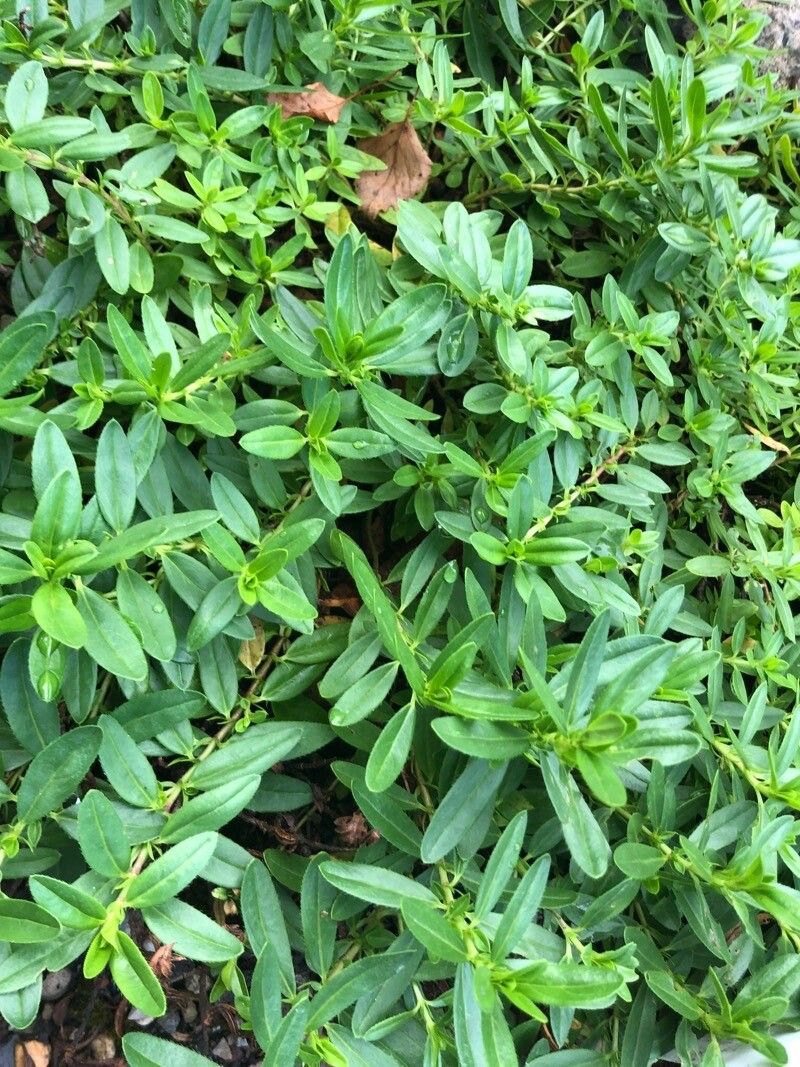
Hello fellow garden lovers! Today, I want to chat about a real gem: Helianthemum glaucescens, often called the Silver Rockrose. If you’ve ever admired its low-growing habit and gorgeous, papery blooms in shades of white, pink, and crimson, you’re probably already thinking about getting more for your own garden. That’s where propagating comes in!
Propagating Helianthemum glaucescens is a wonderfully rewarding way to fill your garden borders, rockeries, or even containers with this delightful plant. Getting a new plant to root and thrive from a small cutting feels like a little bit of garden magic. For beginners, I’d say this one leans towards the moderately easy side. It’s not as fuss-free as some, but with a bit of attention, you’ll be successful.
The Best Time to Start
For the highest success rate, the ideal time to take cuttings is during the late spring or early summer. I aim for the period right after the main flush of flowering has finished, but before the growth gets too woody. You’re looking for healthy, new growth that is somewhat firm but still pliable – what we call semi-ripe cuttings. Avoid taking cuttings from very soft, new shoots or from old, woody stems.
Supplies You’ll Need
Gathering your supplies beforehand makes the whole process smoother. Here’s what I usually have on hand:
- Sharp pruning shears or a clean, sharp knife: For making clean cuts.
- Rooting hormone (optional, but recommended): Powder or gel forms work well.
- Small pots or seed trays: Clean ones are a must to prevent disease.
- A good quality potting mix: I like a 50/50 blend of seed-starting mix and perlite. This ensures excellent drainage, which is crucial for Helianthemum. Some gardeners also swear by a gritty mix of sand and compost.
- A plastic bag or propagator lid: To create a humid environment.
- Labels: To keep track of what you’ve planted and when.
- Watering can with a fine rose: For gentle watering.
Propagation Methods: Stem Cuttings
This is my go-to method for Helianthemum glaucescens. It’s reliable and gives you a good chance of success.
- Take Your Cuttings: Head out to your mature plant when the conditions are right. Select healthy stems and with your sharp tool, take cuttings that are about 4-6 inches long. Make a clean cut just below a leaf node (where a leaf attaches to the stem). Remove the lower leaves gently, leaving just a few at the top.
- Prepare the Cuttings: If you’re using rooting hormone, dip the cut end of each cutting into it. Tap off any excess.
- Plant Your Cuttings: Fill your pots or trays with your well-draining potting mix. Make a small hole in the soil with a pencil or your finger. Insert the cut end of the Helianthemum cutting into the hole, ensuring the node where you removed the leaves is below the soil surface. Gently firm the soil around the stem.
- Water Gently: Water the pots thoroughly but gently until the soil is moist.
- Create Humidity: Cover the pots with a plastic bag or a propagator lid. This is key to preventing the cuttings from drying out before they can form roots.
The “Secret Sauce” (Pro Tips)
Here are a few little tricks I’ve picked up over the years that can really boost your success:
- Don’t Let Leaves Touch the Soil: When you’re preparing your cuttings, make absolutely sure that no leaves are sitting directly on the surface of the soil or in water if you were to experiment with water propagation (which I don’t recommend for this particular plant, as it can lead to rot). Any submerged leaves are prone to fungal infections.
- Bottom Heat is Your Friend: While not strictly essential, placing your pots on a heated propagator mat can significantly speed up the rooting process. The warmth encourages root development from the base. Just a gentle warmth, not too hot!
- Air Circulation is Important: Even though you want to maintain humidity, it’s a good idea to lift the plastic bag or propagator lid for a few minutes each day to allow for some air exchange. This helps to prevent fungal growth.
Aftercare & Troubleshooting
Once your cuttings are planted and covered, find a bright spot that receives indirect sunlight. Avoid direct sun, as this can scorch the delicate cuttings. Keep the soil consistently moist but not waterlogged. Check them regularly.
You’ll know your cuttings are rooting when you see new growth emerging from the top. This can take anywhere from 3 to 6 weeks, sometimes longer. Gently tug on a cutting; if there’s resistance, you’ve got roots!
The most common sign of failure is wilting and browning, followed by the cutting turning mushy and black. This usually indicates overwatering, poor drainage, or a fungal issue. If this happens, try to improve air circulation and ensure your soil mix is very gritty. Sometimes, you might also see mold forming on the soil surface; this is another indicator of too much moisture and not enough air.
Once your new Helianthemum plants have developed a good root system, you can gradually acclimatize them to normal conditions. This means slowly removing the plastic cover over a week or so. You can then pot them into slightly larger individual pots with a good, free-draining compost.
A Little Patience Goes a Long Way
Propagating plants is a journey. It takes a little patience, attention to detail, and the willingness to learn from each attempt. Don’t get discouraged if not every cutting makes it. Celebrate the successes, and enjoy the process of coaxing new life into being. Happy propagating!
Resource: