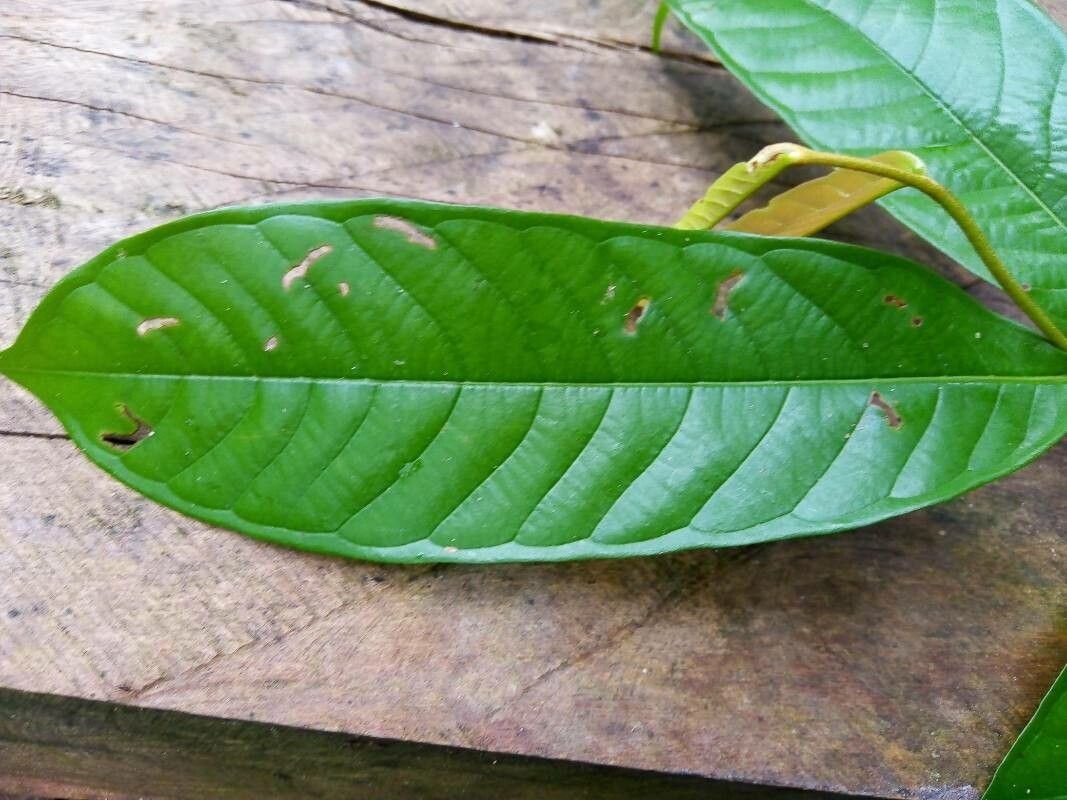
Oh, hello there! Come on in, grab a mug. I’m so excited to talk to you today about a plant that’s really captured my heart: Fusaea longifolia. If you’re looking for a bit of tropical flair indoors, with those gorgeous, glossy, elongated leaves, you’re in for a treat. And the best part? Propagating it is a surprisingly rewarding endeavor, even if you’re relatively new to the plant world. It’s not overly fussy, which I think is just wonderful for us gardeners.
The Best Time to Start
When it comes to giving your new Fusaea babies the best chance, spring and early summer are your prime times. This is when the plant is really hitting its stride, bursting with energy and ready to put on new growth. You’ll find that cuttings taken during this period are much more likely to root enthusiastically than those taken when the plant is dormant. Look for healthy, actively growing stems – they’re the ones with the most oomph!
Supplies You’ll Need
Gathering your tools ahead of time makes the whole process smoother, doesn’t it? Here’s what I usually have on hand:
- A sharp, clean pruning shear or knife. Important for making neat cuts.
- Seedling starter mix or a well-draining potting mix. Something light and airy is best. You can even mix in some perlite or vermiculite to improve drainage.
- Small pots or rooting trays. Tiny pots are perfect for starting out.
- Rooting hormone (optional, but helpful!). I find it gives cuttings a nice boost. Just a dab!
- Plastic bags or a propagator lid. This creates a humid environment a bit like a mini-greenhouse.
- Watering can or spray bottle. For gentle watering.
Propagation Methods
I usually rely on one of two methods for Fusaea longifolia, and they’re both pretty straightforward.
Stem Cuttings: My Go-To
This is my favorite and by far the most common method.
- Select a healthy stem. Look for a piece that’s at least 4-6 inches long and has a few sets of leaves. Avoid old, woody stems.
- Make a clean cut. Using your sharp shears, cut the stem just below a leaf node (where the leaf attaches to the stem). This is where roots are most likely to form.
- Prepare the cutting. Gently remove the lower leaves, leaving just 2-3 at the top. This prevents them from rotting in the soil or water.
- Apply rooting hormone (if using). Dip the cut end into the rooting hormone powder, tapping off any excess.
- Plant the cutting. Insert the cut end into your prepared pot filled with moist potting mix. Make sure a leaf node is buried in the soil. You can often fit a couple of cuttings in one pot, spaced a few inches apart.
- Water gently. Moisten the soil thoroughly but avoid waterlogging.
- Create humidity. Cover the pot with a plastic bag or place it in a propagator. Ensure the leaves don’t touch the sides of the bag.
Water Propagation: For the Patient Observer
Sometimes, I just love watching the roots develop!
- Follow steps 1-3 above to prepare your stem cutting.
- Place in water. Fill a small jar or glass with clean water and place the cutting in it, ensuring the leaf nodes are submerged. Crucially, make sure the removed leaves are not touching the water. Just the stem should be in the water.
- Find a bright spot. Place the container in indirect light.
- Change the water regularly. Every few days, refresh the water to keep it clean and oxygenated.
The “Secret Sauce” (Pro Tips)
After years of trial and error, I’ve picked up a few little tricks that really make a difference.
- Bottom heat is your friend! If you have a heat mat designed for seedlings, placing your pots on it can significantly speed up rooting. It mimics that lovely warm jungle floor.
- Don’t be afraid to experiment with multiple cuttings. Not every single one will make it, and that’s perfectly normal. Taking a few more than you think you need ensures you’ll have a good success rate.
- A light misting is often better than heavy watering. Overwatering is the quickest way to a failed propagation. The humidity from the bag or lid will do most of the work.
Aftercare & Troubleshooting
Once you start seeing little white roots peeking out of the drainage holes (or dangling in the water!), you’re on the right track! If you propagated in water, you can carefully transplant the rooted cuttings into pots filled with your well-draining potting mix. Water gently and continue to keep them in a humid environment for a week or two.
The most common issue you’ll encounter is rot. If the stem turns mushy or black, it’s a sign of too much moisture and not enough airflow. Remove the affected cutting immediately to prevent it from spreading. Sometimes, a cutting just won’t root; it might dry out or simply not have the energy. Don’t get discouraged!
A Little Word of Encouragement
Propagating plants is a journey, my friend. It’s about patience, observation, and learning from each little sprout. Be gentle with your new Fusaea cuttings, give them the best environment you can, and celebrate every tiny root that appears. The joy of creating new life from a piece of your favorite plant is truly one of gardening’s greatest pleasures. Happy propagating!
Resource:
https://identify.plantnet.org/k-world-flora/species/Fusaea%20longifolia%20(Aubl.)%20Saff./data