Oh, hello there! It’s so lovely to have you join me for a chat about one of my very favorite orchids: Epidendrum dendrobioides. If you’re anything like me, you fell in love with its vibrant blooms and the way it just seems to thrive with a little bit of attention. Growing more of these beauties from cuttings is such a wonderfully rewarding experience. It’s not the absolute easiest orchid to start with, mind you, but it’s certainly achievable for those of us who are eager to learn and willing to get our hands a little dirty.
The Best Time to Start
For Epidendrum dendrobioides, the sweet spot for propagation is typically in late spring or early summer. This is when the plant is actively growing after its rest period. You’ll see new shoots emerging, and these are prime candidates for cuttings. Waiting until the plant has finished its blooming cycle is also a good indicator that it’s ready to put its energy into new growth.
Supplies You’ll Need
Gathering your tools before you begin makes the whole process so much smoother. Here’s what I always have on hand:
- Sharp Pruning Shears or a Clean Knife: Make sure they are sterilized with rubbing alcohol to prevent disease.
- Orchid Potting Mix: A well-draining mix is crucial. I usually opt for a bark-based blend with added perlite for aeration.
- Small Pots or Containers: Orchid pots with good drainage holes are ideal.
- Rooting Hormone (Optional but Recommended): A powdered or liquid rooting hormone can give your cuttings a helpful boost.
- Clean Water: For misting and, if you choose, water propagation.
- Labeling Stakes: To keep track of your new babies and when you started them.
Propagation Methods
The most common and successful way to propagate Epidendrum dendrobioides is through stem cuttings. It’s straightforward and gives you great results.
Stem Cuttings:
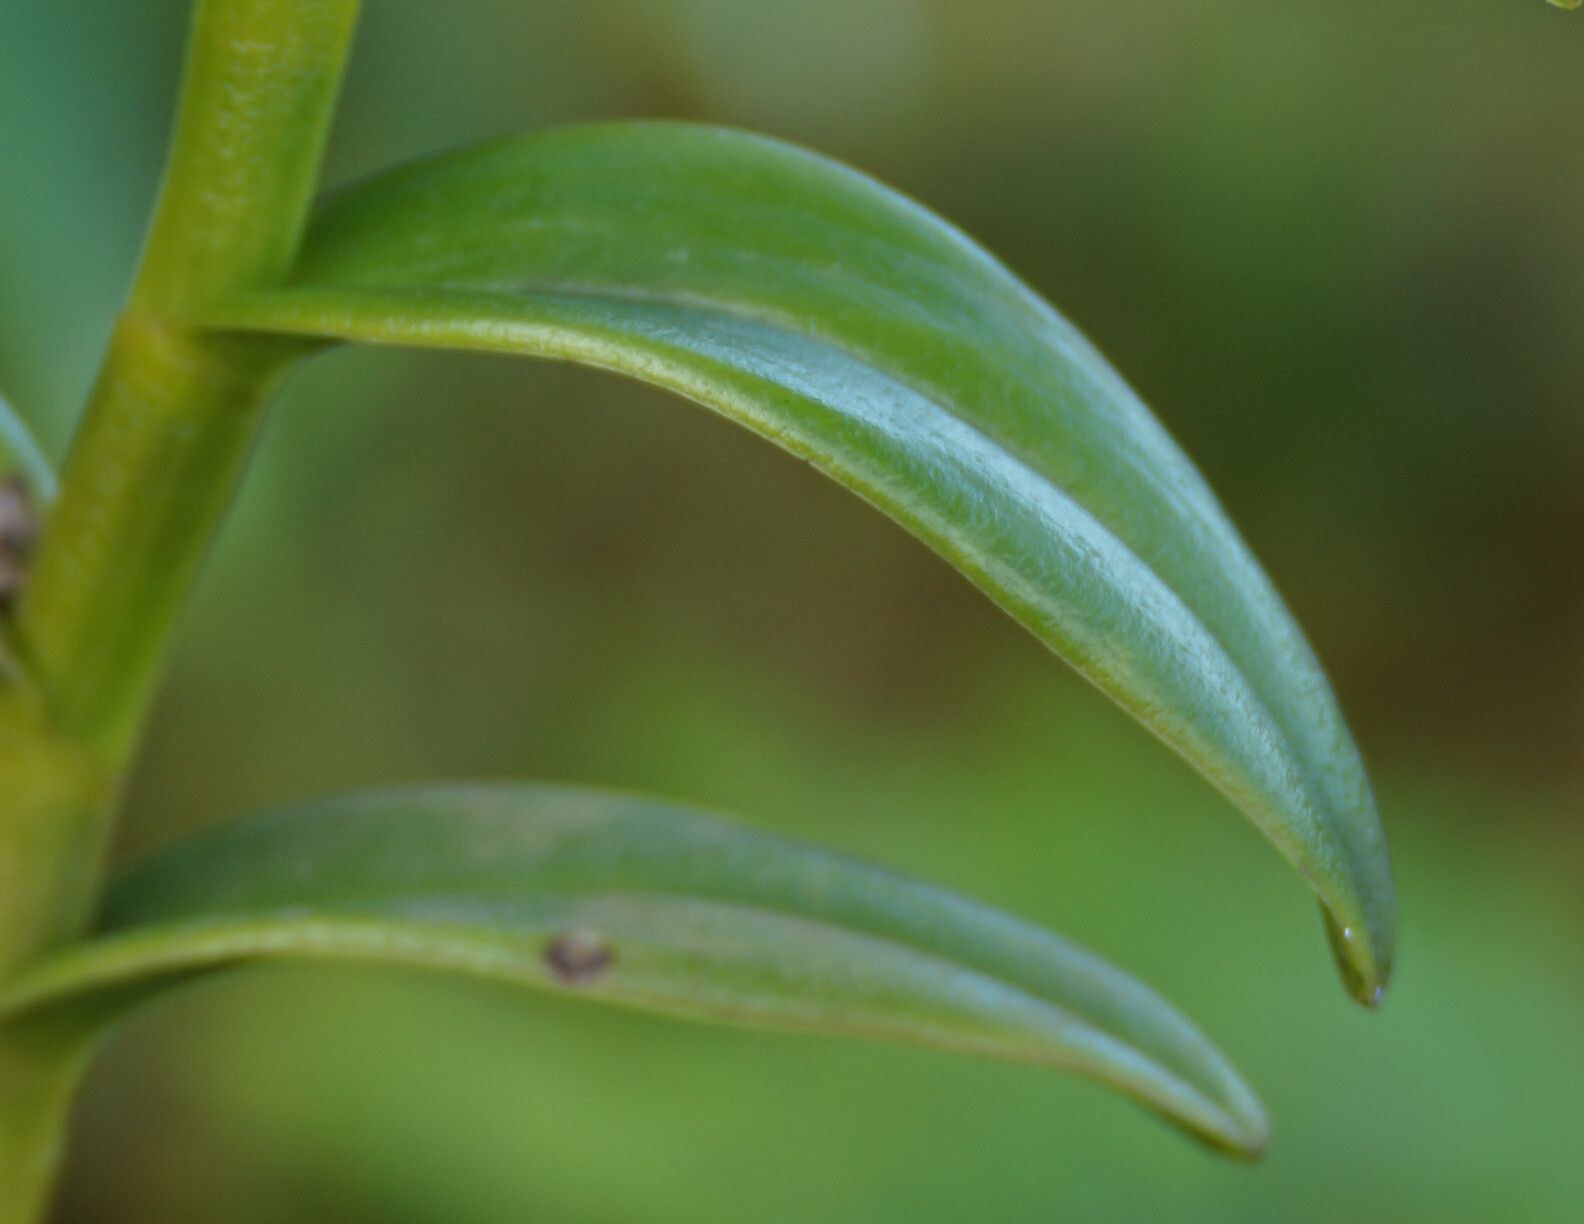
- Identify a Healthy Stem: Look for a pseudobulb (the thickened stem section) that has at least two or three healthy, green leaves and is showing signs of new growth or has aerial roots.
- Make the Cut: Using your sterilized shears or knife, carefully cut the stem about an inch below the chosen pseudobulb. You want to ensure you have at least one healthy pseudobulb with you.
- Prepare the Cutting: If there are any damaged or yellowing leaves, gently remove them. You can also trim off any overly long aerial roots to make it easier to plant.
- Apply Rooting Hormone (Optional): If you’re using rooting hormone, dip the cut end of the stem into the powder or solution. Tap off any excess.
- Planting: Fill your small pot with the damp orchid potting mix. Create a small hole in the center and gently insert the cut end of your stem. Make sure the pseudobulb is at or slightly above the surface of the mix. Firm the mix gently around the base of the cutting.
- Watering: Water lightly to settle the mix. You don’t want the cutting to be waterlogged.
Water Propagation (Alternative):
Some growers have success with water propagation for Epidendrum dendrobioides.
- Follow steps 1-4 for stem cuttings.
- Place the cutting in a clean jar or vase with fresh water. Ensure that only the cut end and any aerial roots are submerged. Crucially, do not let the leaves touch the water. This can lead to rot.
- Change the water every few days to keep it fresh and prevent bacterial growth.
- Once you see substantial root growth (at least an inch or two long), you can transition them to potting mix following the planting instructions above.
The “Secret Sauce” (Pro Tips)
Here are a couple of things I’ve learned over the years that really help these cuttings along:
- Don’t Overwater, Ever! This is probably the most important tip. New cuttings don’t have established roots to take up a lot of moisture. A slightly too dry environment is much better than a too wet one. I often mist the leaves lightly once a day if the air is very dry, but I let the potting mix dry out between waterings.
- A Touch of Warmth is Nice: Epidendrum dendrobioides loves a bit of warmth to encourage root development. Placing your pots on a heating mat specifically designed for seedlings or rooting cuttings can make a significant difference in how quickly roots form. Just make sure the mat’s temperature is consistent and not too hot.
Aftercare & Troubleshooting
Once your cutting shows signs of new root growth, congratulations! Keep it in its small pot and continue with bright, indirect light and light watering. Avoid fertilizing until you see clear new leaf growth, and even then, start with a very diluted orchid fertilizer.
The main issue you might encounter is rot. If the pseudobulb starts to turn mushy and black, or if the leaves yellow and drop off quickly, it’s usually a sign of too much moisture or a fungal infection. If you catch it early, you might be able to trim away the rotted parts and try again with a less soggy medium. Don’t be discouraged if you lose one or two; it’s part of the learning process!
A Little Encouragement
Propagating orchids is a marathon, not a sprint. Be patient with your little cuttings. They have their own rhythm, and sometimes it takes a while for them to wake up and show you those precious new roots. Trust the process, enjoy the quiet moments of observation, and celebrate every little bit of progress. Happy growing!
Resource:
https://identify.plantnet.org/k-world-flora/species/Epidendrum%20dendrobioides%20Thunb./data