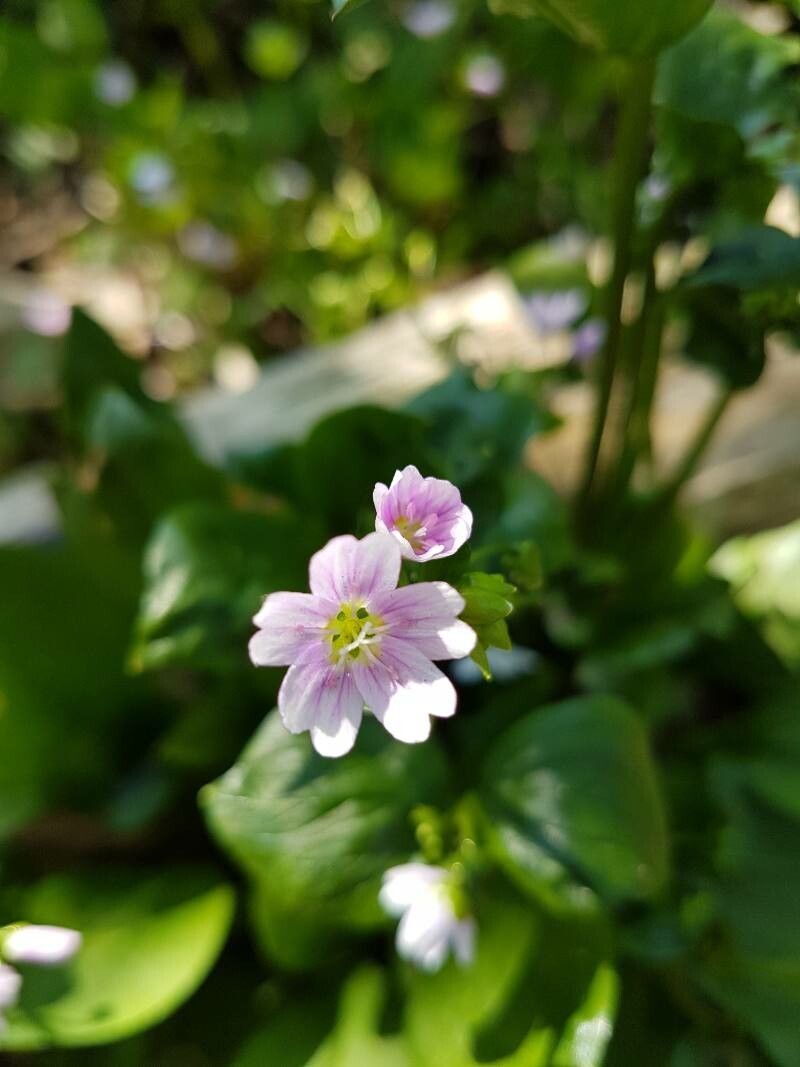
Hello there, fellow garden enthusiasts! Grab your favorite mug, and let’s chat about a truly delightful little plant: Claytonia sibirica. You might know it by its charming common names, like Siberian miner’s lettuce or candy-flower. I’ve been growing it for years, and honestly, it’s one of those plants that just makes my heart sing. It carpets shady corners with its lovely, succulent leaves and delicate, star-shaped white or pink flowers. The best part? It’s incredibly easy to propagate, making it a fantastic choice for even the most novice gardener. Getting more of this beauty for free is incredibly rewarding!
The Best Time to Start
For Claytonia sibirica, you’ll find the most success when the plant is actively growing and before it gets too hot. This usually means late spring or early summer. You’re looking for healthy, vigorous shoots that haven’t started to flower yet, or just a hint of a bud forming. If you’re in a cooler climate, you might even get away with doing this a bit later in the season. The key is to catch it at its energetic peak.
Supplies You’ll Need
Here’s what I always have on hand when I’m propagating some miner’s lettuce:
- Sharp clean scissors or pruning shears: For making clean cuts.
- Small pots or trays: With drainage holes, of course!
- A light, well-draining potting mix: A peat-based mix with perlite or vermiculite works wonderfully. I often mix in a bit of compost.
- Watering can or spray bottle: For gentle watering.
- Optional: Rooting hormone: While Claytonia sibirica is pretty good at rooting on its own, a little hormone can give you a boost.
- Optional: A clear plastic bag or dome: To create a humid microclimate.
Propagation Methods
Claytonia sibirica is wonderfully obliging when it comes to making more plants. The easiest and most reliable method is by stem cuttings.
- Take Your Cuttings: Look for healthy, non-flowering stems. Using your sharp scissors, cut stems just below a leaf node (the point where a leaf attaches to the stem). Aim for cuttings that are about 3-4 inches long. You can usually get several cuttings from a single healthy plant.
- Prepare the Cuttings: Gently remove the lower leaves from the bottom inch or so of each cutting. This prevents them from rotting when you plant them. If you’re using rooting hormone, dip the cut end into it now.
- Plant Your Cuttings: Fill your small pots or trays with your chosen potting mix. Make a small hole in the soil with your finger or a pencil. Insert the cut end of the stem into the hole, ensuring at least one leaf node is below the soil surface. Gently firm the soil around the stem.
- Water Gently: Water thoroughly but gently, so as not to dislodge the cuttings. A spray bottle is great for this initially, especially if your cuttings are delicate.
Another wonderfully simple method is water propagation.
- Prepare Cuttings: Follow steps 1 and 2 for stem cuttings, but don’t remove lower leaves if they are small.
- Place in Water: Find a clean jar or glass and fill it with fresh water. Place the prepared cuttings in the water, ensuring that only the cut end and the lower portion of the stem are submerged.
- Change Water Regularly: This is key! Change the water every few days to keep it fresh and prevent bacterial growth.
The “Secret Sauce” (Pro Tips)
Here are a few little tricks I’ve picked up that make a world of difference:
- Don’t let the leaves touch the water when you’re doing water propagation. Any leaf submerged is a potential entry point for rot. Those leaves will eventually turn brown and gooey, and that’s not what we want!
- Humidity is your friend! Once your cuttings are planted in soil, cover the pots with a clear plastic bag or a propagation dome. This creates a mini-greenhouse effect, keeping the leaves hydrated and encouraging root development. Just make sure to open it for a few minutes each day to allow for air circulation – this prevents fungal issues.
- Think “indirect light.” Your new cuttings don’t need intense sunlight. In fact, too much sun can scorch their tender leaves and dry them out quickly. A bright spot that gets no direct sun is perfect.
Aftercare & Troubleshooting
Once you start to see tiny white roots peeking out from the drainage holes (this can take a couple of weeks), your cuttings are on their way!
- For soil-planted cuttings: Continue to keep the soil consistently moist but not waterlogged. As more roots develop, you can gradually reduce the humidity from the plastic bag. When they’ve developed a good root system and you see new leaf growth, you can transplant them into their own small pots or directly into their new garden home.
- For water-propagated cuttings: Once the roots are about an inch long, carefully transplant them into pots filled with your potting mix. Water them gently and treat them as you would newly potted cuttings until they establish.
The most common sign of trouble is rot. If your cuttings turn mushy, black, or develop a foul smell, it’s usually a sign of overwatering or poor air circulation. Unfortunately, if rot sets in, it’s usually game over for that cutting. Don’t be discouraged, though! Just discard the affected cutting and try again. Sometimes, it takes a few tries to get it just right.
A Encouraging Closing
Propagating Claytonia sibirica is such a joy. It’s a gentle reminder that gardening is all about patience and observation. Watch your little beauties, give them what they need, and before you know it, you’ll have a small army of these delightful candy-flowers to share or enjoy yourself. Happy propagating!
Resource:
https://identify.plantnet.org/k-world-flora/species/Claytonia%20sibirica%20L./data