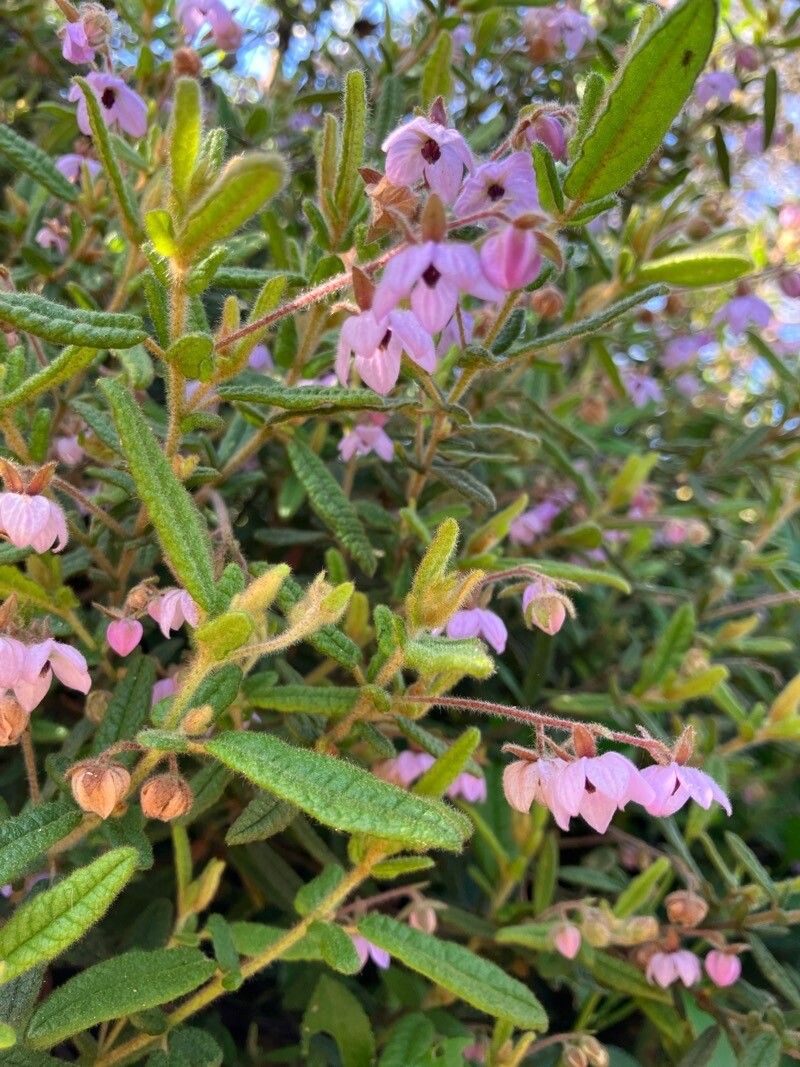
Hello, fellow plant lovers! It’s so good to have you here. Today, we’re diving into the wonderful world of propagating Thomasia petalocalyx. If you’ve ever admired these delicate, bell-shaped flowers, like little pendulums nodding in the breeze, then you’re in for a treat. Growing more of these beauties from cuttings or division is incredibly satisfying, and it’s a fantastic way to share them with friends or simply fill your garden to your heart’s content. Now, I’ll be honest, Thomasia petalocalyx isn’t the absolute easiest plant to propagate, but with a little understanding and patience, it’s certainly achievable. Don’t let that deter you – the reward is well worth the effort!
The Best Time to Start
Timing is everything in the garden, and for Thomasia petalocalyx cuttings, late spring to early summer is your sweet spot. This is when the plant is actively growing, and you’ll find plenty of new, semi-hardwood stems. These are ideal because they’ve started to firm up but still have enough flexibility to root. Trying to take cuttings from very soft, new growth can lead to rot, and from old, woody stems often results in a long wait with little success.
Supplies You’ll Need
Before we get our hands dirty, let’s gather our tools. A prepared gardener is a successful gardener!
- Sharp, clean pruning shears or a sharp knife: For making clean cuts. Hygiene is key to preventing disease.
- Rooting hormone (powder or gel): This isn’t strictly mandatory, but it significantly boosts your chances of success. Thorne & Daughters ‘Grown’ is a favorite if you can find it, but most commercial brands do a good job.
- A well-draining potting mix: A 50/50 blend of perlite and coco coir or peat moss works beautifully. You want something airy that won’t hold too much moisture. Some gardeners also like to add a little horticultural grit.
- Small pots or trays: Clean pots are essential. About 4-inch pots are usually good.
- Plastic bags or a propagator: To create a humid environment around your cuttings.
- Watering can with a fine rose: For gentle watering.
- Optional: A heated propagator mat: This can give your cuttings a little boost, especially if your workspace is a bit cooler.
Propagation Methods
Let’s get to the fun part – making more of your beloved Thomasia!
Stem Cuttings
This is my go-to method for Thomasia petalocalyx.
- Take your cuttings: Select healthy, non-flowering stems from your parent plant. Look for stems that are about 4-6 inches long and have a bit of give when you bend them – that semi-hardwood stage I mentioned earlier. Make a clean cut just below a leaf node. This is where roots are most likely to form.
- Prepare the cuttings: Gently remove the lower leaves from the cutting, leaving just 2-3 leaves at the very top. If the remaining leaves are quite large, you can even cut them in half to reduce water loss.
- Dip in rooting hormone: Dip the cut end of the stem into your rooting hormone, making sure to coat about an inch of the base. Tap off any excess.
- Pot them up: Fill your clean pots with your prepared, damp potting mix. Make a small hole in the center of the mix with a pencil or your finger. Gently insert the cutting into the hole, ensuring the nodes where you removed the leaves are buried. Firm the soil gently around the stem.
- Create humidity: Water the soil gently until it’s moist but not soggy. Then, cover the pot with a clear plastic bag, making sure the leaves don’t touch the sides of the bag if possible. You can use skewers to prop up the bag if needed. Place the pot in a spot with bright, indirect light.
Division (Less Common, but useful for established plants)
If you have a mature, established Thomasia petalocalyx that’s getting a bit large, division is another option.
- Gently dig up the plant: Carefully dig around the base of the plant, trying to disturb the root ball as little as possible.
- Divide the root ball: Once out of the pot, inspect the root ball. You’re looking for natural breaks where you can separate sections, each with its own healthy roots and some top growth. Use your hands or a clean, sharp knife to make the divisions. Aim for sections that have at least a few stems and a good amount of root.
- Pot up the divisions: Pot each division into its own container with fresh, well-draining potting mix, just as you would a new plant. Water them in well and treat them as you would newly potted plants.
The “Secret Sauce” (Pro Tips)
Here are a couple of little tricks I’ve learned over the years that really make a difference:
- Don’t let the leaves touch the water: This is crucial for cuttings in general, but especially for fuzzier-leaved plants. If the leaves are submerged, they’ll rot and take the whole cutting down with them. The plastic bag method helps keep things humid without direct contact.
- Bottom heat is your friend: If you can, place your pots on a heated propagation mat. This gentle warmth encourages root development from below, speeding up the process and increasing your success rate significantly. It mimics the conditions of being in a warm, spring soil.
Aftercare & Troubleshooting
Once your cuttings have started to root, it’s time to transition them to a slightly more independent life.
You’ll know your cuttings have rooted when you see new leaf growth. You can also give them a gentle tug – if there’s resistance, roots have formed. Once rooted, you can gradually acclimatize them to lower humidity by opening the plastic bag a little each day for a week or so. Then, pot them up into their own small pots using a good quality potting mix. Water them regularly, allowing the soil to dry out slightly between waterings.
The most common sign of trouble is rot. If your cutting turns black and becomes mushy, it’s usually a sign of too much moisture and not enough air circulation. Damping off is another issue, where the base of the stem collapses. This is often caused by fungal pathogens in overly wet soil. If you see signs of rot, it’s best to discard the affected cutting and review your watering and drainage practices. Don’t be discouraged – even experienced gardeners lose cuttings now and then!
A Little Encouragement to Finish
Propagating Thomasia petalocalyx is a beautiful journey of patience and observation. It’s about nurturing those tiny beginnings and celebrating each sign of success, from the first tiny root hair to a new flush of leaves. Enjoy the process, learn from every cutting, and know that with each successful propagation, you’re not just growing a plant – you’re cultivating a deeper connection with your garden. Happy propagating!
Resource:
https://identify.plantnet.org/k-world-flora/species/Thomasia%20petalocalyx%20F.Muell./data