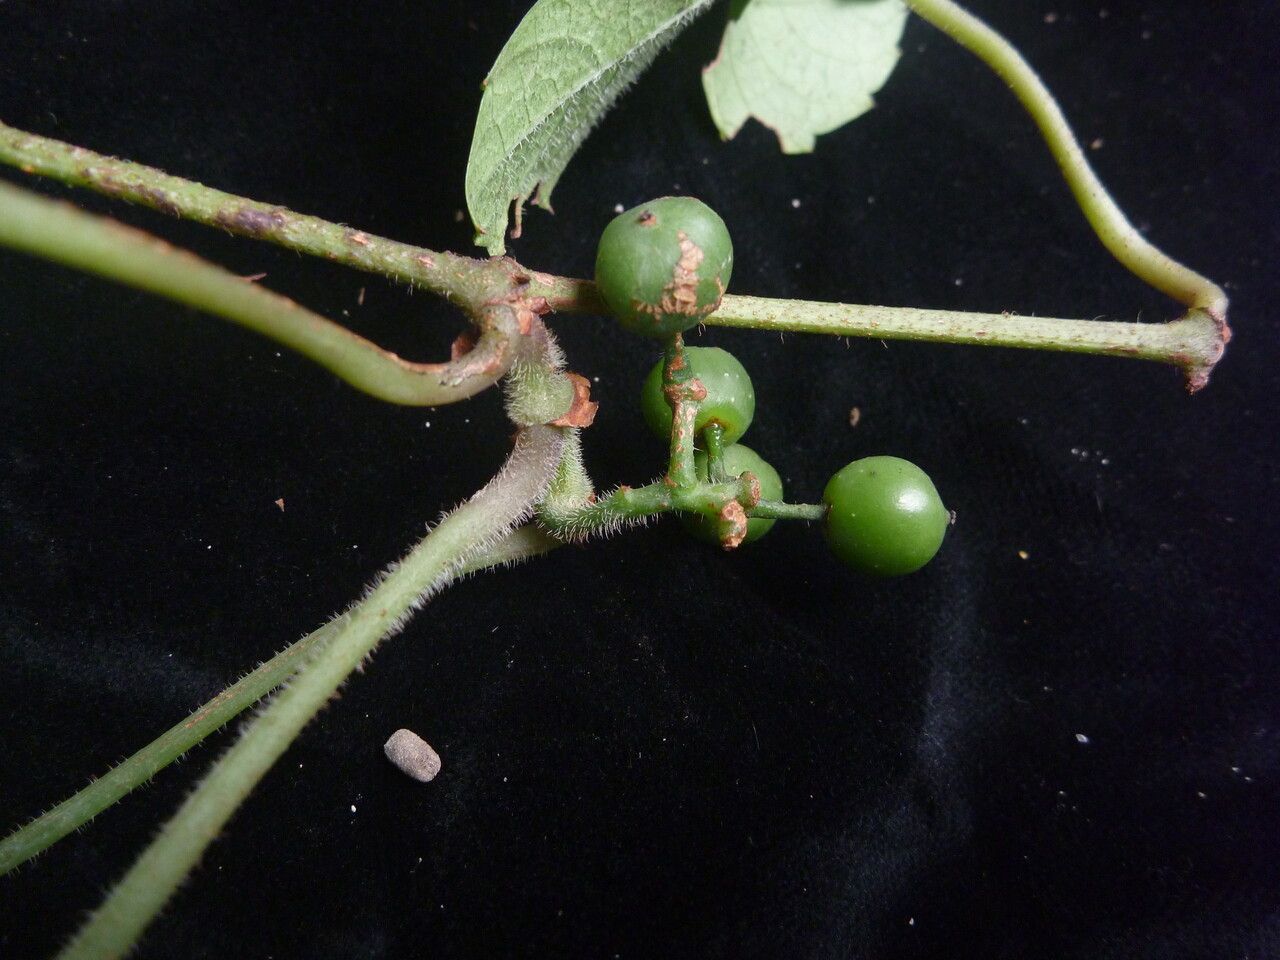
Hello fellow plant lovers! I’m so excited to talk to you today about one of my favorite vines: Tetrastigma obtectum. This plant, often called the “grape ivy” because of its handsome, glossy, grape-like leaves, is a real stunner. It brings a touch of lushness and a hint of tropical flair to any indoor space, cascading beautifully from shelves or hanging baskets. And the best part? Propagating it is a truly rewarding experience. While it might seem a little finicky at first glance, with a few simple techniques, you’ll be well on your way to a whole new collection of these gorgeous vines! You’ll find it’s quite manageable, even for those just dipping their toes into propagation.
The Best Time to Start
For the highest success rate with Tetrastigma obtectum, I always recommend starting in the late spring or early summer. This is when the plant is in its most vigorous growth phase. You’ll see lots of new, healthy stems developing. Choosing these active shoots means your cuttings will have the best chance to root quickly and establish themselves. Avoid taking cuttings from old, woody stems or during the plant’s dormant period in winter.
Supplies You’ll Need
Making sure you have the right tools on hand will make this whole process so much smoother. Here’s what I always have ready:
- Sharp Pruning Shears or Scissors: Clean cuts are crucial!
- Rooting Hormone (Optional but Recommended): This can give your cuttings an extra boost. I usually go for a powder or gel.
- Potting Mix: A well-draining mix is key. I like to use a blend of about 50% peat or coco coir and 50% perlite or coarse sand. A good quality houseplant mix with perlite added also works.
- Small Pots or Seedling Trays: With drainage holes, of course! 4-inch pots are usually a good size.
- Clear Plastic Bag or Propagator: To create a humid environment.
- Watering Can or Spray Bottle: For gentle watering.
- Small Pebbles or Gravel (Optional): For the drainage layer in pots or for water propagation.
Propagation Methods
I’ve had the best luck with Tetrastigma obtectum using stem cuttings. It’s straightforward and yields great results.
Stem Cuttings
- Select Your Cuttings: Look for healthy, non-flowering stems that are at least 4-6 inches long. You want to see several leaf nodes (the points where leaves grow from the stem).
- Make the Cut: Using your clean pruning shears, make a cut just below a leaf node. This is where the new roots will emerge. You can take several cuttings from a single healthy stem.
- Prepare the Cuttings: Gently remove the lower leaves from the cuttings, leaving just one or two sets of leaves at the top. If the remaining leaves are very large, you can cut them in half horizontally to reduce water loss through transpiration.
- Apply Rooting Hormone (Optional): Dip the cut end of each Tetrastigma cutting into the rooting hormone, tapping off any excess. This gives them a little encouragement to start rooting.
- Pot Them Up: Fill your small pots with your prepared, moistened potting mix. Make a small hole in the center of the mix with your finger or a pencil. Insert the cut end of the Tetrastigma cutting into the hole, ensuring that at least one leaf node is buried beneath the soil surface. Gently firm the soil around the stem.
- Create Humidity: Water the soil gently. Then, cover the pot with a clear plastic bag, a propagator lid, or even place the pots inside a larger clear plastic bag. Make sure the plastic doesn’t touch the leaves of the cuttings too much. You can prop up the bag with stakes if needed.
- Place in Bright, Indirect Light: Find a warm spot that receives bright, indirect sunlight. Avoid direct sun, which can scorch the delicate cuttings.
The “Secret Sauce” (Pro Tips)
Here are a few tricks I’ve learned over the years that really make a difference with Tetrastigma obtectum:
- Don’t Let the Leaves Touch the Water (in water propagation): While I primarily recommend soil propagation for this vine, if you do decide to try water, be very careful. Only the stem nodes should be submerged, not the leaves. Any submerged leaves will rot very quickly and can take the entire cutting down with them.
- Bottom Heat is Your Friend: If you have a seedling mat, placing your pots on it can significantly speed up rooting. Tetrastigma loves warmth, and bottom heat mimics the conditions of a cozy spring soil bank.
- Be Patient with the Mist: I’ll often gently mist the cuttings every few days, especially if I’m not using a full plastic cover. This keeps the humidity levels up. But don’t overdo it – we don’t want soggy soil, just a nice, damp atmosphere.
Aftercare & Troubleshooting
Once your Tetrastigma cuttings have been potted, the waiting game begins! Keep the soil consistently moist but not waterlogged. Check the humidity daily; if the plastic covering is fogged up, that’s good! If it looks dry, give it a light mist.
You’ll know your cuttings are rooting when you start to see new leaf growth emerge from the top. This can take anywhere from 3 to 8 weeks, sometimes even longer. Another sign is if you gently tug on the cutting and feel some resistance.
The most common problem you might encounter is rot. This usually happens if the soil is too wet or the humidity is too high without enough air circulation. If you see a stem turning black and mushy, unfortunately, that cutting is likely lost. Remove it promptly to prevent the rot from spreading to other cuttings. Overwatering is the main culprit here, so err on the side of caution.
A Encouraging Closing
So there you have it! Propagating Tetrastigma obtectum is a wonderfully satisfying way to expand your plant collection. Don’t be discouraged if your first attempt isn’t perfect. Gardening, like life, is all about learning and growing. Be patient with your new little vines, enjoy the process of watching them develop, and soon you’ll have a jungle of your own! Happy planting!
Resource: