Hello there, fellow garden enthusiasts! It’s so lovely to have you join me. Today, we’re diving into one of my absolute favorite projects: coaxing new life from our beloved plants. Specifically, we’re going to talk about propagating the gorgeous Salvia chamelaeagnea, also known as the Blue Sage or African Sage.
Why Grow More Blue Sage?
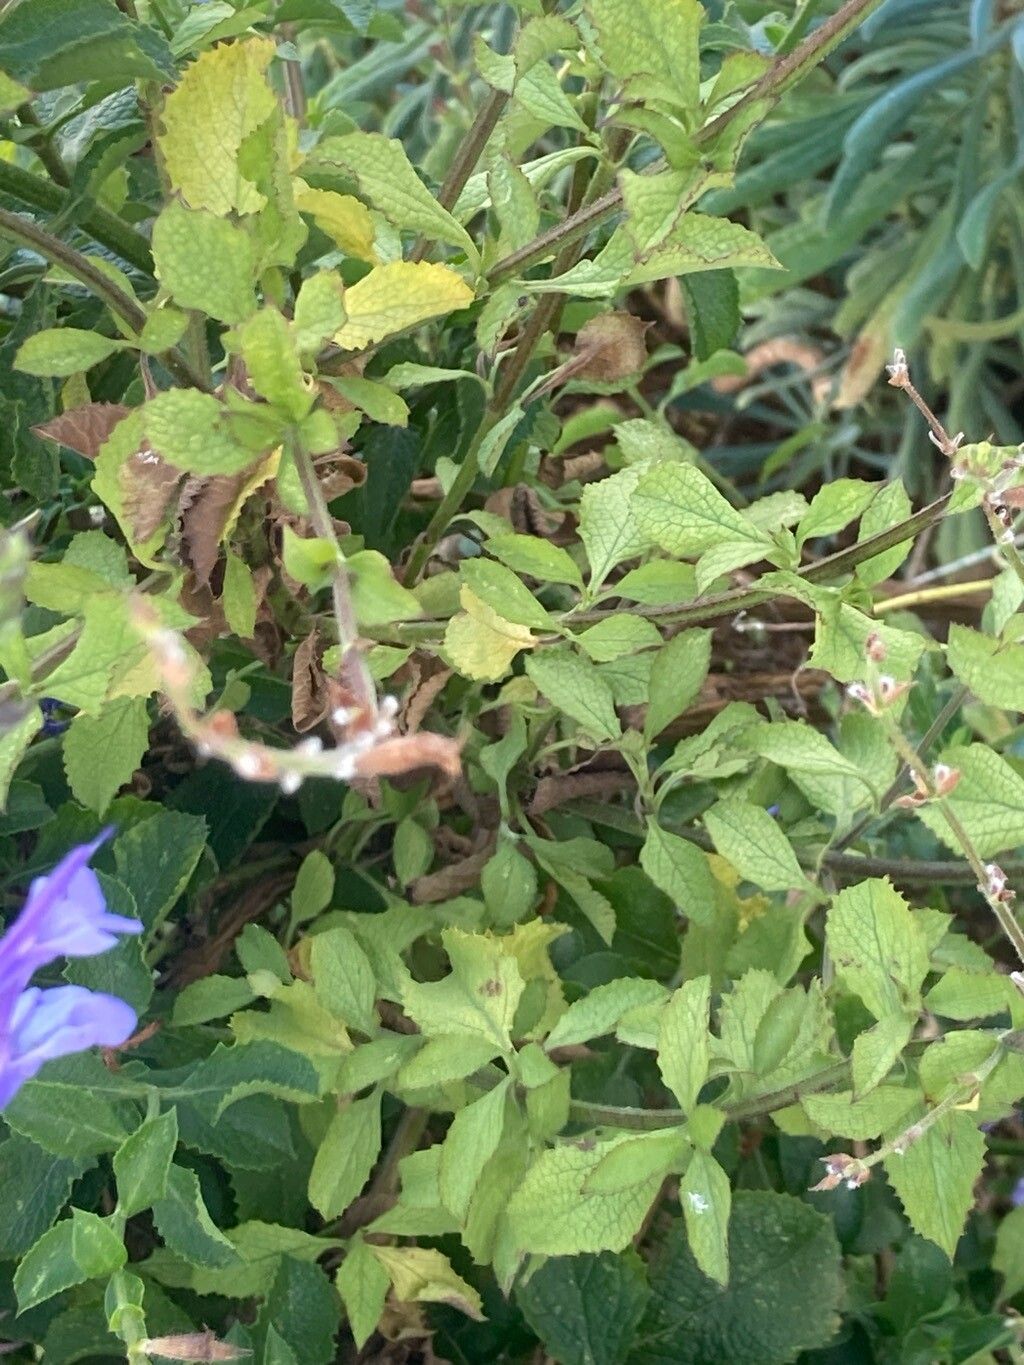
I just adore this plant. Its deep, velvety blue flowers are stunning against silvery-green foliage, and it’s a magnet for all sorts of beneficial pollinators. Plus, the scent is divine! Propagating it is incredibly rewarding because you get to share this beauty and it fills your own garden more generously. Good news for beginners: Salvia chamelaeagnea is generally quite forgiving, making it an excellent choice to try your hand at propagation.
When Does the Magic Happen?
For the best chance of success, aim to propagate your Blue Sage in late spring or early summer. This is when the plant is actively growing and has plenty of energy to put into root development. You’re looking for semi-hardwood cuttings – stems that are no longer brand new and floppy but haven’t yet become old and woody. They should snap cleanly when bent.
What You’ll Need for Success
Gathering your supplies beforehand makes the whole process smoother. Here’s what I typically have on hand:
- Sharp pruning shears or a clean knife: For making neat, precise cuts.
- Rooting hormone: Encourages faster and stronger root growth. Gel or powder works well.
- Potting mix: A well-draining mix is crucial. I like a blend of equal parts perlite and peat moss or a commercial seed starting mix.
- Small pots or seed trays: With drainage holes, of course!
- Plastic bag or dome: To create a humid environment for the cuttings.
- Watering can or spray bottle: For gentle watering.
- Labeling sticks: To keep track of what you’ve planted.
Let’s Get Propagating!
I find stem cuttings to be the most reliable method for Salvia chamelaeagnea. Here’s how we do it:
- Taking the Cuttings: Select healthy stems from your parent plant. Make a cut just below a leaf node (where a leaf attaches to the stem). This is where roots tend to emerge. Aim for cuttings that are about 4-6 inches long. Remove the lower leaves, leaving just a few at the top to help with photosynthesis.
- Applying Rooting Hormone: Dip the cut end of the stem into your rooting hormone. Tap off any excess.
- Planting the Cuttings: Gently insert the hormone-dipped end into your prepared potting mix. Make sure the leaf nodes you removed are below the soil surface. Gently firm the soil around the cutting.
- Creating Humidity: Water the soil lightly. Then, cover the pot or tray with a clear plastic bag or use a propagator with a clear lid. This keeps the humidity high, which is vital for cuttings to root without drying out.
- Placement: Place the pots in a bright spot but out of direct, harsh sunlight. A shaded windowsill is perfect.
My Secret Garden Tricks
Over the years, I’ve learned a few things that can really give your cuttings a boost.
- Bottom Heat is Your Friend: If you have an old heat mat, use it! Placing your pots on a gentle bottom heat source can significantly speed up root development. It mimics being planted in warm soil in summer.
- Don’t Drown Them: While humidity is important, overwatering will be your downfall. The goal is moist, not soggy, soil. When in doubt, let the soil surface dry out slightly between waterings. If you’re using the plastic bag method, you might only need to water very sparingly.
- Inspect Those Leaves! If your cuttings are in a plastic bag, make sure no leaves are touching the plastic itself. This promotes rot and can undo all your hard work. Trim them back if they’re getting too big.
After You See Roots and What to Watch For
Be patient! It can take anywhere from 3-6 weeks to see signs of new growth, which usually indicates roots have formed. You might see tiny new leaves emerging. Once you see this, you can gradually acclimate your new plants to normal humidity by opening the plastic bag or lid a little more each day for about a week. Once they’re established and have a good root system, you can transplant them into slightly larger pots.
Now, about those dreaded signs of failure. The most common culprit is rot. If your cuttings turn black and mushy, it’s usually a sign of too much moisture and not enough air circulation. Make sure your soil drains well and that you aren’t watering too frequently. If a cutting looks completely limp and dry, it might be too late, but sometimes a bit of extra humidity can revive them. Don’t be discouraged by a few failures; it’s all part of the learning process!
Happy Rooting!
Isn’t it wonderful to think about creating more of these beautiful blue blooms? Propagating plants like Salvia chamelaeagnea is a journey, and each new little plant is a triumph. Embrace the process, be patient with your cuttings, and celebrate every tiny success. Happy gardening!
Resource:
https://identify.plantnet.org/k-world-flora/species/Salvia%20chamelaeagnea%20Berg./data