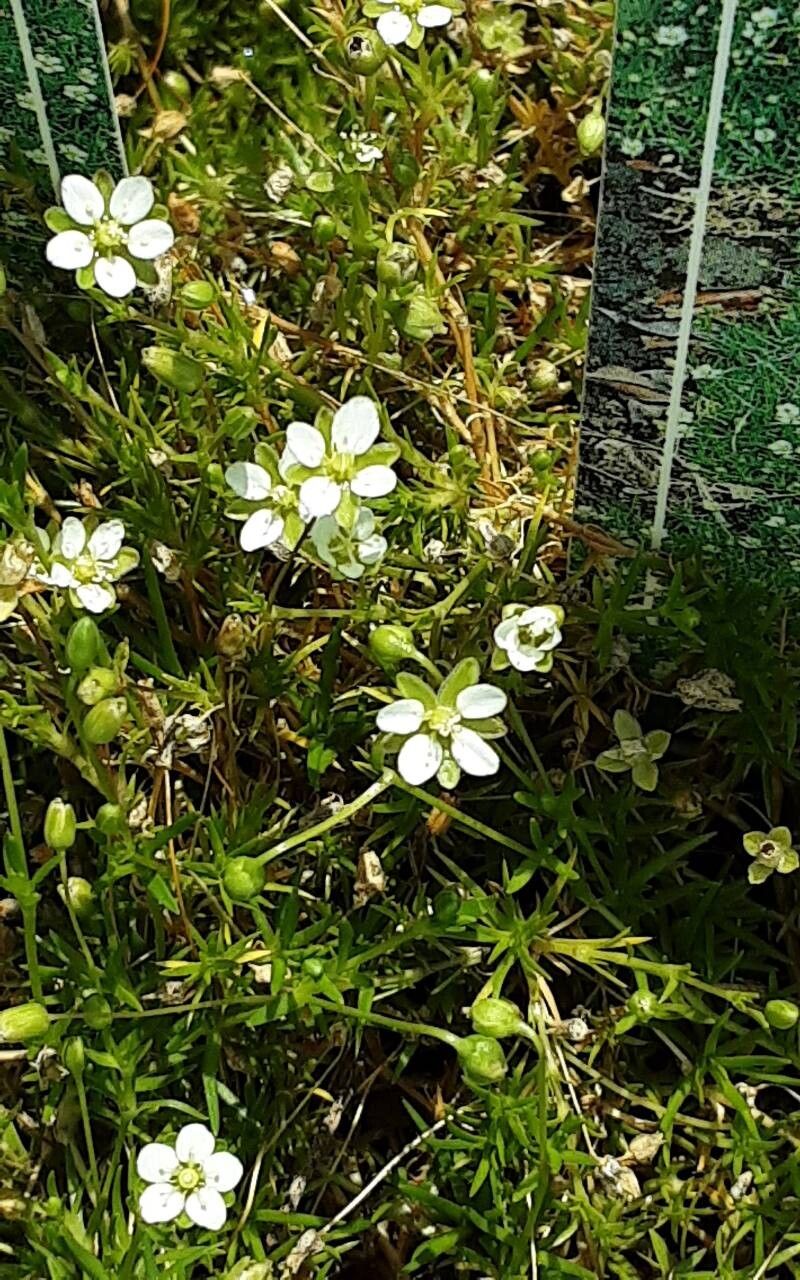
Hey there, fellow plant lovers! It’s so lovely to have you here. Today, we’re diving into the wonderful world of propagating one of my absolute garden favorites: Sagina glabra, also known as Irish or Scotch moss. If you’re looking for a carpet of lush, emerald green that stays vibrant year-round, Sagina glabra is your plant. It forms a dense, moss-like mat, studded with tiny white flowers in the spring and summer – it truly is a little woodland wonder.
Now, if you’re just starting out on your propagation journey, you’ll be happy to hear that Sagina glabra is a wonderfully forgiving plant. In fact, I’d put it in the “easy peasy” category. Propagating it is not only simple, it’s also incredibly rewarding. There’s a special kind of joy in taking a little piece of a healthy plant and watching it grow into something entirely new. Your friends will be begging for cuttings!
The Best Time to Start
For the highest success rate, late spring to early summer is your golden window. This is when Sagina glabra is actively growing, and the warmer temperatures and longer days give those cuttings the best chance to root quickly. You can often get away with doing this any time during the growing season, but this period is truly prime time.
Supplies You’ll Need
Gathering your supplies is half the fun, right? Here’s what you’ll want to have on hand:
- Sharp, clean pruning shears or a sharp knife: Precision is key to making clean cuts.
- Small pots or a propagation tray with dividers: Whatever you have that’s clean and small will do.
- A good quality potting mix: I like to use a blend of seedling starting mix and perlite (about a 50/50 ratio). This ensures good drainage, which is super important for young plants.
- Rooting hormone (optional but recommended): This can give your cuttings an extra boost.
- A watering can with a fine rose attachment or a spray bottle: Gentle watering is a must.
- A plastic bag or a clear dome to create a humid environment: This helps keep your cuttings from drying out too quickly.
Propagation Methods
Sagina glabra is a breeze to propagate, and my favorite method is by taking stem cuttings. It’s straightforward and gives you multiple new plants from a single parent.
- Taking the Cuttings: Find a healthy, vigorous stem on your Sagina glabra. Using your clean shears or knife, cut a section about 3-4 inches long. Try to cut just below a leaf node (where a leaf attaches to the stem). Remove the lower leaves, leaving just the top couple of leaves.
- Preparing the Cuttings: If you’re using rooting hormone, dip the cut end of each stem into the hormone. Gently tap off any excess. This stuff can be a little messy, so I usually do it over a piece of paper.
- Planting the Cuttings: Fill your small pots or propagation tray with your prepared potting mix. Make a small hole in the center of each pot with your finger or a pencil. Gently insert the cuttings into the holes, making sure the nodes where you removed the leaves are buried in the soil. Firm the soil gently around the base of each cutting.
- Encouraging Roots: Water the soil gently until it’s evenly moist but not waterlogged. Now, here’s where creating a humid environment comes in. Drape a plastic bag over the pot, securing it with a rubber band, or place the pot under a clear propagation dome. This creates a mini-greenhouse effect.
Another easy option is division. If your Sagina glabra has gotten nice and bushy, you can simply gently divide the root ball into smaller sections. Each section should have roots and some leafy growth. Replant these divisions in fresh soil.
The “Secret Sauce” (Pro Tips)
Over the years, I’ve learned a few little tricks that really amplify my success with Sagina glabra cuttings:
- Don’t be afraid to be ruthless with leaf removal. Those lower leaves can rot if they’re buried in the soil. Clearing them away not only prevents rot but also encourages the plant to put its energy into root development.
- Bottom heat is your friend! If you can, place your propagation tray on a heated propagator mat. This gentle warmth from below encourages roots to form much faster. It’s like a cozy spa day for your cuttings!
- Watch for wilting, but don’t panic. Sometimes cuttings will look a little sad for a day or two after being planted. As long as the soil is moist and they’re in that humid environment, they usually perk right up once they start to root.
Aftercare & Troubleshooting
Once you see new leaf growth or feel resistance when gently tugging on a cutting, you know you have roots! At this point, you can gradually remove the plastic bag or dome over a few days to acclimate them to drier air. Continue to keep the soil consistently moist but not soggy. Once they’ve established a good root system and are looking robust, you can transplant them into their own pots or into your garden.
The most common problem you might encounter is rot. This is usually a sign of overwatering or poor drainage. If you see mushy stems or a foul smell, unfortunately, that cutting is likely lost. Remove it immediately to prevent it from affecting others.
A Encouraging Closing
Propagating Sagina glabra is such a rewarding process, and I truly hope you give it a try. Be patient with your new little plants. Gardening is all about observation and learning, and with a little practice, you’ll be a Sagina glabra propagation whiz in no time. Enjoy the journey, and happy growing!
Resource:
https://identify.plantnet.org/k-world-flora/species/Sagina%20glabra%20(Willd.)%20Fenzl/data