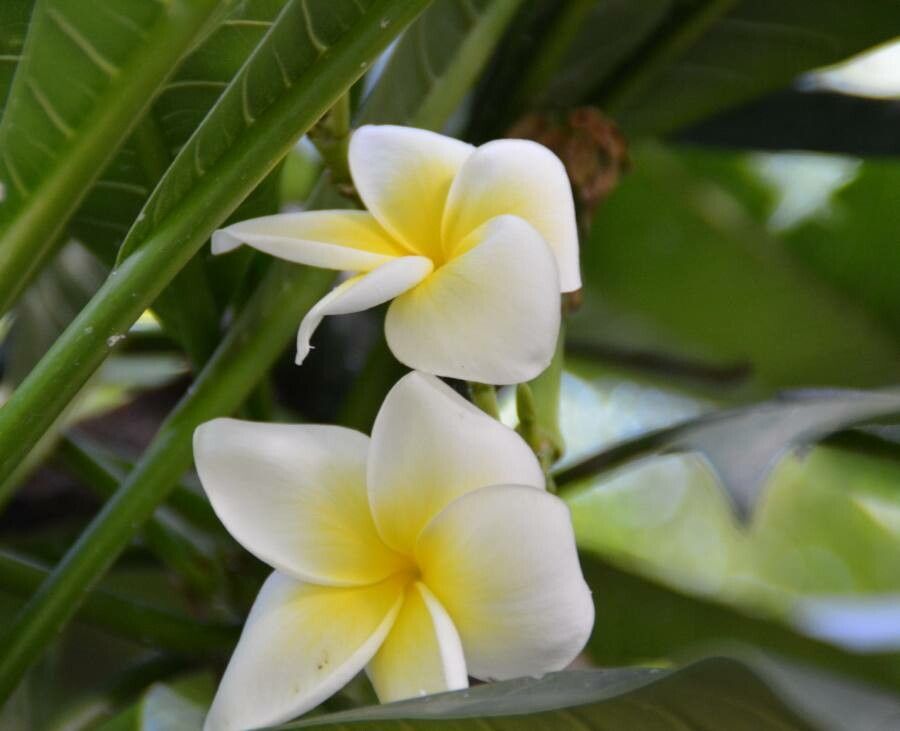
Hello, fellow plant lovers! Today, we’re diving into the magical world of propagating Plumeria alba. I’ve always been captivated by the ethereal beauty of these Hawaiian plumerias, with their creamy white flowers and intoxicating fragrance. For years, I’ve been sharing cuttings with friends, and trust me, there’s nothing quite like watching a tiny piece of one plant transform into a flourishing new specimen. If you’re new to propagation, don’t fret! While plumeria can be a bit particular, it’s certainly achievable with a little know-how and patience.
The Best Time to Start
The absolute sweet spot for taking plumeria cuttings is during their active growing season, which generally falls in the late spring and early summer. This is when the plant has plenty of energy stored up to focus on root development. You’ll want to wait until the plant has had a good chance to wake up after its dormancy.
Supplies You’ll Need
- Sharp, clean pruning shears or a sharp knife: Essential for making clean cuts to prevent disease.
- Rooting hormone (optional but recommended): A powder or liquid that encourages root formation. Look for one containing indole-3-butyric acid (IBA).
- Well-draining potting mix: A good blend is about 50% perlite or coarse sand and 50% potting soil. You can also find specific cactus and succulent mixes that work wonderfully.
- Small pots or containers: Terra cotta pots are excellent as they allow the soil to breathe. Make sure they have drainage holes!
- Newspaper or brown paper bags: For letting cuttings callus.
- Spray bottle: For misting.
- Optional but helpful: A heat mat: Plumeria roots love a little warmth!
Propagation Methods
The most reliable and common way to propagate Plumeria alba is through stem cuttings.
- Select Your Cutting: Look for a healthy, mature stem that is at least 6-12 inches long. Ideally, it should be from a branch that’s at least a year old. You want a stem that feels firm, not squashy.
- Make the Cut: Using your clean pruning shears or knife, make a clean, angled cut just below a node (where a leaf or branch emerged). This angled cut increases the surface area for root development. Some gardeners recommend making a straight cut instead to prevent water from pooling, but either way, a clean cut is key.
- Prepare the Cutting: Remove any lower leaves. If your cutting has many leaves, you can even pinch off or trim the top few to reduce water loss. The milky sap that emerges from the cut is normal – just let it ooze out for a bit.
- Let it Callus: This is a crucial step! Place the cut end of the plumeria cutting in a shaded, dry spot for 2-7 days. You want the cut end to dry out and form a callus. This prevents rot when you plant it. You can even place them upright in an empty pot or lay them on newspaper.
- Apply Rooting Hormone (Optional): Once callused, dip the cut end into your rooting hormone powder, tapping off any excess. For liquid hormones, follow the product instructions.
- Plant Your Cutting: Fill your pot with your well-draining potting mix. Make a hole in the center using your finger or a pencil, deep enough to accommodate about a third of the cutting’s length. Gently insert the callused end of the cutting into the hole and firm the soil around it.
- Initial Watering: Water the soil lightly after planting. You don’t want to saturate it.
- Placement: Place the pot in a warm, bright location, but out of direct, harsh sunlight for the first few weeks. If you’re using a heat mat, place the pot on it now.
The “Secret Sauce” (Pro Tips)
- Don’t Drown Your Newbie: This is perhaps the most important tip. Plumeria cuttings are highly susceptible to rot. Water sparingly! Only water when the top inch or two of soil feels dry to the touch. It’s better to underwater than overwater. If you’re new to this, err on the side of caution.
- Embrace the Warmth: Plumeria roots absolutely love bottom heat. If you can, place your pots on a gentle heat mat set to around 75-80°F (24-27°C). This significantly speeds up root development. My own propagations have taken off like wildfire when I’ve used a heat mat.
- Think “Desert Oasis,” Not “Swamp”: Think of what a plumeria naturally likes: sunshine (once established), heat, and not soggy feet. Mimic that environment as much as possible. Good air circulation around the cuttings is also beneficial.
Aftercare & Troubleshooting
Once roots have formed (this can take anywhere from 3 weeks to 3 months!), you’ll notice a few things. New leaf growth is a good indicator, and if you gently tug on the cutting, there should be resistance. At this point, you can start watering a little more regularly, but still always check the soil moisture first. You can also gradually introduce it to brighter light.
The most common sign of failure is rot. If your cutting turns mushy, black, or smells foul, it’s likely rotted. Unfortunately, this usually means it’s beyond saving. This is why proper callusing and careful watering are so critical. Another sign of failure is a cutting that simply does nothing for months and eventually shrivels. This could be due to poor rooting hormone use, lack of warmth, or too much light too soon.
A Little Patience Goes a Long Way
Propagating plumeria is a journey, and like all good journeys, it requires patience. Don’t get discouraged if your first attempt doesn’t yield instant results. Watch, learn, and adjust. Enjoy the process of nurturing these little green babies, and soon you’ll have your very own beautiful Plumeria alba to admire and share! Happy gardening!
Resource:
https://identify.plantnet.org/k-world-flora/species/Plumeria%20alba%20L./data