Oh, hello there! Come on in, grab a mug of something warm. Today, we’re diving into the delightful world of Phalaenopsis gibbosa, a little orchid that’s quickly won my heart and, I suspect, will win yours too.
Why Phalaenopsis gibbosa is Such a Gem (and Why You’ll Love Propagating It!)
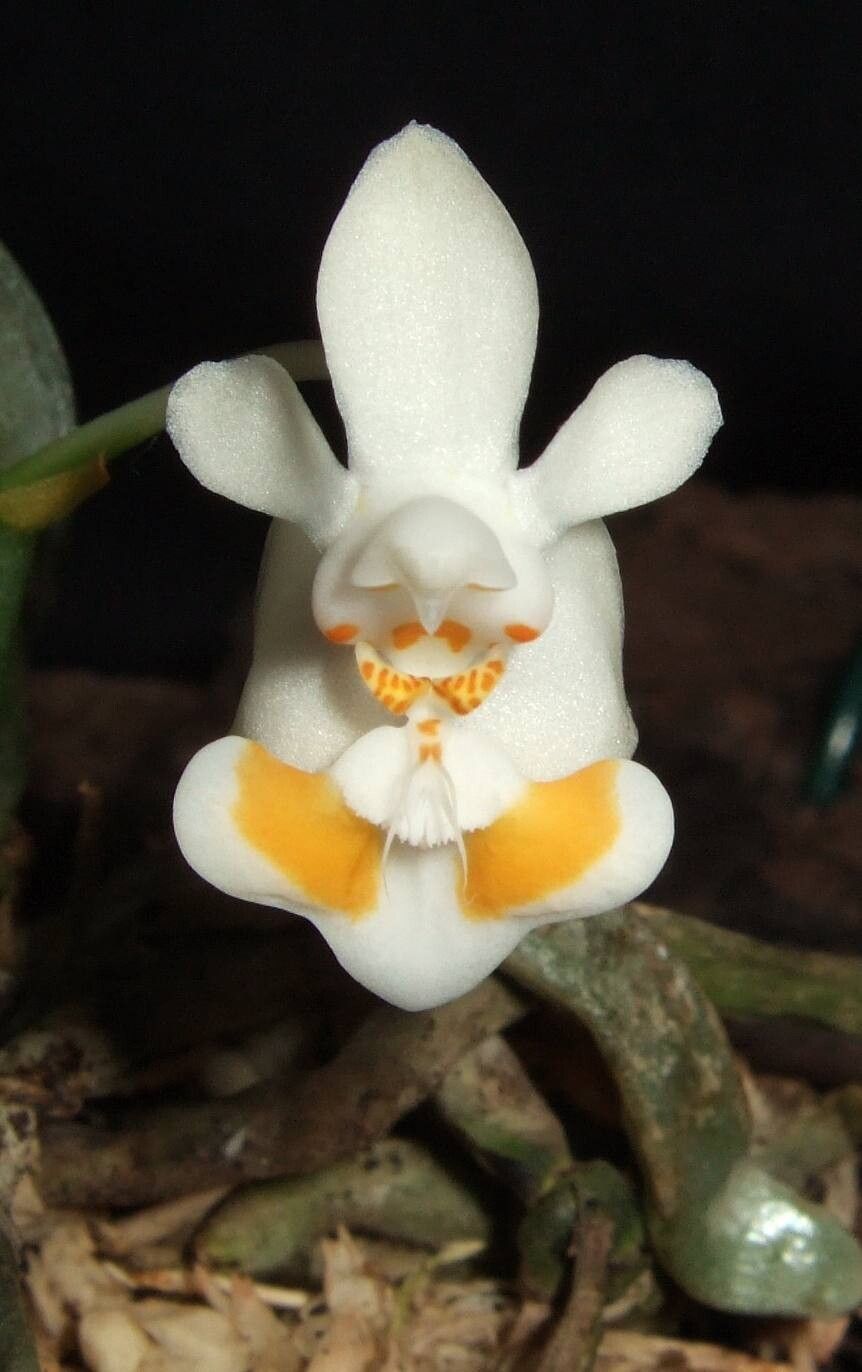
Phalaenopsis gibbosa is a charmer. It’s not as flamboyant as some of its bigger cousins, but it has this understated elegance with its delicate, often sweetly fragrant blooms. For me, it’s its resilience and its compact size that make it so special, perfect for smaller spaces or collectors who appreciate a subtler beauty.
Now, I won’t lie to you. Propagating Phalaenopsis gibbosa isn’t quite as straightforward as, say, a spider plant. It leans towards the intermediate side of orchid propagation. But don’t let that deter you! With a little patience and these tips, you’ll be well on your way to a mini-orchid army. It’s incredibly satisfying to watch a new life sprout from a piece of your beloved plant.
When is the Perfect Moment to Get Started?
The golden rule for most orchids, including Phalaenopsis gibbosa, is to propagate when the plant is actively growing. This usually means after it has finished flowering and is putting out new leaves or roots. For Phalaenopsis gibbosa, this often falls in the late spring or early summer. You want your little cutting to have good energy reserves to draw from as it establishes itself. Avoid trying to propagate when the plant is dormant or stressed.
Your Propagation Toolkit
Here’s what you’ll want to have on hand:
- Sharp, Sterilized Pruning Shears or a Clean Knife: Essential for making clean cuts. Sterilize them with rubbing alcohol between cuts.
- Orchid Potting Mix: A good bark-based mix with Perlite is ideal. You want excellent drainage.
- Small Pots or Seedling Trays: Clean, small containers that fit your cuttings.
- Rooting Hormone (Optional but Recommended): A powder or gel can give your cuttings a helpful boost. Look for one specific for orchids if you can.
- Sphagnum Moss (Long-Fibered): Great for holding moisture while allowing airflow.
- Water: Preferably distilled or rainwater.
- Small Spray Bottle: For misting.
- Labels: So you don’t forget what’s what!
- A Sunny, Warm Spot: Where you can keep your new propagations.
Let’s Get Our Hands Dirty: Propagation Methods
For Phalaenopsis gibbosa, division is usually the most successful and least stressful method. These orchids tend to grow in clumps, making it quite easy to separate them.
Method: Division
- Gently Remove from Pot: Carefully take your Phalaenopsis gibbosa out of its current pot. It’s best to do this when the potting medium is slightly dry so it doesn’t cling too much.
- Clean the Roots: Gently tease away the old potting mix from the root ball. You want to be able to see where the natural divisions are.
- Identify Divisions: Look for sections of the plant that have their own set of roots and at least two healthy leaves. You might be able to see where one plant ends and another begins.
- Make the Cut: Using your sterilized shears or knife, carefully cut between the divisions. Try to get as many roots with each section as possible. If a division seems a bit reluctant, don’t force it; a clean cut is more important.
- Inspect and Trim: Trim away any dead or papery roots. If any leaves look damaged, you can snip those off too.
- Apply Rooting Hormone (if using): Dip the cut surface of the division into your rooting hormone powder or gel. Tap off any excess.
- Pot Up: Place each division into its own small pot filled with your fresh orchid mix. Make sure the base of the plant is at the surface of the mix. You want the roots to have good contact with the medium.
A Note on Stem Cuttings: While Phalaenopsis can technically be propagated from keikis (little plantlets that grow on the flower spikes) or even stem cuttings with nodes, these are generally trickier for gibbosa and often require more specific conditions like controlled humidity and warmth. For beginners, focusing on division is the most rewarding path.
The “Secret Sauce”: My Insider Bits
- The “Don’t Drown Me!” Trick: When you first pot up your divided plants, resist the urge to soak them. Instead, lightly water or mist around the roots. You want the new roots to be encouraged to seek out moisture, not just sit in a soggy mess. Let the potting mix dry out somewhat between waterings.
- Warmth is Wonderful: These little guys appreciate a bit of consistent warmth, especially when they’re trying to establish. Placing your pots on a heat mat on a low setting can significantly speed up root development. Just make sure it’s not so hot that it dries out the mix too quickly.
- Airflow is Your Friend: While you want to maintain some humidity, stagnant air is the enemy of orchids. Ensure there’s good air circulation around your new propagations. This helps prevent fungal issues.
What Happens Next: Aftercare and Watching for Trouble
Once your divisions are potted, keep them in a bright spot with indirect light. Mist them lightly every few days, or water when the mix is starting to feel dry to the touch.
You’ll know they are happy when you start to see new root growth. Look for plump, green or silvery-white root tips emerging from the pot. New leaf growth is another excellent sign!
Now, let’s talk about what can go wrong. The biggest culprit is rot. This usually happens when the potting mix stays too wet for too long, or if there’s poor airflow. Signs of rot include yellowing leaves that feel mushy, or blackened, decaying roots. If you see this, act fast! Gently unpot the plant, trim away any rotten parts with sterilized tools, and repot into fresh, dry mix. You might also need to increase airflow.
Another common issue is drought stress, where the leaves start to look a bit deflated, and roots might shrivel. This means it needs watering, but be careful not to overcompensate and create the rot situation again!
Go Forth and Propagate!
Seeing a new orchid life emerge is such a thrill. Don’t get discouraged if your first attempt isn’t perfect. Gardening is all about learning and adapting. Be patient, observe your plants, and enjoy the process of coaxing new life from your beautiful Phalaenopsis gibbosa. Happy growing!
Resource:
https://identify.plantnet.org/k-world-flora/species/Phalaenopsis%20gibbosa%20H.R.Sweet/data