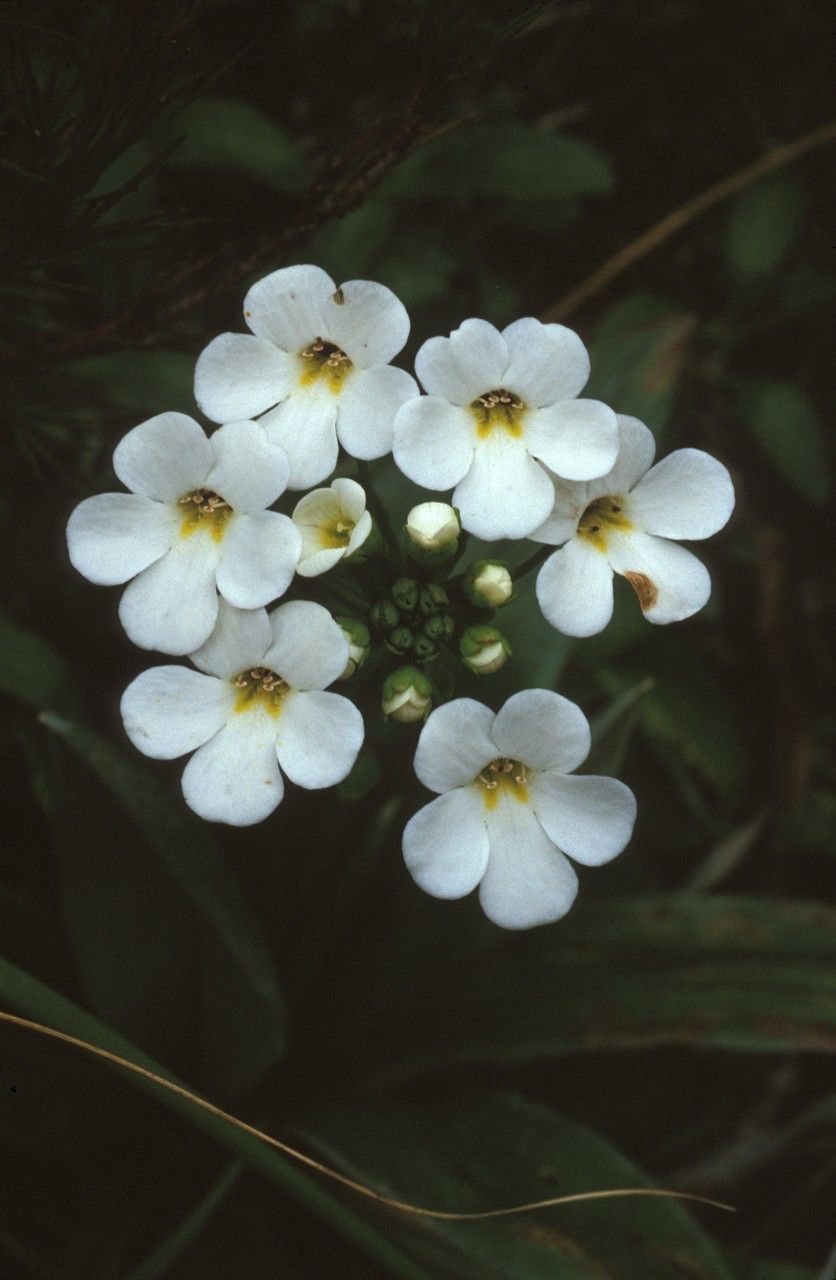
Oh, hello there! Come on in, grab a cuppa. I’m so glad you’re interested in Ourisia sessilifolia. It’s such a charming little plant, isn’t it? With its delicate, often white or pale pink, bell-shaped flowers that seem to twinkle in the shady corners of the garden, it brings a touch of magic. Propagating them yourself is incredibly satisfying, like coaxing new life from a treasured friend. Now, is it a beginner plant? Honestly, Ourisia sessilifolia can be a bit finicky, but with a little patience and the right approach, I think you’ll find it quite doable. It’s a rewarding challenge, for sure!
The Best Time to Start
For the highest chance of success, I always reach for my secateurs in late spring or early summer. This is when the plant is actively growing, and the newly formed stems have that perfect blend of flexibility and maturity. You want to catch those tender, but not too soft, shoots.
Supplies You’ll Need
Here’s what you’ll want to have on hand:
- Sharp pruning shears or a clean knife: For making precise cuts.
- Rooting hormone (powder or gel): This is my secret weapon for encouraging strong root development.
- A good quality potting mix: I like a mix that drains well, something like a peat-free compost mixed with perlite or sharp sand. About a 50/50 ratio is usually perfect.
- Small pots or seedling trays: Clean ones, of course!
- A plastic bag or a propagator lid: To create a humid environment.
- Watering can with a fine rose: For gentle watering.
- Labels: Essential for remembering what you’ve planted and when!
Propagation Methods
Let’s get our hands dirty! For Ourisia sessilifolia, stem cuttings are my go-to method. It’s reliable and gives you lovely little plants to share.
- Take Your Cuttings: Find a healthy, non-flowering stem. Using your clean secateurs or knife, take a cutting about 3-4 inches long. Make your cut just below a leaf node (where a leaf attaches to the stem). This is where the magic happens!
- Prepare the Cuttings: Gently remove the lower leaves from your cutting, leaving just the top few leaves. If the remaining leaves are very large, you can trim them in half to reduce water loss.
- Dip in Rooting Hormone: Dip the cut end of the stem into your rooting hormone, tapping off any excess. This gives them a real boost.
- Plant Your Cuttings: Fill your small pots or trays with your prepared potting mix. Make a small hole with your finger or a pencil, and gently insert the cutting. Firm the soil gently around the stem.
- Water and Cover: Water thoroughly but gently. Then, cover the pots with a plastic bag or a propagator lid to create a mini-greenhouse. This humidity is crucial!
The “Secret Sauce” (Pro Tips)
Here are a few things I’ve learned over the years that make a big difference:
- Don’t let the leaves touch the water: If you’re tempted to pop cuttings in water first (I sometimes do for a quick check), make sure absolutely no leaves are submerged. They’ll just rot.
- Bottom heat is your best friend: If you have a heated propagator or can place your pots on a heat mat, it speeds up root formation considerably. These little guys appreciate a bit of warmth from below.
- Patience is key with Ourisia: These aren’t the fastest rooters. Don’t be discouraged if you don’t see much happening for a few weeks. Just keep them consistently moist and in that humid environment.
Aftercare & Troubleshooting
Once you start to see new leaf growth, that’s a good sign that roots are forming! I usually wait until there’s a noticeable tug when I gently try to pull the cutting.
- Gradually Acclimatize: Once rooted, slowly begin to ventilate the cuttings by opening the plastic bag or propagator lid for increasing periods each day. This helps them get used to the drier air.
- Potting Up: When they’re strong enough, you can pot them up into individual, slightly larger pots. Continue to keep them in a bright spot, but out of direct, scorching sun.
- Signs of Trouble: The most common issue you’ll encounter is rot. If your cutting turns mushy or black, it’s usually a sign of too much moisture and not enough air circulation. Discard any that succumb and learn from it! Consistently damp but not waterlogged soil is your goal. Too much direct sun can also scorch the delicate new growth.
Happy Propagating!
So, there you have it! Getting Ourisia sessilifolia to multiply is a delightful journey. Remember to be patient with them, keep them happy with the right moisture and humidity, and before you know it, you’ll have a little army of these charming plants ready for your garden or to share with fellow plant lovers. Enjoy the process, and happy gardening!
Resource:
https://identify.plantnet.org/k-world-flora/species/Ourisia%20sessilifolia%20Hook.f./data