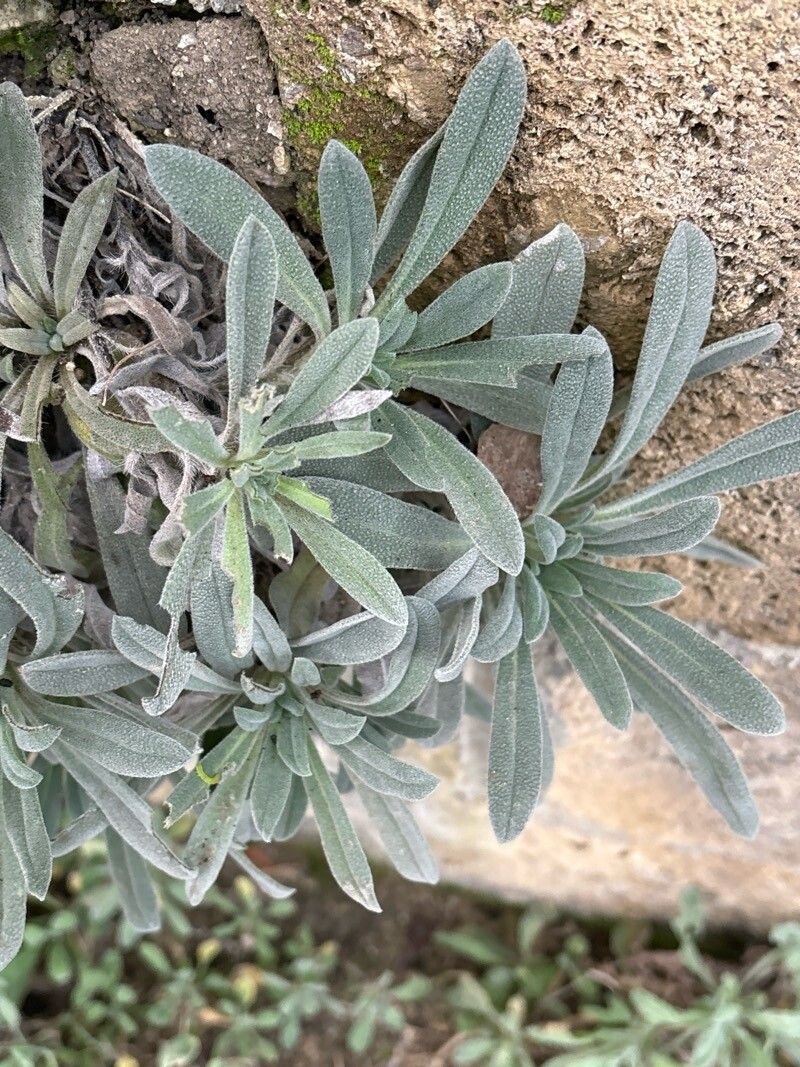
Oh, Onosma alborosea! Isn’t it just a darling? Those delicate, rose-tinged blooms that just sing against the silvery foliage… I’ve grown it for years in my own little corner of the garden, and every time I see those bell-shaped flowers unfurl, I just melt a little. Propagating it has always felt like a little bit of garden magic, and trust me, it’s a wonderfully rewarding way to get more of these beauties without breaking the bank. Now, for beginners, I’d say Onosma alborosea is moderately easy. It’s not as foolproof as, say, a geranium cutting, but with a little attention, you’ll be sharing your own little bits of joy in no time.
The Best Time to Start
For the highest success rate, late spring to early summer is your golden window. This is when the plant is actively growing and has plenty of healthy, semi-hardwood stems to work with. You’re looking for stems that have started to firm up a bit but aren’t woody and old. Think of them as being “bendable but not floppy.”
Supplies You’ll Need
Before we get our hands dirty, let’s gather our arsenal:
- Sharp pruning shears or a clean knife: For making nice, clean cuts.
- Rooting hormone (optional but recommended): A powder or gel. I find it really gives cuttings a boost.
- Seedling trays or small pots: Clean ones, of course! About 3-4 inches in diameter are good.
- Well-draining potting mix: I like a blend of equal parts peat moss or coco coir, perlite, and coarse sand. This is crucial for preventing rot. A standard seedling mix with extra perlite is also a good starting point.
- Plastic bags or a propagation dome: To create a humid environment.
- Watering can or spray bottle: For gentle watering.
- Labels: To remember what you’ve planted!
Propagation Methods
Let’s get down to the nitty-gritty! The most reliable method for Onosma alborosea is stem cuttings.
- Taking Your Cuttings: In late spring or early summer, select healthy, non-flowering stems from your mature plant. Using your clean shears or knife, take cuttings that are about 4-6 inches long. Make the cut just below a leaf node (where a leaf attaches to the stem).
- Preparing the Cuttings: Gently remove the lower leaves from the bottom half of each cutting. You want to expose a bit of the stem. If the cutting has any flower buds, snip them off. This energy is better directed towards rooting.
- Applying Rooting Hormone (Optional): Dip the cut end of each stem into your rooting hormone, tapping off any excess.
- Planting the Cuttings: Fill your seedling trays or pots with your prepared well-draining mix. Make a small hole in the center of each pot with a pencil or your finger. Carefully insert the cut end of the stem into the hole, and gently firm the mix around it.
- Creating a Humid Environment: Water the potting mix gently to settle the soil. Then, either cover the tray with a propagation dome or place a plastic bag over the pot, making sure the plastic doesn’t touch the leaves of the cuttings. This traps moisture and helps prevent them from drying out.
The “Secret Sauce” (Pro Tips)
Here are a few things I’ve learned over the years that seem to make a real difference with trickier plants like this:
- The “Heel” Trick: When you’re taking cuttings, sometimes it’s beneficial to try and pull a small sliver of the “mother plant’s” tissue off with your cutting. This little bit of older material can sometimes encourage faster rooting. It’s not always possible, but if you can get it, give it a try!
- Bottom Heat is Your Friend: If you have it, placing your cuttings on a gentle heated propagation mat can really speed up root development. It mimics the warmth of spring and gets things moving underground. I find about 70-75°F (21-24°C) is ideal.
- Don’t Overwater, Ever: I know I mentioned watering gently, but I can’t stress this enough. Consistently soggy soil is the quickest way to lose your cuttings to rot. They need moisture, but they also need air circulation around their developing roots.
Aftercare & Troubleshooting
Once your cuttings are planted and cozy, place them in a bright spot with indirect light. Avoid direct sun, which can scorch those delicate new cuttings. Keep the soil consistently moist but not waterlogged. You should start seeing signs of new growth – tiny leaves or even buds – in about 4-8 weeks.
The biggest pitfall you’ll encounter is rot. If you notice stems turning black and mushy, it’s a sign of too much moisture and not enough air. Sadly, these are usually lost. To prevent this, ensure good air circulation by occasionally lifting the plastic bag or opening the dome for a bit each day. If a cutting looks like it’s wilting excessively, it might be drying out too quickly, so check the moisture level.
A Encouraging Closing
Don’t get discouraged if your first few attempts aren’t perfect. Gardening is all about learning and experimentation. Be patient, observe your cuttings, and enjoy the process of nurturing new life. Soon, you’ll have a whole new collection of Onosma alborosea to enjoy and share! Happy propagating!
Resource:
https://identify.plantnet.org/k-world-flora/species/Onosma%20alborosea%20Fisch.%20&%20C.A.Mey./data