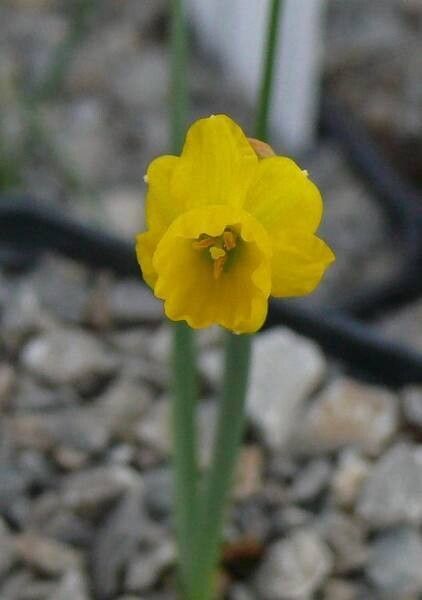
Well hello there, fellow plant lover! It’s so good to have you join me today. We’re diving into the delightful world of Narcissus gaditanus, a little gem that truly brightens up any garden with its sunny disposition. You know, those cheerful, star-shaped blooms really have a way of making you smile, don’t they? Propagating these beauties is such a rewarding process. It’s like coaxing a tiny miracle into existence right in your own hands. And if you’re new to this, don’t you worry one bit. While it requires a touch of patience, I find Narcissus gaditanus to be quite beginner-friendly, especially with a little guidance.
The Best Time to Start
For the absolute best success with Narcissus gaditanus, you’ll want to get your hands dirty after the plant has finished flowering and the foliage has started to die back naturally. This usually happens in late spring or early summer. The bulbs have stored up their energy, and they’re in a sort of resting phase, which is perfect for giving them that little nudge to make more of themselves. Trying to propagate when they’re actively growing and blooming can stress them out, and we don’t want that.
Supplies You’ll Need
To embark on this propagation adventure, gather these trusty tools:
- Sharp pruning shears or a clean knife: For making clean cuts.
- Well-draining potting mix: A gritty mix is ideal. I like to use a blend of equal parts peat moss, perlite, and coarse sand.
- Small pots or trays: Clean ones are a must to prevent disease.
- Watering can with a fine rose: For gentle watering.
- Labels and a marker: So you don’t forget what you’ve planted where!
- Rooting hormone (optional but helpful): This can give young cuttings a bit of a boost.
Propagation Methods
Narcissus gaditanus primarily propagates through division. This is the most straightforward and reliable method for these bulbs.
Division: Your Bulby Babies
- Dig them up gently: Once the foliage has yellowed significantly, carefully dig up the clump of Narcissus gaditanus bulbs. I like to use a garden fork and work my way around the clump, lifting it as one.
- Clean off the soil: Gently brush away as much soil as you can from the bulbs. You want to get a clear view of what you’re working with.
- Separate the bulbs: Look for smaller bulbs (called offsets or bulbils) attached to the mother bulb. These might be nestled right at the base or a little off to the side. With a firm but gentle twist or a clean cut from your shears, separate these offsets from the main bulb. Make sure each offset has at least a small basal plate where roots will grow from.
- Inspect and trim: Check the bulbs for any signs of rot or damage. If you see any, trim away the affected parts with your clean knife. You can then dip the cut ends in a fungicide if you’re particularly concerned, though I find healthy bulbs and good soil draining usually prevent most issues.
- Plant them up: Fill your clean pots with your well-draining potting mix. Plant each offset about 4-6 inches deep, or roughly twice the height of the bulb. The pointed end should be facing upwards.
- Water them in: Give them a good, gentle watering to settle the soil.
The “Secret Sauce” (Pro Tips)
Now, for a little insider knowledge from my years in the garden!
- Don’t rush the drying: After you separate the bulbs, it’s a good idea to let them air dry for a day or two in a shaded, well-ventilated spot. This helps any small cuts callous over, reducing the risk of fungal infections when you plant them.
- Think about planting depth: For Narcissus, planting a little deeper than you might think encourages them to put energy into root development before they worry about shooting upwards. Plus, it offers a bit of insulation.
- The power of patience counts: I know it’s tempting to poke around and see if roots have formed, but resist the urge! Let them settle in. They need time to establish themselves before you see any real action above ground.
Aftercare & Troubleshooting
Once your Narcissus gaditanus offsets are planted, treat them like you would mature bulbs. Water them whenever the top inch of soil feels dry, especially during dry spells. Place the pots in a cool, sheltered spot.
The most common hiccup you might encounter is rot. If you notice any mushy, dark bulbs, it’s usually a sign of too much moisture and poor drainage. Unfortunately, once rot sets in, it’s very hard to save a bulb. This is why using that gritty soil mix and watering judiciously is so important. You might also see no growth at all. Don’t despair! Sometimes it takes a full growing season for a newly divided bulb to get established and decide to show itself.
A Encouraging Closing
So there you have it! Propagating your own Narcissus gaditanus is a wonderful way to multiply those delightful blooms. Remember to be patient with these little plant babies. Nature works on its own schedule, and the satisfaction of seeing new life emerge from your efforts is truly magical. Happy gardening!
Resource:
https://identify.plantnet.org/k-world-flora/species/Narcissus%20gaditanus%20Boiss.%20&%20Reut./data