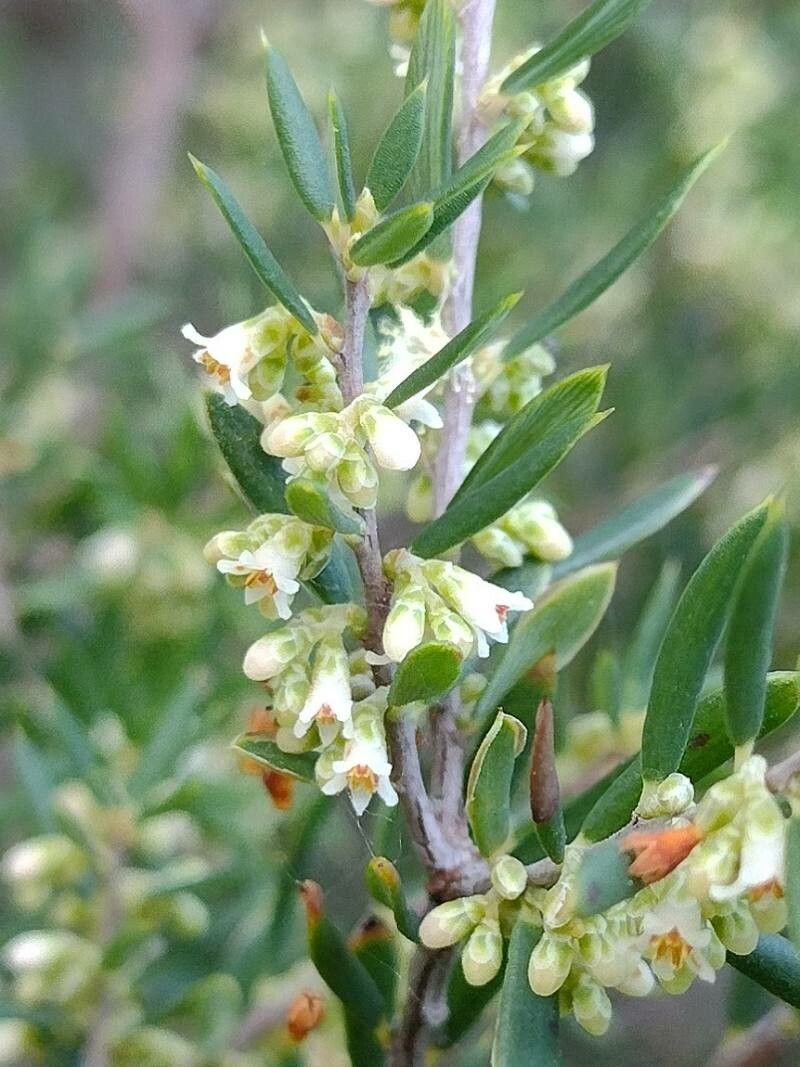
Oh, hello there! Come on in, grab a mug. Let’s chat about one of my garden’s unsung heroes: Monotoca scoparia. This little native Australian beauty, with its delicate, heath-like foliage and charming little flowers, is such a joy to have around. And the best part? It’s surprisingly rewarding to multiply! If you’re new to propagation, don’t fret. While Monotoca scoparia can be a tad particular, with a bit of know-how, you’ll be well on your way to success. It’s a fantastic plant to practice your skills on.
The Best Time to Start
My experience tells me that the sweet spot for propagating Monotoca scoparia is when the plant is in an active growth phase. Think late spring through to mid-summer. This is when the stems are producing plenty of new growth, and they’re brimming with the energy needed to root. Waiting for healthy, semi-hardened new shoots is key. Avoid trying to propagate from very soft, brand-new growth or old, Woody stems.
Supplies You’ll Need
Gathering your tools beforehand makes the whole process smoother. Here’s what I always have on hand:
- Sharp, clean pruning shears or a sharp knife: For making neat cuts.
- Rooting hormone powder or gel: This is a real confidence booster for encouraging root development.
- A good quality potting mix: I lean towards a well-draining mix, often a blend of coir, perlite, and a little bit of compost. Think of it as airy and light!
- Small pots or seedling trays: With drainage holes, of course.
- Plastic bags or a propagation dome: To create a humid environment.
- A spray bottle: For misting.
- Labels and a permanent marker: So you don’t forget what you’ve planted!
Propagation Methods: Stem Cuttings
This is my go-to method for multiplying Monotoca scoparia. It’s reliable and gives you the best chance of creating a true clone of your parent plant.
- Select Your Cuttings: Look for healthy stems from your mature plant. You want cuttings that are about 10-15 cm long. They should have a good mix of this year’s growth, not too soft and floppy, but not woody and stiff either.
- Make the Cut: Using your clean shears, make a clean cut just below a leaf node. This is where roots are most likely to form. Gently strip off the lower leaves, leaving just a few at the top to help the cutting photosynthesize.
- Apply Rooting Hormone: Dip the cut end of the stem into your rooting hormone. Give it a good coating, but tap off any excess. This step really helps encourage those eager roots to emerge.
- Potting Up: Fill your small pots or trays with your well-draining potting mix. Make a small hole in the center with your finger or a pencil.
- Insert the Cutting: Gently push the prepared cutting into the hole, making sure the lower leaves aren’t buried in the soil. Firm the soil gently around the stem to ensure good contact.
- Create Humidity: Water the pot gently to settle the soil. Then, pop a clear plastic bag over the pot, or place it under a propagation dome. This creates a mini-greenhouse effect, keeping the humidity high and preventing the cutting from drying out. You can secure the bag with a rubber band.
- Placement: Find a bright spot, but out of direct sunlight. A windowsill with filtered light is often perfect.
The “Secret Sauce” (Pro Tips)
Now, for a couple of things I’ve learned over the years that make a real difference:
- Bottom Heat is Your Friend: If you have a heat mat, use it! Placing your pots on a gentle heat mat (around 20-25°C) can significantly speed up root development. It creates that perfect cozy environment for roots to emerge.
- Mist, Don’t Drench: When you mist your cuttings, do it lightly. You want the leaves to be moist, not sitting in a puddle. Too much water on the foliage can encourage fungal issues, which is the last thing you want.
- Patience is Paramount: Monotoca scoparia can be a bit slow to show signs of rooting. Don’t be tempted to pull them out to check! I usually wait 4-8 weeks before I even think about gently tugging on a cutting to feel for resistance. That resistance is your sign of roots.
Aftercare & Troubleshooting
Once you’ve spotted those first signs of root development (usually by seeing new growth emerge at the top of the cutting), it’s time to slowly transition them.
- Gradual Acclimatization: Start by gradually removing the plastic bag or opening the dome for increasing periods each day. This allows the plant to get used to normal humidity levels.
- Watering: Continue to keep the soil consistently moist, but not waterlogged. Water when the top inch of soil feels dry.
- Fertilizing (Lightly): Once the new growth is established, you can start feeding them with a very diluted liquid fertilizer every few weeks.
- Signs of Trouble: The most common culprit is rot. If your cutting turns black and mushy, it’s likely succumbed to fungal disease due to too much moisture or poor air circulation. If you see this, remove the affected cutting immediately to prevent it from spreading. Yellowing leaves can sometimes indicate a need for more light, or sometimes just stress.
So there you have it! Propagating Monotoca scoparia is a rewarding journey. It’s a chance to connect with your plant on a deeper level and to expand your garden for free! Don’t be discouraged if your first few attempts aren’t perfect. Every gardener has had their share of failures. The key is to learn from them and keep trying. Enjoy the process, and soon you’ll have even more of these delightful little shrubs to admire. Happy gardening!
Resource:
https://identify.plantnet.org/k-world-flora/species/Monotoca%20scoparia%20(Sm.)%20R.Br./data