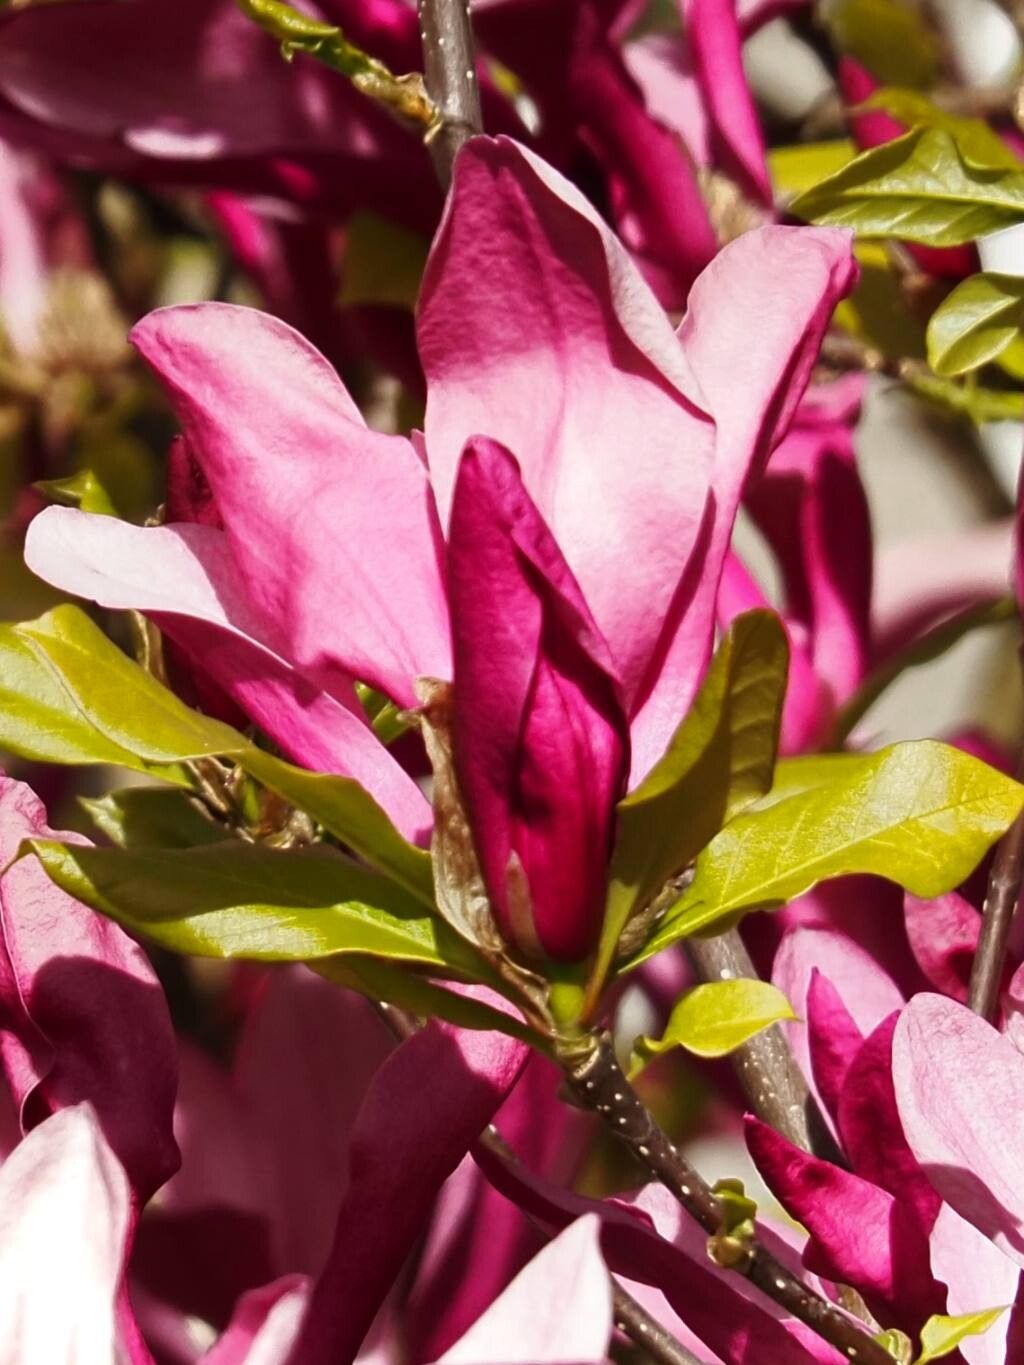
Oh, hello there! If you’ve ever been captivated by the graceful, chalice-like blooms of the Magnolia liliiflora, then you’re in for a treat. These beauties, often called the Lily Magnolia, bring a touch of elegance to any garden with their soft pink and white petals. And you know what’s even better than admiring one? Growing your own! Propagating them is a wonderfully rewarding journey, and while it might seem a little daunting at first, I promise, with a bit of care and a dash of patience, you can have your own little magnolias starting their life. For beginners, this plant falls into the “moderately achievable” category – it takes a little thoughtful effort, but it’s far from impossible.
The Best Time to Start
When it comes to getting your new Magnolia liliiflora babies going, late spring to early summer is your sweet spot. This is when the plant is actively growing, and the young shoots, called softwood or semi-hardwood cuttings, have the best chance of rooting. You’re looking for stems that are flexible but not overly soft and green, with a slightly woody texture forming at their base. Think of them as being just firm enough to hold their shape.
Supplies You’ll Need
Gathering your supplies before you start makes the whole process much smoother. Here’s what I usually have on hand:
- Sharp Pruning Shears or a Knife: Clean cuts are crucial for good healing and rooting. Don’t use dull tools; they’ll just crush the stem.
- Rooting Hormone: This is a powdered or liquid substance that encourages root development. It’s a real game-changer for many plants, including magnolias.
- Well-Draining Potting Mix: A good blend is key. I like to use a mix of peat moss or coco coir, perlite, and a bit of coarse sand. You want it to hold moisture but not become waterlogged.
- Small Pots or Trays: Clean containers with drainage holes are a must.
- Plastic Bags or a Propagator Lid: To create a humid environment for your cuttings.
- Labels and a Marker: Trust me, you’ll forget which is which!
- Warm Water: For misting.
Propagation Methods
For the Magnolia liliiflora, my go-to method is taking stem cuttings. It’s reliable and gives you a good chance of success.
- Taking Cuttings: Select healthy, non-flowering shoots from your established Magnolia liliiflora. Using your sharp shears, take cuttings that are about 4-6 inches long. Make the cut just below a leaf node (where a leaf attaches to the stem). Remove the lower leaves, leaving just two to four at the top. If your leaves are very large, you can even cut them in half horizontally to reduce water loss through transpiration.
- Prepare for Rooting: Dip the cut end of each stem into rooting hormone, tapping off any excess.
- Planting: Fill your small pots with your prepared potting mix. Make a small hole in the center of the mix with your finger or a pencil. Gently insert the rooting-hormone-coated end of the cutting into the hole, ensuring the leaf nodes are below the soil surface. Firm the soil gently around the stem. You want the cuttings to be snug.
- Create Humidity: Water the soil lightly. Then, cover the pot with a clear plastic bag or place it in a propagator lid. This creates a mini-greenhouse effect, keeping the humidity high, which is vital for cuttings to root without drying out. Make sure the leaves don’t touch the sides of the bag if possible.
The “Secret Sauce” (Pro Tips)
Here are a few little tricks I’ve learned over the years that can really make a difference:
- Bottom Heat is Your Friend: If you can, place your pots on a propagation mat or slightly warm surface. This gentle heat from below encourages root development much faster and more reliably. It’s like a cozy blanket for your cuttings.
- Patience with the Water: When watering, avoid getting the leaves themselves too wet, especially if you’re not using bottom heat. Excess moisture on the foliage can encourage fungal diseases, and we don’t want that. A gentle watering can at the base is best.
- The “Bend Test”: After a few weeks, you can gently tug on a cutting. If you feel resistance, it’s a good sign that roots are forming. If it pulls out easily, it hasn’t rooted yet. Don’t be tempted to dig it up too often to check – leave them to do their thing!
Aftercare & Troubleshooting
Once you start seeing new growth, or that gentle resistance in the bend test, you know things are progressing!
- Acclimatize Gradually: If you’ve been using a plastic bag, start to introduce your cuttings to less humid air by gradually opening the bag over a few days. This helps them adjust to the drier environment.
- Keep it Moist (but not soggy): Continue to water when the top inch of soil feels dry. Good drainage is crucial.
- Watch for Rot: The most common problem you might encounter is rot. If a cutting turns black and mushy, it’s usually a sign of too much moisture and not enough air circulation. Unfortunately, at that point, it’s usually best to discard it and try again. Clean your tools and pots thoroughly between attempts to prevent spreading any diseases. You might also see leaves wilting or turning yellow – this can be stress or a sign it hasn’t rooted yet. Don’t give up too easily!
A Little Encouragement
Propagating plants is a journey of observation and learning. Some cuttings will thrive, and some might not. It’s all part of the process! Enjoy the quiet moments tending to your tiny charges. The magic of watching roots form and new leaves unfurl is truly special. Be patient with yourself and your new Magnolias, and before you know it, you’ll have a beautiful new plant to nurture. Happy gardening!
Resource:
https://identify.plantnet.org/k-world-flora/species/Magnolia%20liliiflora%20Desr./data