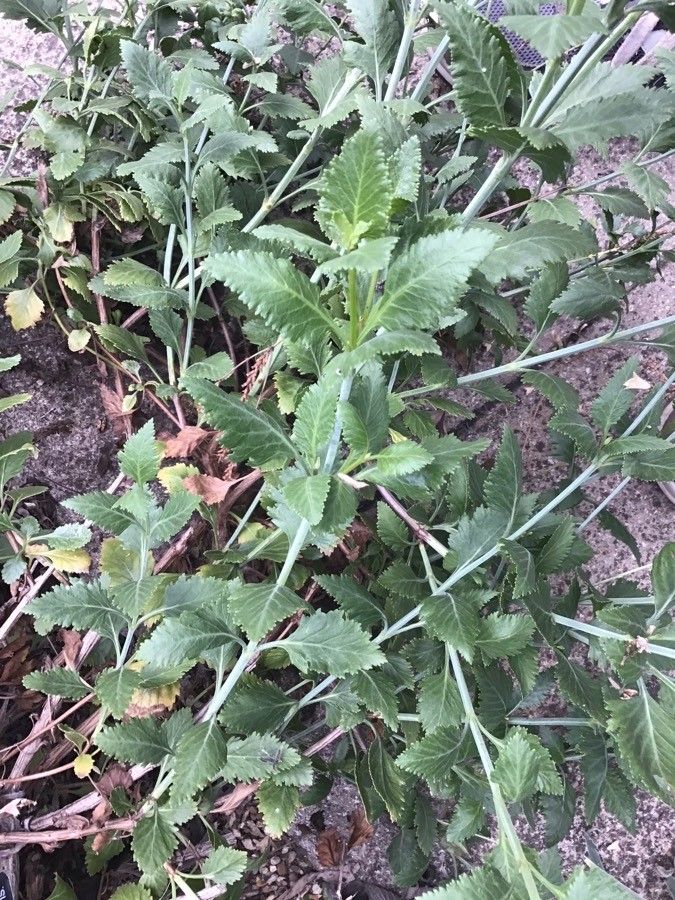
Ah, Lavandula rotundifolia! You know, those lovely little round-leaved lavenders. There’s just something about the scent, isn’t there? A little whiff can transport you right to a Provençal hillside. And the soft, fuzzy leaves are just as charming as the blooms. For me, coaxing a new lavender plant into existence from an existing one is one of those pure gardening joys. It’s a chance to multiply that beautiful fragrance and foliage, and it’s surprisingly doable for most gardeners.
The Best Time to Start
The sweet spot for propagating Lavender, including our round-leaved friend, is definitely late spring to early summer. This is when the plant is actively growing but before it gets too hot and stressed. You’re looking for stems that are semi-hardwood – not brand new and floppy, but not woody and stiff either. Think of it as the “just right” stage.
Supplies You’ll Need
Gathering your tools before you begin makes the whole process so much smoother. Here’s what I usually reach for:
- Sharp pruning shears or a clean, sharp knife: For making neat cuts.
- Rooting hormone (optional but recommended): Encourages faster root development.
- A well-draining potting mix: I like a blend of equal parts perlite, coarse sand, and peat moss or coco coir. You can also buy commercially available cactus or succulent mixes.
- Small pots or trays with drainage holes: Good air circulation is key.
- A spray bottle: For misting.
- Labels and a marker: You’ll thank yourself later!
- A clear plastic bag or a propagation dome: To create a humid environment.
Propagation Methods
While you can try water propagation with lavender, I find stem cuttings to be the most reliable and widely successful method for L. rotundifolia.
Stem Cuttings:
- Take your cuttings: Select healthy, non-flowering shoots from your mature plant. Using your sharp shears, cut lengths of 3-4 inches. Try to make the cut just below a leaf node (where a leaf attaches to the stem).
- Prepare the cuttings: Gently strip off the lower leaves. You want to expose enough of the stem to encourage rooting. If you’re using rooting hormone, dip the cut end into the powder, tapping off any excess.
- Pot them up: Fill your pots with the well-draining mix. Make a hole with a pencil or your finger and insert the cutting, ensuring the exposed stem is buried. Gently firm the soil around it.
- Water gently: Water the soil thoroughly but gently. You don’t want to dislodge the cuttings.
- Create humidity: Cover the pot with a clear plastic bag or propagation dome. This traps moisture, which is crucial for preventing the cuttings from drying out before they develop roots. Make sure the leaves aren’t directly touching the sides of the bag if possible.
- Placement is key: Put the pots in a bright location out of direct sunlight. A warm spot is ideal, not scorching hot, but consistently around 70°F (21°C).
The “Secret Sauce” (Pro Tips)
Here are a couple of things I’ve learned over the years that really make a difference:
- Don’t use soil that’s too rich. Lavender loves good drainage and doesn’t want to sit in damp, heavy earth. That’s why our special mix is so important. Too much organic matter can invite rot before roots even have a chance to form.
- Bottom heat is your friend. If you can, place your pots on a seedling heat mat. This gentle warmth from below really encourages root formation, especially if your ambient room temperature is a bit cooler. It can significantly speed things up!
Aftercare & Troubleshooting
Be patient! It can take anywhere from 4 to 8 weeks for new roots to develop. You’ll know they’re rooting when you see new leaf growth and can gently tug on a cutting, feeling some resistance. Once rooted, you can gradually remove the plastic bag over a few days to acclimatize them to drier air. Keep the soil consistently moist but not soggy.
The most common problem you’ll face is rot. If you see your cuttings turning black and mushy, it’s usually a sign of too much moisture and poor air circulation. Go back to basics: ensure excellent drainage, don’t overwater, and make sure that humidity dome isn’t sealed so tightly that no air can get in.
A Bit of Encouragement
Propagating lavender is a rewarding journey. It takes a little bit of care and a lot of patience, but seeing those tiny roots develop and then a whole new plant emerge is truly special. Don’t be discouraged if your first attempt isn’t perfect. Keep trying, enjoy the process, and soon you’ll have more of that wonderful lavender to fill your garden and your home. Happy planting!
Resource:
https://identify.plantnet.org/k-world-flora/species/Lavandula%20rotundifolia%20Benth./data