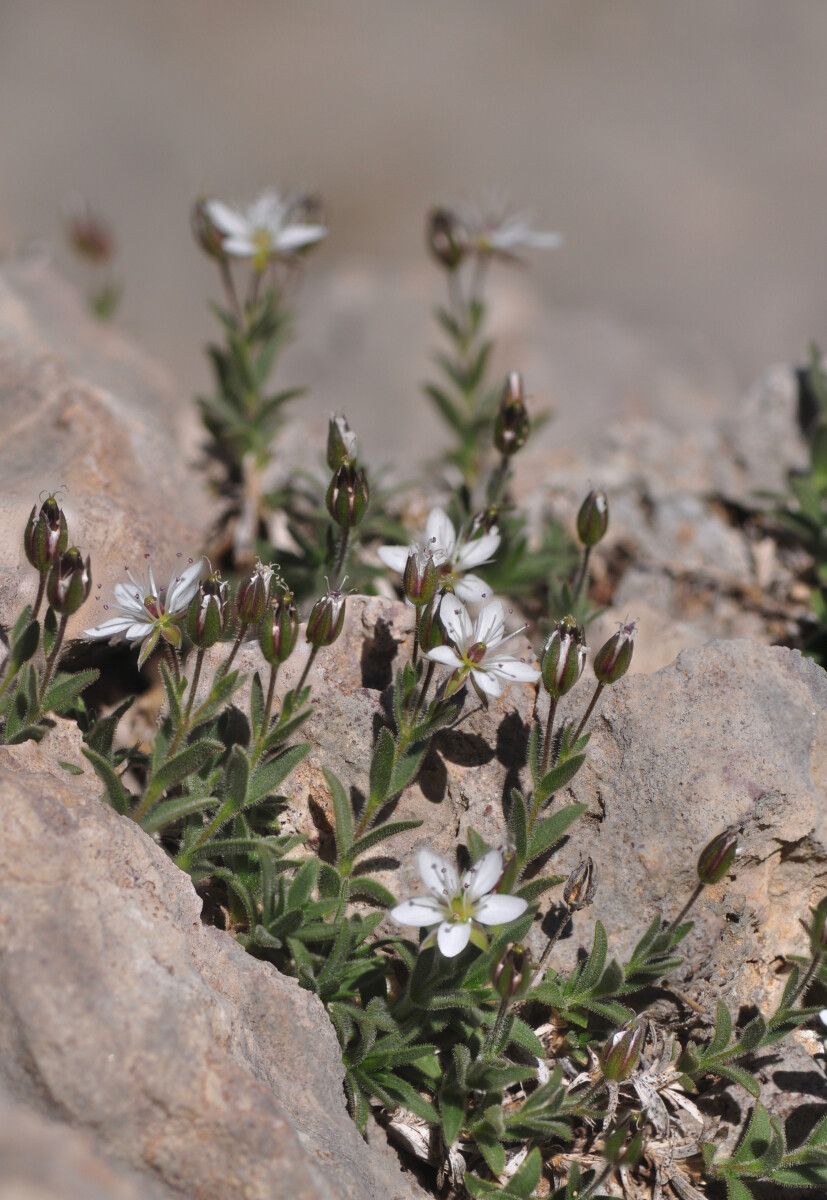
Hello, fellow garden enthusiasts! It’s so lovely to have you join me for a chat about a truly delightful plant: Facchinia cerastiifolia. If you’re looking for something with a touch of delicate charm, perhaps a whisper of wildflowers in your own space, then this might just be your next obsession. Its dainty flowers and lovely foliage bring a unique grace to any garden bed or container. And the best part? Learning to propagate it yourself is incredibly rewarding. Now, I’ll be honest, Facchinia cerastiifolia isn’t the absolute easiest plant for a complete beginner, but with a little patience and these tips, you’ll be well on your way to success!
The Best Time to Start
When it comes to getting new Facchinia cerastiifolia babies going, I’ve found that late spring to early summer is usually the sweet spot. This is when the plant is in its active growth phase, full of energy and ready to put out new shoots. Waiting until after it has finished its main flowering flush is also a good strategy. You want to work with healthy, vigorous material, so avoid trying to propagate from stressed or weak-looking stems.
Supplies You’ll Need
Before we get our hands dirty, let’s gather our tools:
- Sharp, clean pruning shears or a sharp knife: Essential for making clean cuts.
- Rooting hormone (optional but recommended): This can give your cuttings a real boost. Look for one formulated for softwood cuttings.
- A well-draining potting mix: I often use a blend of peat moss, perlite, and a bit of compost. You want it to be light and airy.
- Small pots or seed trays: Clean ones are a must to prevent disease.
- Plastic bags or a propagator: To create a humid environment for your cuttings.
- A spray bottle with water: For misting.
- Labels and a marker: So you don’t forget what you planted where!
Propagation Methods
The most reliable way to propagate Facchinia cerastiifolia for me has been through stem cuttings. It’s straightforward and generally gives good results.
Step-by-Step: Stem Cuttings
- Select Your Cuttings: Look for healthy, non-flowering stems. You want to take cuttings that are about 4-6 inches long. These are often referred to as “softwood cuttings” because they’re from the current season’s growth.
- Make the Cut: Using your sharp shears or knife, make a clean cut just below a leaf node (where a leaf attaches to the stem). This is where roots are most likely to form.
- Prepare the Cutting: Gently remove the leaves from the lower half of the cutting. You can leave the top two or three leaves intact. If those leaves are very large, I sometimes carefully snip them in half horizontally to reduce water loss through transpiration.
- Apply Rooting Hormone (Optional): Dip the cut end into your rooting hormone powder or gel. Tap off any excess.
- Plant Your Cuttings: Fill your small pots with your prepared potting mix. Moisten it thoroughly but ensure it’s not waterlogged. Make a small hole in the center with your finger or a pencil. Insert the cut end of the stem into the hole, pushing it about an inch into the soil. Gently firm the soil around the stem to ensure good contact.
- Create Humidity: Water the surface lightly again. Place the pots in a plastic bag or a propagator, sealing it gently to trap moisture. You can prop the bag open slightly with skewers or stakes if it looks like it’s touching the leaves.
- Placement: Put the pots in a bright location that receives indirect sunlight. Avoid direct sun, which can overheat the cuttings and cook them.
The “Secret Sauce” (Pro Tips)
Now, here are a few things I’ve learned over the years that really make a difference:
- Bottom Heat is Your Friend: If you have a heated propagator or can place your pots on a heat mat, it dramatically speeds up rooting. The warmth encourages root development from the bottom up.
- Don’t Be Afraid to Mist: Especially in the first few weeks, a light misting of the leaves every day or two can help keep them turgid and happy, even if the humidity isn’t perfect. Just make sure the potting mix isn’t staying soggy.
- Cleanliness is King: I can’t stress this enough. Always use clean tools and clean pots. Fungal diseases are the quickest way to lose your precious cuttings. A quick dip of your shears in rubbing alcohol between cuts is a good habit.
Aftercare & Troubleshooting
Once your cuttings have been in place for a few weeks, start to gently tug on them. If you feel resistance, that’s a good sign that roots are forming! You can also look for new leaf growth.
When roots have developed sufficiently (you might even see some peeking out of the drainage holes), it’s time to transplant them into slightly larger pots with fresh potting mix. Continue to keep them in bright, indirect light and maintain consistent moisture. As they establish, you can gradually acclimate them to less humid conditions and eventually transplant them to their permanent garden spot.
What if things go wrong? The most common issue is rot. If your cuttings turn mushy and black, or the leaves start to yellow and drop rapidly, it’s usually a sign of too much moisture and not enough air circulation, or a fungal infection. If you spot rot early, you can try to cut away the affected parts (if any) and replant the healthy portion in fresh, drier soil. Sometimes, though, it’s just part of the learning process, and you might have to start again.
A Little Encouragement
Growing plants from cuttings is a journey, and it’s all about patience and observation. Not every attempt will be a roaring success, but each one teaches you something new. So, gather your supplies, get your hands in the soil, and enjoy the magic of watching a new Facchinia cerastiifolia come to life. Happy growing!
Resource: