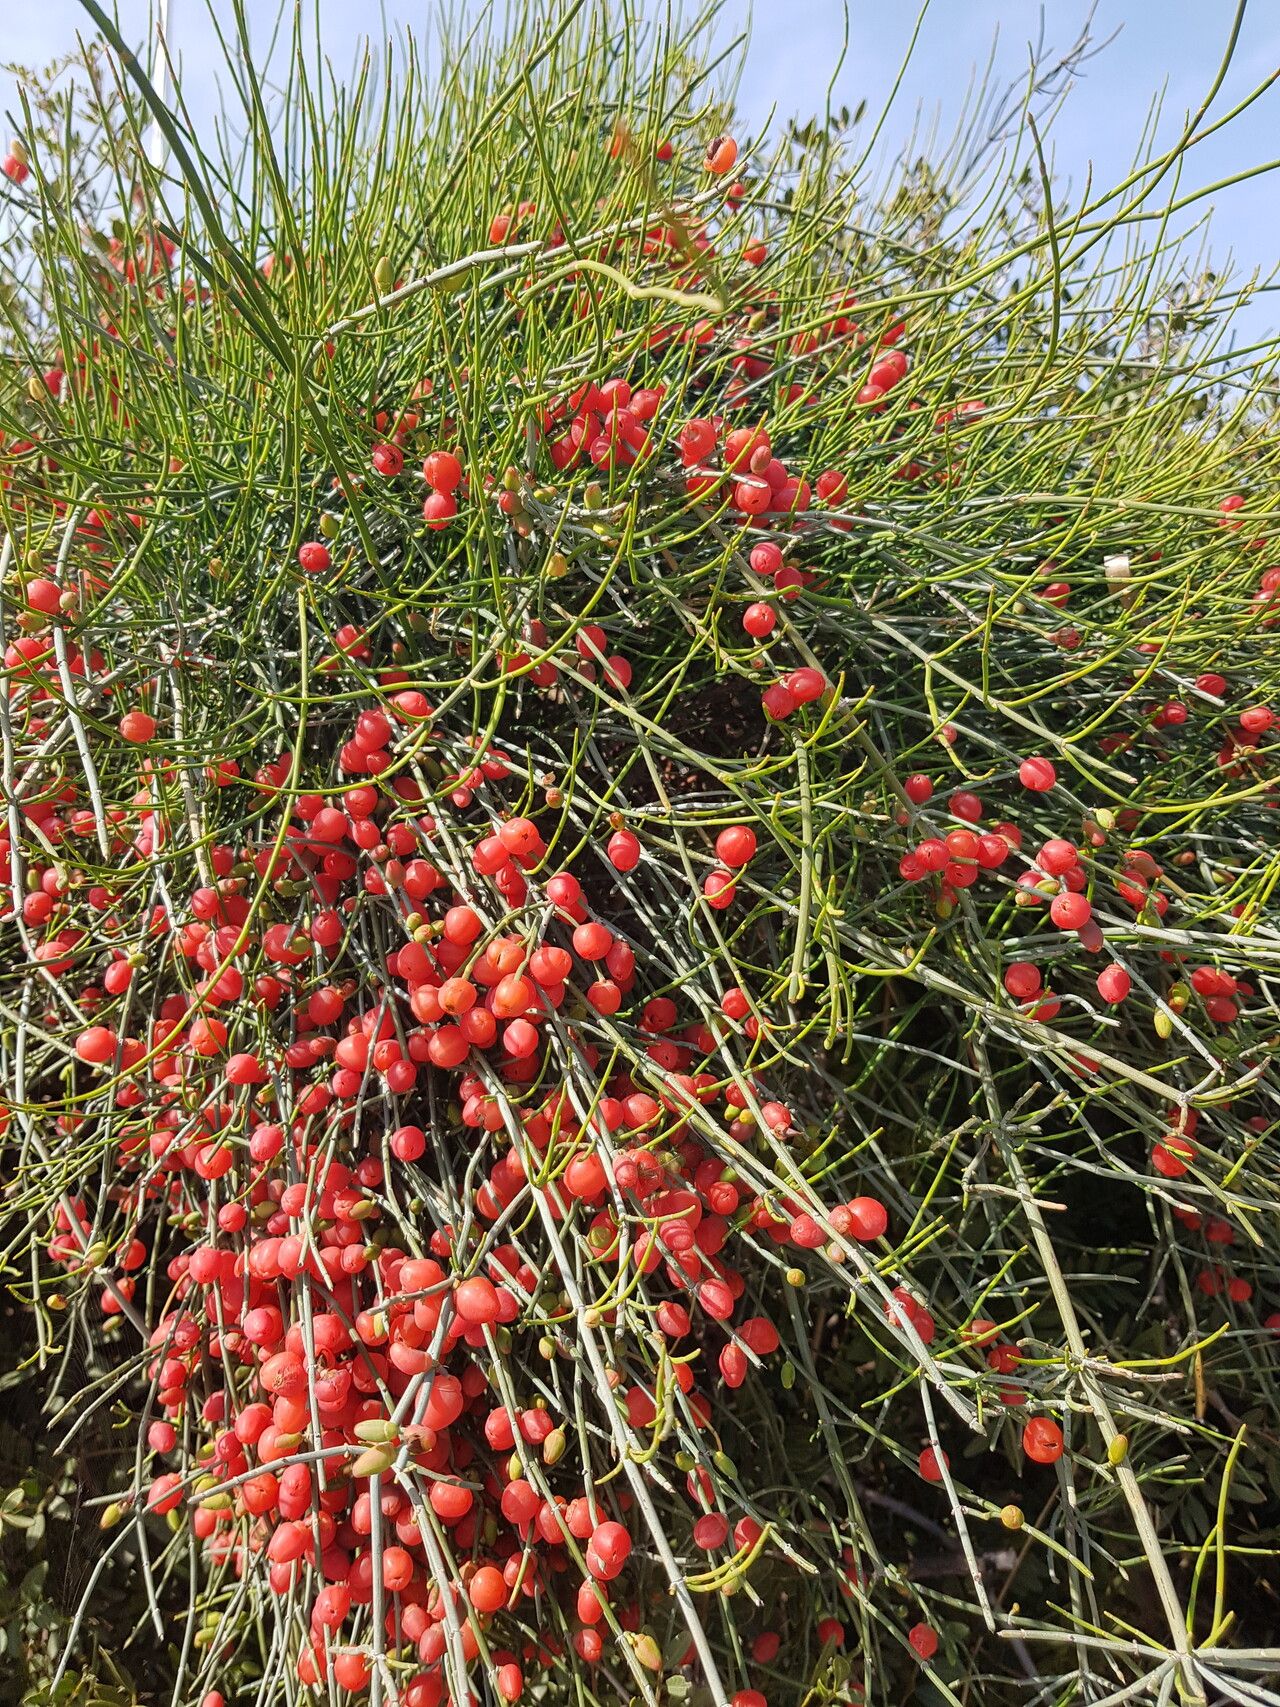
Hello, fellow garden enthusiasts! I’m so excited to chat with you today about a plant that’s really captured my imagination over the years: Ephedra altissima. You might know it as Mormon tea or jointfir. It’s got this wonderfully architectural, almost sculptural form, with slender green stems that are just so striking in the landscape, especially when contrasted with other textures. Plus, it’s a survivor, tough and drought-tolerant once established. Propagating it yourself? It’s incredibly rewarding, like coaxing a bit of that desert magic right into your own garden. Now, for beginners, I’d say Ephedra altissima isn’t the absolute easiest plant to start with, but with a little care and attention, you can absolutely achieve success. Let’s get these little guys going!
The Best Time to Start
For the highest success rate with Ephedra altissima, I find myself reaching for the pruning shears in late spring to early summer. This is when the plant is in its active growth phase. You’ll want to take cuttings from stems that are semi-hardwood. These have started to mature a bit but are still quite flexible and capable of rooting. Avoid taking cuttings from brand new, bright green, floppy growth, or from old, woody stems.
Supplies You’ll Need
Here’s what I usually gather before I start:
- Sharp pruning shears or a clean knife: For making clean cuts.
- Rooting hormone: A powdered or liquid form helps significantly.
- Small pots or seed trays: With drainage holes, of course!
- A well-draining potting mix: I like a blend of equal parts perlite, coarse sand, and a good quality potting soil. Some gardeners also swear by a cactus/succulent mix.
- A watering can with a fine rose or a spray bottle: For gentle watering.
- Plastic bags or a propagation lid: To maintain humidity.
- Labels and a permanent marker: It’s easy to forget what you planted and when!
Propagation Methods: Stem Cuttings are Your Friend
The most reliable way to propagate Ephedra altissima for me has always been through stem cuttings. It’s straightforward and gives you a great chance of success.
- Take Your Cuttings: Using your clean shears, select healthy, semi-hardwood stems. Cut pieces that are about 4-6 inches long. Make the cut just below a node (where a leaf or branch emerges).
- Prepare the Cuttings: Gently remove any lower leaves. You want a clean stem for rooting. If the leaves are particularly large, you can carefully trim them down to reduce water loss.
- Apply Rooting Hormone: Dip the cut end of each stem into your rooting hormone, tapping off any excess. This is a really crucial step that significantly boosts your chances of root development.
- Plant Your Cuttings: Fill your small pots or trays with your well-draining potting mix. Make a hole in the center of the soil with your finger or a pencil. Insert the cut end of the Ephedra cutting into the hole, ensuring the rooting hormone is in contact with the soil. Gently firm the soil around the stem.
- Provide Humidity: Water the soil gently. Then, cover the pots or trays with a plastic bag or a propagation lid. This creates a humid microclimate that prevents the cuttings from drying out while they try to root. You can also use individual plastic bags secured with a rubber band, making sure the leaves don’t touch the plastic if possible.
- Place in Bright, Indirect Light: Find a spot that gets bright, indirect sunlight. Avoid direct sun, which can scorch the delicate cuttings.
The “Secret Sauce” (Pro Tips)
Okay, here are a couple of things I’ve learned over the years that can make a real difference:
- Don’t Overwater, but Keep DAMP: This is tricky! You want the soil to be consistently moist, not soggy. Soggy soil is the quickest way to invite rot. I often find myself giving a very light watering every few days, or even just misting the soil and the inside of the plastic cover if it feels dry. It’s a feel thing, honestly.
- Bottom Heat is Your Friend: If you have a heat mat designed for seedlings, use it! Ephedra loves a little warmth from below to encourage root formation. Place your pots on the mat in a location with bright, indirect light. This warmth really speeds things along.
Aftercare & Troubleshooting
Once you start seeing signs of new growth – little new shoots emerging from the stem – that’s a fantastic indicator that roots are forming! Continue to keep the soil consistently moist but not waterlogged. Gradually acclimate your new plants to drier air by opening the plastic bag or cover a little more each day for about a week before removing it completely.
Keep an eye out for signs of failure. The most common culprit is rot. If your cuttings turn mushy, brown, and fall apart, it’s usually due to too much moisture. Unfortunately, once rot sets in, it’s difficult to save them. Another sign is if the stems simply shrivel and dry out – this means they’re not getting enough humidity or they’ve dried out too much. Don’t be discouraged if some don’t make it; it’s all part of the learning process!
A Heartfelt Closing
Propagating Ephedra altissima is a journey, and like all good gardening endeavors, it requires a bit of patience. Don’t rush the process. Watch for those first tiny roots, celebrate every little success, and enjoy the magic of nurturing a new life from a simple stem. Happy gardening, everyone!
Resource:
https://identify.plantnet.org/k-world-flora/species/Ephedra%20altissima%20Desf./data