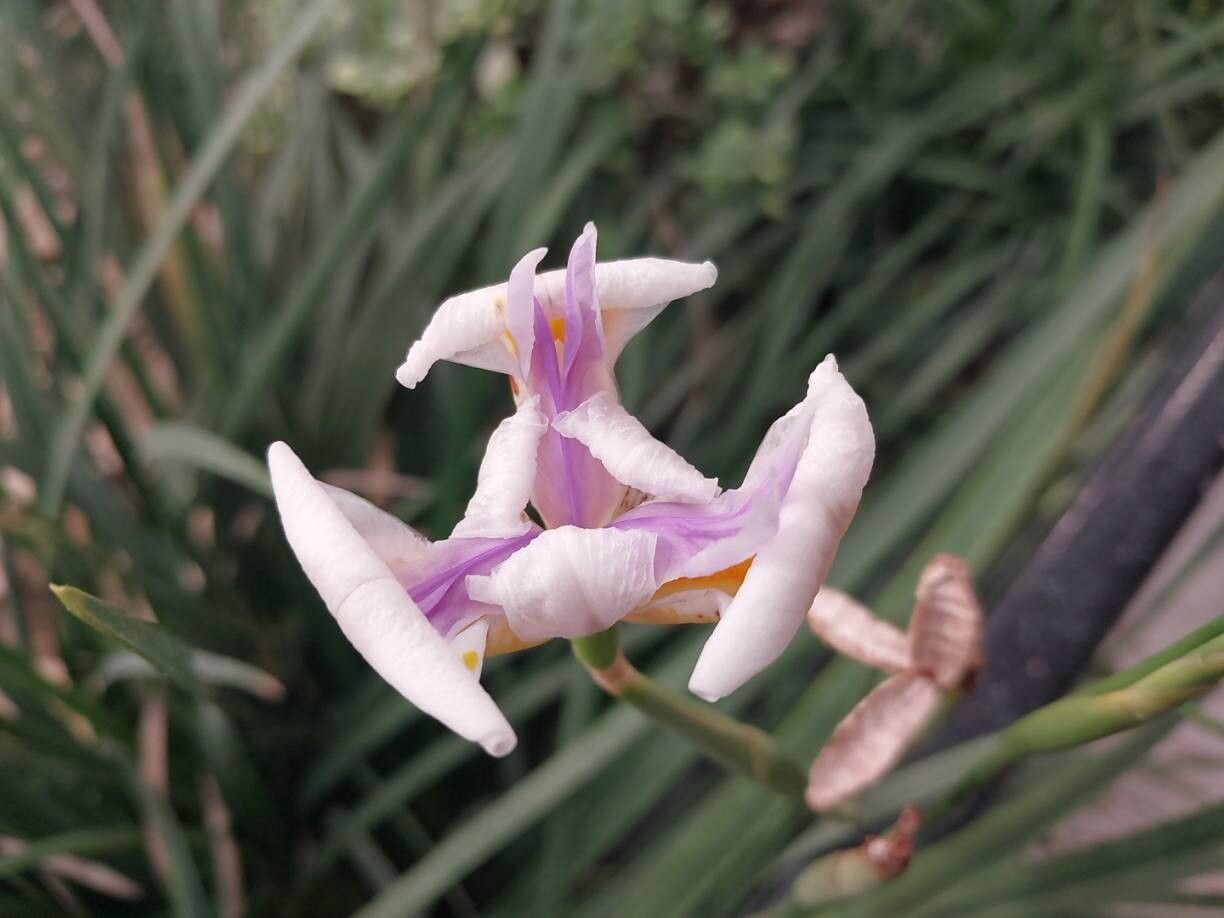
Oh, hello there! Grab your favorite mug, and let’s chat about Dietes iridioides, often called African Iris or Fortnight Lily. I’ve been growing these beauties for years, and honestly, their graceful white and yellow flowers that pop open for just a few days, then reappear every couple of weeks, are a real joy. They bring a touch of elegance to just about any garden bed. And the best part? Propagating them is surprisingly straightforward. Even if you’re new to the plant world, you’ll find this a rewarding endeavor.
When is the Garden Calling for Propagation?
My favorite time to get my hands dirty with Dietes iridioides propagation is in the spring or early summer. This is when the plant is actively growing after its winter rest. I find the warmer temperatures and longer daylight hours give any new cuttings or divisions the best chance to establish themselves quickly. You can also propagate them in the fall, but your success rate might be a little lower as the plant prepares for cooler weather.
What Treasures Will You Need?
You don’t need a fancy setup for this. Here’s what I always keep on hand:
- Sharp Pruning Shears or a Clean Knife: For making clean cuts.
- Well-Draining Potting Mix: I often use a mix of equal parts peat moss, perlite, and compost. Sometimes, I’ll add a little coarse sand too.
- Small Pots or Seedling Trays: For housing your new plant babies. Make sure they have drainage holes!
- Rooting Hormone (Optional but helpful): A powder or gel can give cuttings a little boost.
- Watering Can or Spray Bottle: For gentle watering.
- Labels: Don’t forget to label your pots – trust me on this one!
Getting Your Hands Dirty: How to Propagate
There are a couple of tried-and-true methods for Dietes iridioides, and I usually opt for division. It’s the most direct way to get a mature plant going.
Method 1: Division – My Go-To
This is my absolute favorite for Dietes. It’s like giving your existing plant a haircut and making more plants from the pieces!
- Dig Gently: Choose a plant that’s looking a bit full or needs revitalizing. With your spade or trowel, carefully dig around the base of the plant. Aim to lift the entire clump out of the ground, being as gentle as possible with the roots.
- Examine the Clump: Once it’s out, you’ll see the dense rhizomatous roots. Gently shake off excess soil. You might even be able to tease apart sections with your hands.
- Divide and Conquer: If the plant is large, use a clean, sharp knife or your hands to divide the root ball into smaller sections. Each section should have at least a few healthy roots and some green shoots or leaves. Discard any dead or mushy bits.
- Replant or Pot Up: You can immediately replant these divisions back into the garden bed where you removed them, giving them a little more space. Or, pot them up into your well-draining potting mix in individual containers. Make sure the crown of the plant (where the leaves emerge from the roots) is just at the soil surface.
Method 2: Stem Cuttings (Less Common, but doable)
While division is easier, you can try taking cuttings.
- Select a Healthy Shoot: Find a young, vigorous shoot that’s about 6-8 inches long. It shouldn’t have any flowers on it.
- Make the Cut: Using your sharp shears, make a clean cut just below a leaf node (where a leaf attaches to the stem).
- Prepare the Cutting: Remove the lower leaves, leaving just two or three at the top. If you’re using rooting hormone, dip the cut end into it now, tapping off any excess.
- Planting: Stick the cut end about an inch deep into a pot filled with your well-draining mix. You can plant several cuttings in one pot, giving them a little space.
- Water and Cover: Water gently. To keep humidity high for these, I like to pop the pot into a clear plastic bag, forming a mini-greenhouse. Just make sure the leaves don’t touch the sides of the bag.
My Little Secrets for Success
Over the years, I’ve learned a few tricks that seem to make a big difference:
- Don’t Overwater Newly Divided Plants: I know it’s tempting, but too much water can lead to rot, especially when the roots are still adjusting. Water thoroughly after planting, then let the surface of the soil dry out slightly between waterings.
- Give Them a Little Warmth (for Cuttings): If you’re struggling to get cuttings to root, placing the pot on a heat mat can really speed things up. The warmth from below encourages root development. Just be sure the mat isn’t too hot!
- Patience is Key: Not every cutting or division will take. That’s just part of gardening! Don’t get discouraged. Keep trying, and you’ll get there.
What Comes Next & When to Worry
Once roots have formed (you might see them peeking out of the drainage holes if potted, or the plant will feel a bit more solid if divided directly in the ground), you can treat your new Dietes like a small, established plant. Continue to water when the top inch of soil feels dry.
Watch out for signs of rot, which typically looks like mushy, discolored stems or roots. This is usually a sign of overwatering or poor drainage. If you spot it, try to remove the affected parts immediately and repot in fresh, dry soil, being more careful with your watering. If your cuttings just look sad and wilted after a few weeks with no new growth, they might not have rooted.
Happy Gardening!
See? Not so scary at all! Propagating Dietes iridioides is a wonderful way to fill your garden with more of those lovely blooms. Be patient with your new plants, enjoy the process, and soon you’ll have a whole collection of these delightful irises. Happy digging!
Resource: