Hello there, fellow plant lovers! It’s so lovely to have you here. Today, we’re diving into the wonderful world of Corispermum tylocarpum, a plant that’s truly captured my heart over the years. I know, I know, that name might sound a little daunting at first, but trust me, this charmer is worth getting to know.
A Little Bit About Corispermum Tylocarpum’s Charm
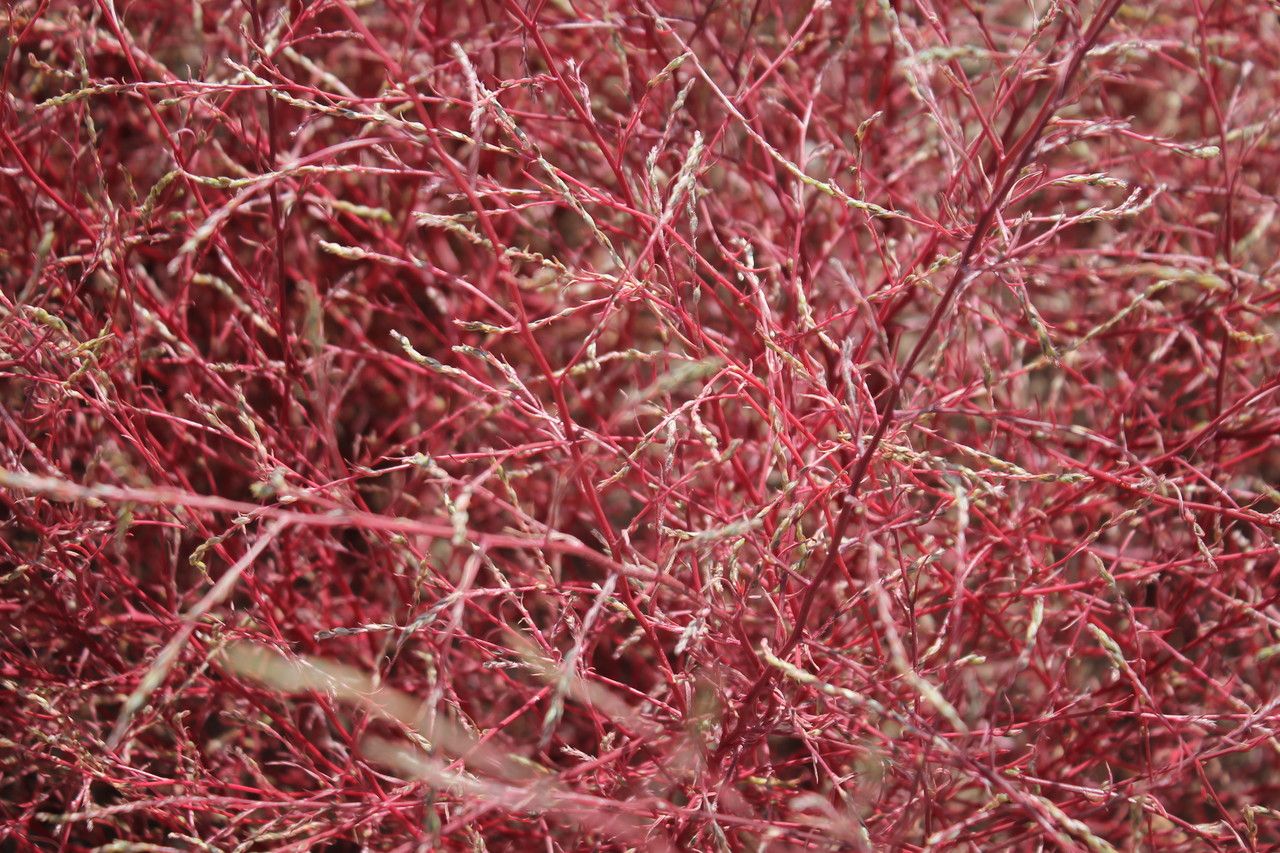
What makes Corispermum tylocarpum so special? For me, it’s those delicate, wispy leaves that seem to dance in the slightest breeze, giving a really ethereal feel to any garden space. They create such a lovely, airy texture, especially when paired with bolder foliage. And the best part? When you successfully propagate them, you get to experience that thrill of new life, of creating more of that beauty to share or simply enjoy yourself.
Now, let’s be upfront. Is Corispermum tylocarpum a beginner’s propagation dream? It can be a tad fussy, I won’t lie. It’s not quite as straightforward as, say, starting a basil cutting. But don’t let that discourage you! With a little patience and these tips, you’ll be well on your way to success. It’s a rewarding challenge, for sure.
When Nature Says “Go For It!”
Timing is everything in the garden, isn’t it? For Corispermum tylocarpum, the sweet spot for propagation is during its active growth phase. This generally means late spring through mid-summer. You want to be collecting cuttings from healthy, vigorous stems that are showing new growth. Avoid anything that looks stressed, diseased, or leggy.
Gathering Your Tools: The Propagation Toolkit
Before we get our hands dirty, let’s make sure we have everything we need. Think of this as your little propagation starter kit:
- Sharp, clean pruning shears or a sterile knife: Essential for making clean cuts that heal well.
- Perlite and peat moss mix: A perfect airy, well-draining medium for cuttings. Some growers also like to add a bit of coarse sand.
- Small pots or seed trays: Clean ones are key to preventing disease.
- Rooting hormone (optional but recommended): This stuff can give your cuttings a helpful boost.
- Plastic bags or a mini greenhouse: To create a humid environment for your cuttings.
- Watering can with a fine rose or a spray bottle: Gentle watering is crucial.
Let’s Get Propagating: Step-by-Step
The most reliable way I’ve found to propagate Corispermum tylocarpum is through stem cuttings. It’s how I’ve had the most consistent success.
- Select your parent plant: Find a healthy, mature Corispermum tylocarpum that’s actively growing.
- Take your cuttings: Using your clean shears or knife, take stem cuttings that are about 3-4 inches long. Make the cut just below a leaf node (where a leaf attaches to the stem).
- Prepare the cuttings: Gently remove the lower leaves from the cutting, leaving just a few at the top. If the remaining leaves are very large, you can even cut them in half to reduce water loss.
- Dip in rooting hormone (if using): Lightly dip the cut end of the stem cutting into rooting hormone powder. Tap off any excess.
- Plant your cuttings: Fill your pots with your perlite and peat moss mix. Make a small hole in the center with your finger or a pencil and carefully insert the cut end of the stem. Gently firm the soil around the cutting to ensure good contact.
- Water gently: Water the soil thoroughly but gently. You don’t want to dislodge the cuttings.
- Create humidity: Place a plastic bag over the pot, securing it with a rubber band, or put the pots inside a mini greenhouse. This traps moisture and creates that vital humid environment.
- Place in bright, indirect light: Find a spot that gets bright, indirect light. Avoid direct sun, which can scorch your delicate cuttings.
- Be patient! This is where the magic happens, and it takes time.
The “Secret Sauce”: My Insider Tips
Over the years, I’ve learned a few tricks that really make a difference.
- Bottom Heat is Your Friend: Corispermum tylocarpum loves warmth. If you have a heat mat designed for propagations, placing your pots on it can significantly speed up root development. It mimics the warmth of spring soil really well.
- Don’t Drench, But Don’t Let it Dry: This is a balancing act. You want the soil to be consistently moist but never waterlogged. Check the moisture level by feeling the soil or lifting the pot. Damp is good, soggy is bad.
- Mist Occasionally, But Watch for Fungi: While humidity is key, too much stagnant moisture on the leaves can encourage fungal issues. I like to lightly mist the foliage every few days, especially if the air is very dry, but I make sure they have good air circulation afterwards.
Aftercare and Troubleshooting: Nurturing Your New Sprouts
Once your cuttings have developed roots (you can often give them a gentle tug – if there’s resistance, they’ve rooted!), it’s time for a little transition.
- Acclimatize slowly: Gradually introduce your new plants to less humid conditions. You can start by removing the plastic bag for a few hours each day.
- Transplant with care: Once they’re a bit more established, you can transplant them into slightly larger pots with a good all-purpose potting mix.
- Watch for rot: The most common sign of failure is rot. This usually happens due to overwatering or poor drainage. If you see stems turning mushy or black, it’s usually a goner. Discard affected cuttings immediately to prevent it from spreading.
- Patience is key: Don’t be discouraged if some cuttings don’t make it. It’s a natural part of the process.
Happy Planting!
Propagating Corispermum tylocarpum is a journey. There will be moments of anticipation, and perhaps a few that don’t quite take. But the joy of seeing a tiny cutting develop into a thriving plant is immensely rewarding. So, grab your tools, embrace the process, and enjoy the magic of creating new life in your garden. Happy growing!
Resource:
https://identify.plantnet.org/k-world-flora/species/Corispermum%20tylocarpum%20Hance/data