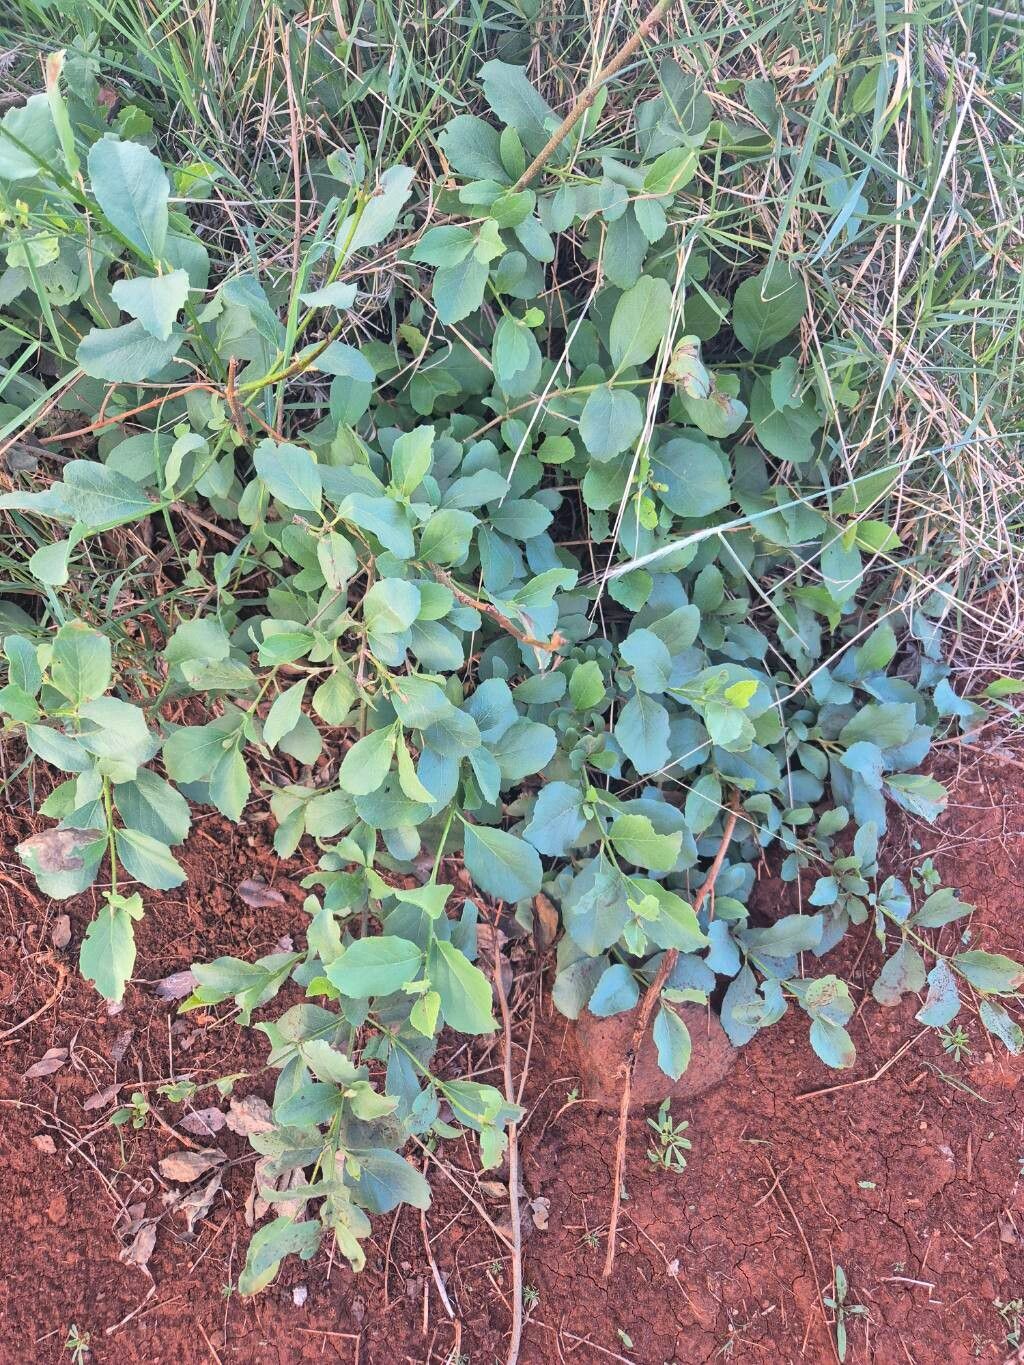
Oh, hello there! Come on in and grab a cuppa. Today, we’re diving into something really special: propagating Cordia quercifolia. You know, those lovely plants that look like they’ve stepped straight out of a storybook with their oak-like leaves? They really do bring a unique charm to a garden, don’t they? Figuring out how to get more of these beauties is such a thrill – like unlocking a little piece of nature’s magic. For those new to the gardening world, don’t you worry. While Cordia quercifolia might have a bit of a reputation, with a few gentle nudges, we can absolutely make propagation a success.
The Best Time to Start
For us here in most temperate climates, the sweet spot for propagating Cordia quercifolia is usually late spring to early summer. This is when the plant is actively growing and has plenty of energy. You want to look for new, soft, but not floppy, growth – what we call “semi-hardwood” cuttings. Think of it like this: the stems are firm enough to hold their shape, but they haven’t turned woody and stiff yet. That’s when they’re most ready to take root.
Supplies You’ll Need
Gathering your supplies before you start is half the battle!
- Sharp Pruning Shears or a Clean Knife: For making nice, clean cuts. No ragged edges allowed!
- Rooting Hormone: A little dab goes a long way to encourage those roots to get going. Look for one that contains IBA (indole-3-butyric acid).
- Well-Draining Potting Mix: I like a blend of equal parts peat moss or coco coir, perlite, and some coarse sand. Or, you can buy a good quality seed-starting or cactus/succulent mix and amend it.
- Small Pots or Trays: Clean ones, of course! About 4-inch pots are usually perfect.
- Perlite or Gravel: For covering the top of your pots to help prevent fungal issues.
- Clear Plastic Bag or Humidity Dome: To keep your cuttings nice and humid.
- Watering Can with a Fine Rose: For gentle watering.
Propagation Methods
My favorite way to multiply Cordia quercifolia is through stem cuttings. It’s straightforward and usually gives great results!
- Take Your Cuttings: On a mild morning, use your sharp shears to take cuttings from healthy, vigorous growth. Aim for pieces that are about 4-6 inches long. Make your cut just below a leaf node (that’s where a leaf attaches to the stem). Remove the lower leaves, leaving just a few at the top – this helps the plant conserve energy and prevents leaves from rotting. You can even gently wound the bottom inch of the cutting by scraping away a thin sliver of bark, which can sometimes help with rooting.
- Apply Rooting Hormone: Dip the cut end of the stem into your rooting hormone powder. Tap off any excess.
- Plant Your Cuttings: Fill your clean pots with your prepared potting mix. Make a hole in the center with a pencil or your finger, so you don’t rub off all that precious hormone. Gently insert the cutting into the hole, ensuring the nodes where you removed the leaves are below the soil surface. Firm the soil gently around the stem.
- Water Gently: Water thoroughly but gently until water drains from the bottom.
- Create a Humid Environment: Place the pots inside a clear plastic bag, supported by stakes so the bag doesn’t touch the leaves, or use a humidity dome. Seal it loosely. This creates a mini-greenhouse effect.
- Provide Good Light: Place your pots in a bright spot with indirect sunlight. Direct sun will scorch those tender cuttings.
The “Secret Sauce” (Pro Tips)
Here are a couple of little tricks that have always helped me:
- The Bottom Heat Trick: If you can, pop your pots on a heat mat designed for propagation. Cordia responds really well to a bit of warmth from below, as it encourages root development. My little propagation station is a game-changer!
- Don’t Drench, Just Moisten: While humidity is key, avoid soggy soil. It’s better to have slightly moist soil than waterlogged. Overwatering is a quick way to invite rot, and we certainly don’t want that. Good air circulation, even inside the humidity tent, also helps.
Aftercare & Troubleshooting
Once you’ve got your cuttings planted, resist the urge to fiddle! Keep an eye on the humidity and the soil moisture. If the soil looks dry, give it a light watering.
After about 4-8 weeks, you can gently tug on a cutting. If you feel resistance, congratulations – you have roots! At this point, you can gradually remove the plastic bag over a few days to acclimate the new plant to normal humidity. Once roots are well-established, you can transplant them into their own individual pots.
Now, what if things don’t go as planned?
- Wilting: This can happen if the cutting is too dry or not getting enough humidity. Ensure your humidity tent is secure and the soil is consistently moist (but not wet).
- Rotting: This is the most common problem and usually means the cutting is sitting in too much water or there isn’t enough air circulation. Unfortunately, if a cutting rots, it’s usually beyond saving. Start again with fresh cuttings and pay close attention to that soil moisture!
- No Rooting: Patience is key! Sometimes it just takes longer. Make sure you’re using semi-hardwood cuttings and providing that gentle warmth and humidity.
A Warm Encouragement
Propagating Cordia quercifolia is such a rewarding journey. Like any gardening endeavor, there will be times of learning and maybe a few less-than-successful attempts. But with each try, you gain a little more insight. Be patient, enjoy the process, and before you know it, you’ll have a whole new collection of these stunning plants to share or enjoy yourself. Happy gardening!
Resource:
https://identify.plantnet.org/k-world-flora/species/Cordia%20quercifolia%20Klotzsch/data