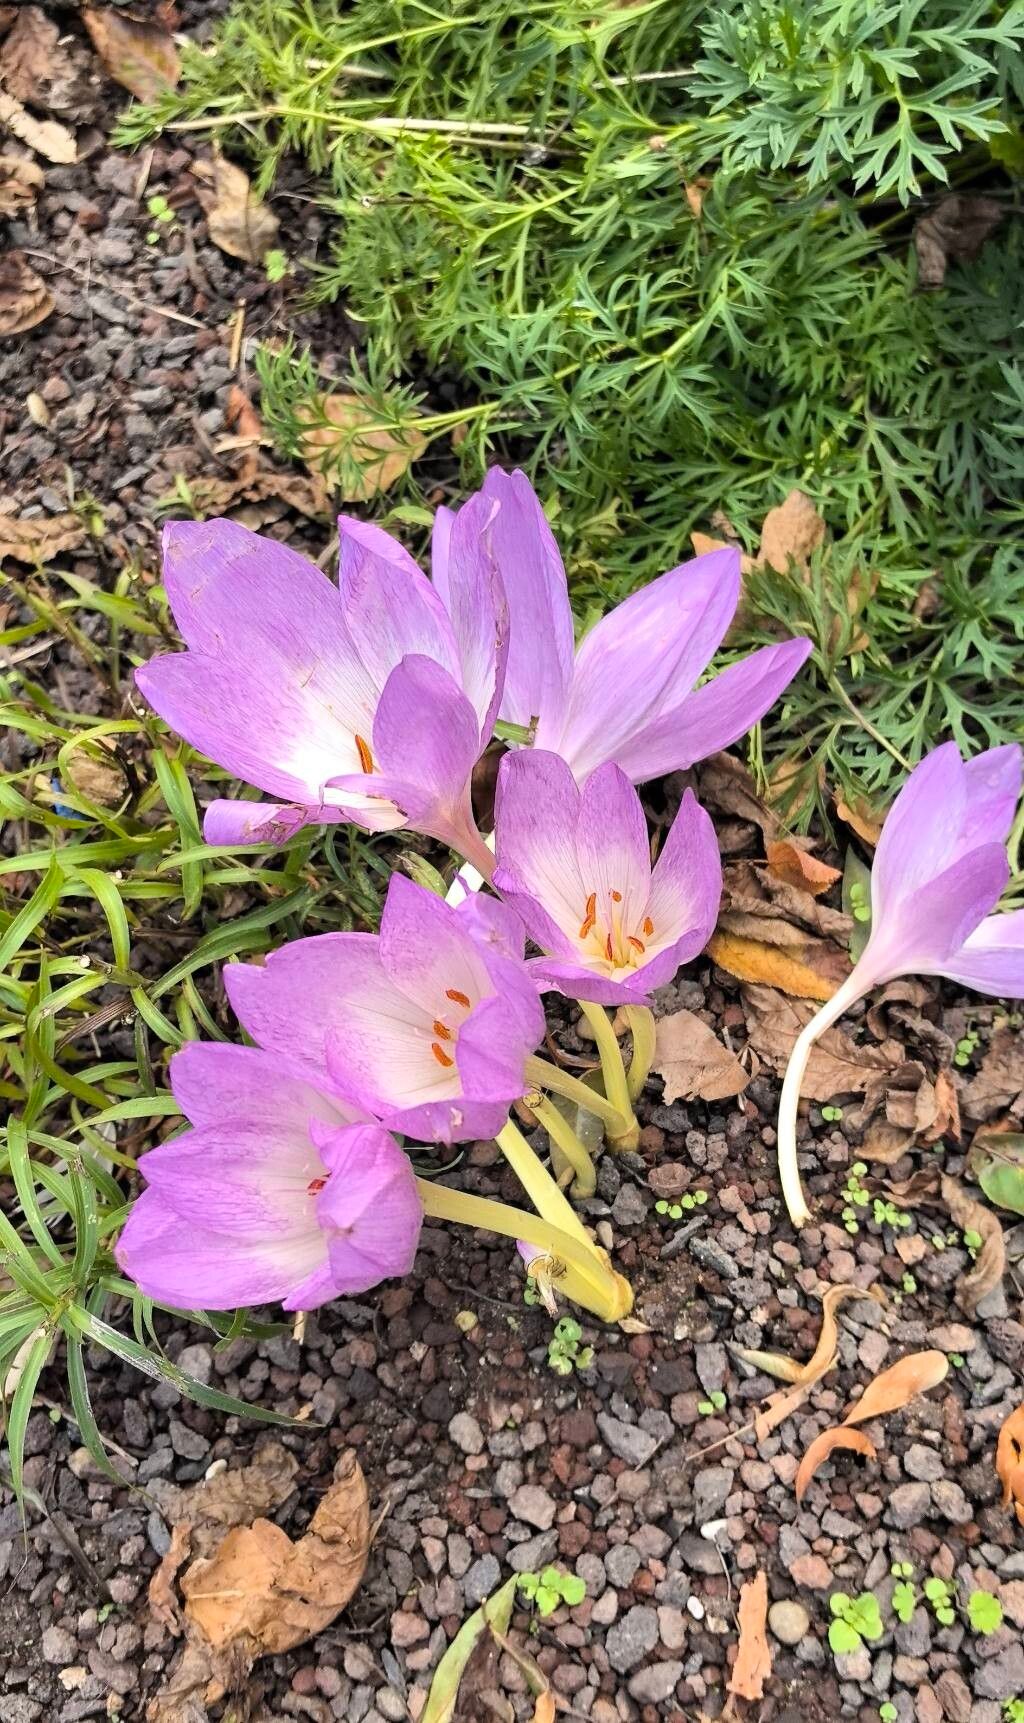
Hello there, fellow plant enthusiasts! I’m so thrilled you’ve decided to dive into the wonderful world of propagating Colchicum lusitanum. These little beauties, often called autumn crocuses even though they’re not true crocuses at all, offer such a delightful surprise with their vibrant blooms appearing in the fall, often before their foliage. Growing them from scratch is incredibly rewarding, and while I wouldn’t call Colchicum lusitanum a complete beginner’s plant, it’s certainly accessible with a little know-how. I’ve been growing and propagating these for a long time, and I’m excited to share my secrets with you!
The Best Time to Start
For Colchicum lusitanum, patience is your best friend, and timing is key. The ideal time to begin propagating is right after the plant has finished its blooming and leaf growth cycle. You’re looking for the period late spring to early summer. This is when the corms (which look a bit like bulbs) are in their dormant phase and have stored up plenty of energy. Trying to do it when they’re actively growing or blooming can stress the plant and reduce your success rate.
Supplies You’ll Need
Gathering your supplies beforehand makes the whole process smoother. Here’s what I always have on hand:
- Sharp, clean spade or trowel: For gently excavating your corms.
- Well-draining potting mix: I love a mix of 50% potting soil and 50% perlite or coarse sand. This is crucial to prevent rot.
- Small pots or trays: Whatever you have available, as long as they have drainage holes.
- Watering can with a fine rose: For gentle watering.
- Optional: A sharp knife or secateurs: Only if you need to carefully separate very tight clumps, but often gentle pulling is enough.
- Optional: Rooting hormone: While not strictly necessary for Colchicum lusitanum division, some gardeners find it gives an extra boost.
Propagation Methods
For Colchicum lusitanum, the most effective and straightforward method is division. They naturally form clusters of corms over time, making them easy to multiply.
- Gently Excavate: In late spring or early summer, when the leaves have completely yellowed and died back, carefully dig around the clump of Colchicum lusitanum. You want to get your spade in deep enough to lift the entire group of corms without damaging them. Brush off as much of the soil as you can.
- Separate the Corms: Look at the clump you’ve unearthed. You’ll see the main corm and likely one or more smaller corms attached to it, often at the base or sides. Gently tease apart the corms. If they are very tightly attached, you might need to use a clean, sharp knife to carefully cut them apart, ensuring each new piece has at least one basal plate (where the roots will emerge) and a small bud or growing point.
- Inspect and Prune: Quickly inspect each corm for any signs of damage or disease. If you see any soft spots, trim them away with your clean knife. You can also remove any old, papery tunics if they are loose and easily come away.
- Replant: Fill your pots or trays with your well-draining potting mix. Plant each separated corm about 2-3 inches deep, leaving the pointed growing tip facing upwards. If you’re planting multiple corms in a larger pot, space them about 3-4 inches apart.
- Water In: Water gently but thoroughly after planting.
The “Secret Sauce” (Pro Tips)
Now for a couple of little tricks I’ve picked up that really make a difference:
- Dormancy is Your Friend: I cannot stress this enough: only divide and transplant when the plant is truly dormant. Trying to do this mid-growth will almost always lead to disappointment. Let those leaves completely finish their job and turn yellow before you even think about disturbing the corms.
- Think Dry, Then Moist: After you’ve replanted, let them settle in for a few weeks with just a touch of moisture if the soil feels very dry. Once you start to see new leaf growth (which may not appear until fall), you can increase watering. Colchicum lusitanum prefers to be drier during its summer dormancy and then wants consistent moisture once it starts actively growing in the fall.
Aftercare & Troubleshooting
Once your corms are nestled in their new homes, give them a bit of peace. Water them lightly if the soil feels bone dry during the hot summer months, but err on the side of caution – overwatering dormancy is the fastest way to kill a corm.
The first sign of success will be the appearance of their beautiful blooms in autumn. Don’t be alarmed if you don’t see much foliage right away; it often follows the flower. If you notice mushy, soft spots on your corms, that’s a tell-tale sign of rot, usually caused by too much moisture, especially during their dormant period. If you catch it early, you might be able to salvage it by cutting away the bad parts and repotting in fresh, drier soil, but prevention is truly the best cure here.
A Little Patience Goes a Long Way
So there you have it! Propagating Colchicum lusitanum is all about working with their natural life cycle. Be patient, give them the right conditions, and you’ll soon be rewarded with more of these delightful autumn stars to brighten your garden. Happy planting!
Resource:
https://identify.plantnet.org/k-world-flora/species/Colchicum%20lusitanum%20Brot./data