Hello there, fellow garden enthusiasts! It’s so lovely to share some time with you today. We’re going to talk about a plant that truly brightens up any landscape – the Eastern Redbud, or Cercis canadensis. I’ve been growing and marveling at these beauties for two decades now, and I can tell you, there’s a special kind of joy in coaxing a new plant to life from a mere clipping or a precious seed.
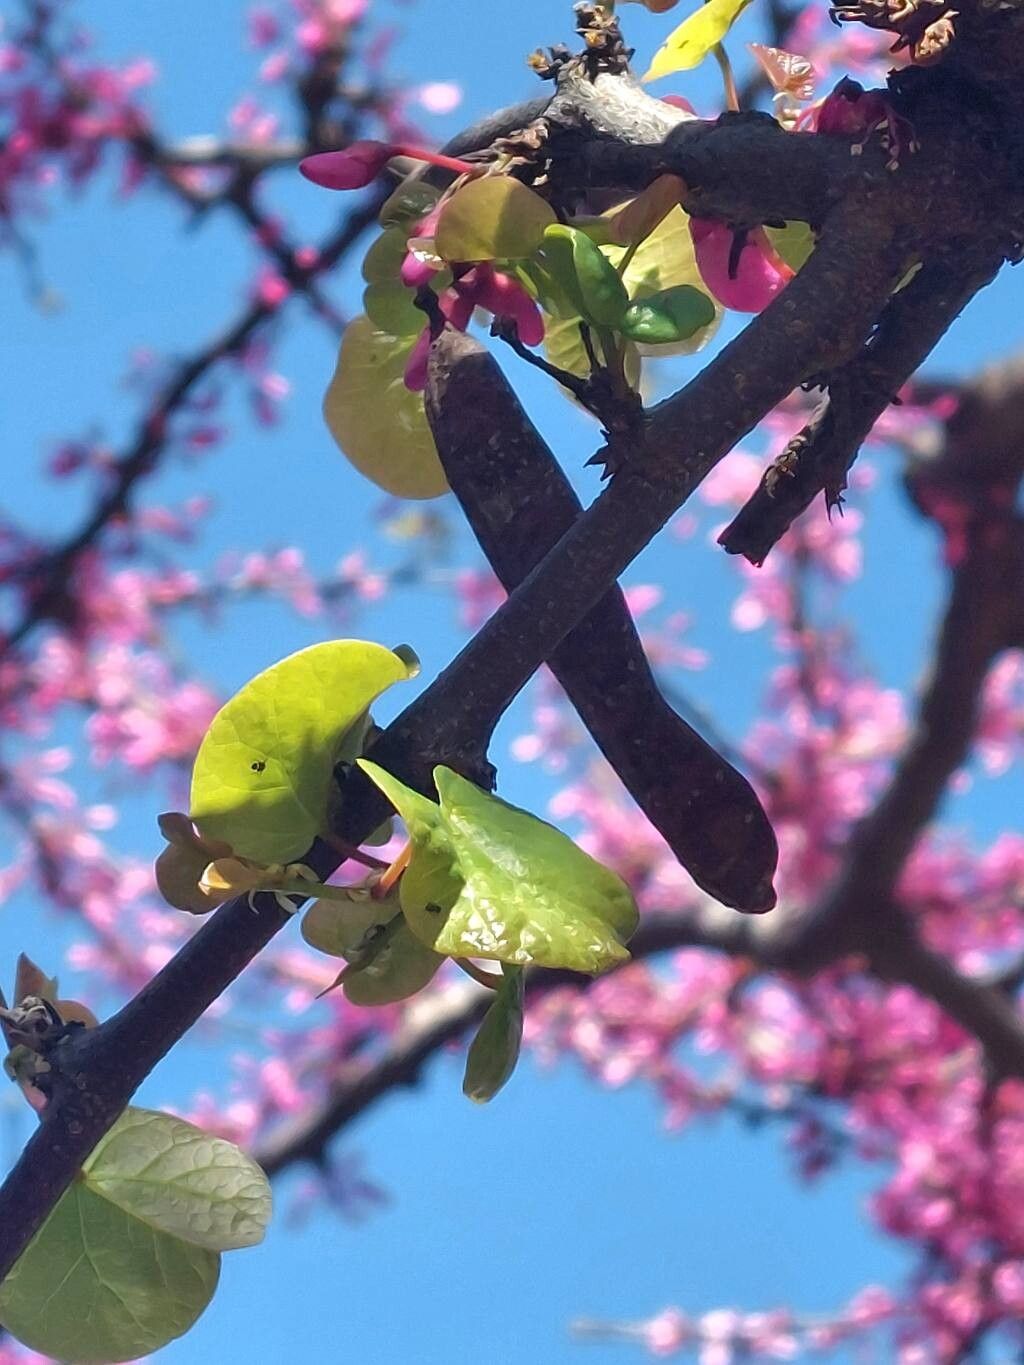
Eastern Redbuds are simply delightful. Their early spring bloom of vibrant, purplish-pink flowers is a sight for sore eyes after a long winter. Plus, their unique, heart-shaped leaves add such charm throughout the growing season. If you’re looking to expand your redbud collection or share this arboreal treasure with friends, propagation is a wonderful way to go. And good news – while they can be a little particular, with a bit of know-how, propagating redbuds is definitely achievable, even for those just starting their green thumb journey.
The Best Time to Start
My favorite time, by far, for propagating redbuds is late spring to early summer. This is when the stems are typically mature but still somewhat flexible – that ‘new growth but not too new’ stage. Many gardeners also have success with dormant hardwood cuttings taken in late winter, but for ease and generally higher success rates, I always lean towards those soft to semi-hardwood cuttings gathered when the plant is actively growing.
Supplies You’ll Need
To get our little redbud babies started, here’s what I always have on hand:
- Sharp Pruning Shears or a Knife: Clean, sterile tools are a must to prevent introducing disease.
- Rooting Hormone: A powder or gel that gives cuttings a helpful boost. Don’t skip this step for redbuds!
- Potting Mix: A well-draining mix is crucial. I usually blend equal parts peat moss, perlite, and vermiculite. Avoid heavy garden soil. A good sterile seed-starting mix also works wonderfully.
- Small Pots or Trays: Clean pots or propagation trays with drainage holes.
- Plastic Bags or a Humidity Dome: To keep the cuttings from drying out.
- A Small Watering Can or Mister: For gentle watering.
- Optional: Bottom Heat Mat: This can significantly speed up rooting, especially for cuttings taken later in the season.
Propagation Methods
Let’s get our hands dirty! For Eastern Redbuds, I find stem cuttings to be the most reliable method.
Stem Cuttings (Softwood/Semi-Hardwood)
- Select Your Cuttings: Look for healthy, current-season stems that are about pencil-thick. You want stems that are beginning to firm up but can still be bent without snapping. Aim for cuttings that are 6-8 inches long.
- Take the Cuttings: Using your sharp, clean shears, make a cut just below a leaf node (where a leaf attaches to the stem). Remove any lower leaves, leaving just a few at the top. This reduces water loss.
- Prepare the Cuttings: Gently dip the bottom inch of each cutting into rooting hormone, tapping off any excess.
- Plant the Cuttings: Fill your pots or trays with the moist potting mix. Make a hole in the center of the mix with a pencil or your finger, and insert the dipped end of the cutting. Gently firm the mix around the stem.
- Create a Humid Environment: Water the mix gently to settle it around the cuttings. Then, cover the pots with a clear plastic bag (making sure the bag doesn’t touch the leaves, which can cause rot) or place them under a humidity dome.
- Provide Light and Warmth: Place the pots in a bright location that receives indirect sunlight. If you have a bottom heat mat, place the pots on it now.
Water Propagation (Less Common for Redbuds, but possible)
While not my go-to for redbuds due to disease risk, some people have success. Take similar cuttings as described above. Strip the lower leaves and place them in a jar of clean water, ensuring no leaves are submerged. Change the water every few days to keep it fresh. Once roots appear, carefully pot them into the soil mix.
The “Secret Sauce” (Pro Tips)
Here are a few little tricks I’ve learned over the years:
- The “Inch Test” for Cuttings: Don’t just grab any stem. For softwood cuttings, I look for stems that are slightly pliable but when you try to bend them, they snap cleanly about an inch down from the tip. This indicates the right stage of woody development.
- Bottom Heat is Your Friend: Seriously, a little warmth from below (around 70-75°F) makes a HUGE difference in rooting speed and success for woody cuttings like those of redbuds. It signals to the plant that it’s time to get those roots going.
- Don’t Overwater! This is probably the most common pitfall. The cuttings need to stay moist, but never soggy. Soggy conditions invite rot, and we certainly don’t want that. I always prefer to water from the bottom if possible by sitting the pots in a tray of water for about 30 minutes, letting the soil wick up what it needs.
Aftercare & Troubleshooting
Once you start to see new growth on your cuttings – usually after several weeks, and sometimes a couple of months – that’s a good sign that roots are forming! You can gently tug on a cutting; if there’s resistance, roots are likely present.
Slowly acclimate your new rooted cuttings to normal room humidity by gradually opening the plastic bag or removing the dome over several days. Once they seem robust, you can transplant them into individual pots. Keep them well-watered but still allow the soil to dry slightly between waterings.
The most common issue you might encounter is rot. If you see a cutting turning black and mushy, it’s usually a sign of too much moisture or not enough air circulation. Unfortunately, a rotting cutting is usually a goner. If you see some healthy cuttings and some that are rotting, carefully remove the diseased ones and ensure good airflow for the rest. Another sign of failure is a cutting that just never shows signs of new growth and eventually wilts and dries out – this can happen if the rooting hormone wasn’t effective or the conditions weren’t quite right.
A Little Patience Goes a Long Way
Propagating plants is a journey, a beautiful dance with nature. Some will thrive, others might not, and that’s perfectly okay. The most important thing is to enjoy the process, learn from each attempt, and celebrate every success, no matter how small. With a little care and these tips, you’ll soon be enjoying your own beautiful Eastern Redbuds, grown with your own two hands! Happy gardening!
Resource:
https://identify.plantnet.org/k-world-flora/species/Cercis%20canadensis%20L./data