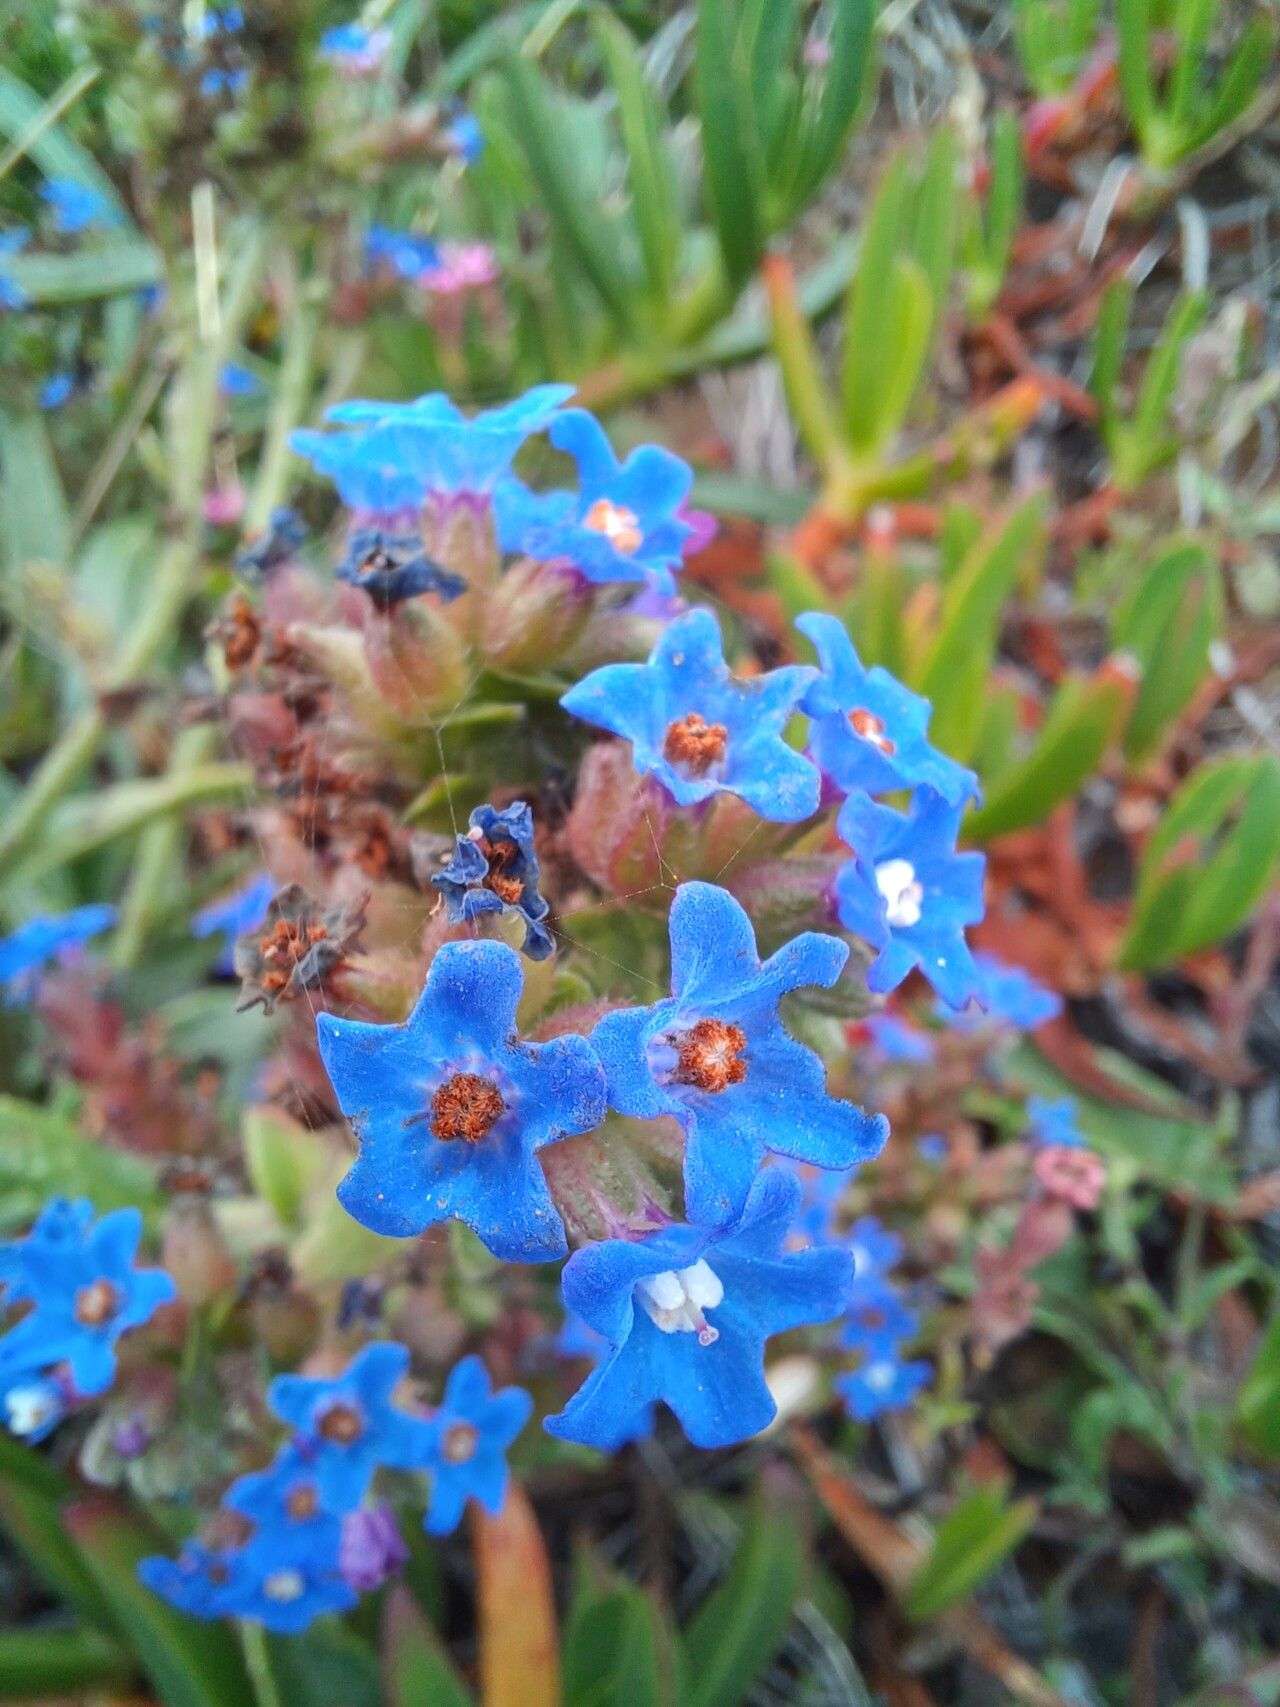
Hello there, fellow garden enthusiasts! I’m so glad you’ve stumbled upon this guide. Today, we’re diving into the delightful world of Anchusa calcarea, also known as the Italian Bugloss or sometimes just the darling little blue Alkanet. If you’ve ever seen this plant gracing a garden, you’ll know why I’m so smitten with its brilliant, sky-blue flowers that seem to just shimmer with life. It’s a real magnet for pollinators, and honestly, who can resist that cheerful splash of color?
Now, if you’re wondering about starting your own Anchusa calcarea from scratch, I’m here to tell you it’s a wonderfully rewarding endeavor. For beginners, I’d say it’s moderately easy. You’ll need a little patience and attention, but the payoff is more than worth it. Growing plants from their parent selves is like giving the gift of life, and seeing those tiny new roots emerge is pure garden magic!
The Best Time to Start
For Anchusa calcarea, the prime time to get propagating is in late spring to early summer. This is when the plant is actively growing, usually after its initial flush of bloom. We’re looking for new, actively growing stems that are getting a bit firm but haven’t completely hardened off into woody material. Think of it as the plant’s energetic youth – that’s when it’s most eager to create something new.
Supplies You’ll Need
Gathering your tools beforehand makes the whole process much smoother. Here’s what I usually have on hand:
- Sharp pruning shears or a clean knife: For making neat, precise cuts.
- Rooting hormone powder: This isn’t strictly essential for Anchusa calcarea, but it can give your cuttings a nice boost and improve success rates.
- Small pots or trays: Clean containers are crucial to prevent disease.
- Propagation mix: A light, well-draining mix is key. I often use a blend of equal parts perlite and peat moss or a good quality seed starting mix. Avoid heavy garden soil, as it can stay too wet and cause rot.
- Watering can with a fine rose: For gentle, even watering.
- Plastic bags or a propagator lid: To create a humid environment for your cuttings.
- Labels and a marker: To keep track of what you’ve planted and when.
Propagation Methods
Anchusa calcarea is quite forgiving, and I’ve found success with a couple of reliable methods.
Stem Cuttings: My Personal Favorite
This is usually my go-to for Anchusa calcarea. It’s a fantastic way to get multiple new plants from a single parent.
- Take Your Cuttings: In late spring or early summer, select healthy, non-flowering stems from your established plant. Using clean secateurs or a knife, take cuttings about 4-6 inches long. Make the cut just below a leaf node (where a leaf emerges from the stem).
- Prepare the Cuttings: Gently remove the lower leaves, leaving just a couple at the top. This reduces moisture loss. If your cuttings are quite long, you can even divide them into smaller sections, as long as each section has at least one leaf node.
- Apply Rooting Hormone (Optional but Recommended): Dip the cut end of each cutting into water, then into the rooting hormone powder. Tap off any excess.
- Plant Your Cuttings: Fill your small pots with the propagation mix. Make a small hole in the center of the soil with a pencil or your finger. Gently insert the prepared cutting into the hole, ensuring the leaf nodes are in contact with the soil. Firm the soil gently around the base of the cutting.
- Water and Cover: Water the pots thoroughly but gently. Then, cover each pot loosely with a plastic bag or place the pots inside a propagator with a lid. This creates a mini-greenhouse effect, keeping the humidity high, which is essential for root formation.
Water Propagation (A Visual Treat!)
This method is a joy to watch as you can literally see the roots developing.
- Select and Cut: Similar to stem cuttings, choose healthy, non-flowering shoots about 4-6 inches long. Cut just below a leaf node.
- Remove Lower Leaves: Strip off the leaves from the bottom half of the cutting.
- Place in Water: Fill a clean jar or glass with fresh water. Place the cuttings in the water, making sure the leaf nodes are submerged but the remaining leaves are above the water line.
- Location, Location, Location: Place the jar in a bright spot with indirect sunlight.
- Change Water Regularly: Change the water every few days to keep it fresh and prevent bacterial growth. You’ll start to see tiny white roots emerge from the nodes within a couple of weeks.
- Potting Up: Once the roots are about an inch long, it’s time to carefully pot them into your propagation mix. Handle them gently to avoid damaging the delicate new roots.
The “Secret Sauce” (Pro Tips)
Here are a couple of little tricks I’ve learned over the years that can really make a difference:
- Don’t Let Those Leaves Touch the Water: When water propagating, this is key! If the leaves sit in the water, they tend to rot, and that’s a one-way ticket to failure. Keep them high and dry.
- Bottom Heat is Your Friend: If you’re struggling with cuttings not rooting, providing a little warmth from below can be a game-changer. A heated propagator mat or even just placing your pots on top of a warm appliance (nothing too hot, mind you!) encourages root development much more quickly. You can often find inexpensive propagation mats at garden centers.
Aftercare & Troubleshooting
Once your Anchusa calcarea cuttings have developed a good root system and potentially a bit of new top growth, they’re ready for a little more independence.
- Acclimatize: Gradually remove the plastic bag or propagator lid over a few days to let the new plants get used to drier air.
- Potting Up: When they have a decent root ball, you can pot them into slightly larger containers with a good quality potting mix. Don’t go too big too soon; a pot that’s a little snug is often better for encouraging root growth.
- Watering: Water them consistently, but avoid waterlogging. Let the top inch of soil dry out between waterings.
- Light: Gradually introduce them to more light, eventually moving them to a spot where they’ll get ample sunshine, just like their parent plant.
Now, what if things don’t go as planned? The most common issue you might encounter is rot. This usually happens if the cuttings are kept too wet or if the environment is too cool and damp without enough air circulation. You might see the stem turn mushy and black. If you spot this, unfortunately, that cutting is likely lost. Prevention is key here: use clean tools, well-draining soil, and ensure good airflow.
A Encouraging Closing
Propagating plants is a journey, and like any good adventure, it’s filled with learning and discovery. Don’t be discouraged if every cutting doesn’t take. The ones that do will bring you immense joy, and each attempt will teach you something new. Be patient, enjoy the process, and embrace the magic of growing your own beautiful Anchusa calcarea. Happy gardening!
Resource:
https://identify.plantnet.org/k-world-flora/species/Anchusa%20calcarea%20Boiss./data