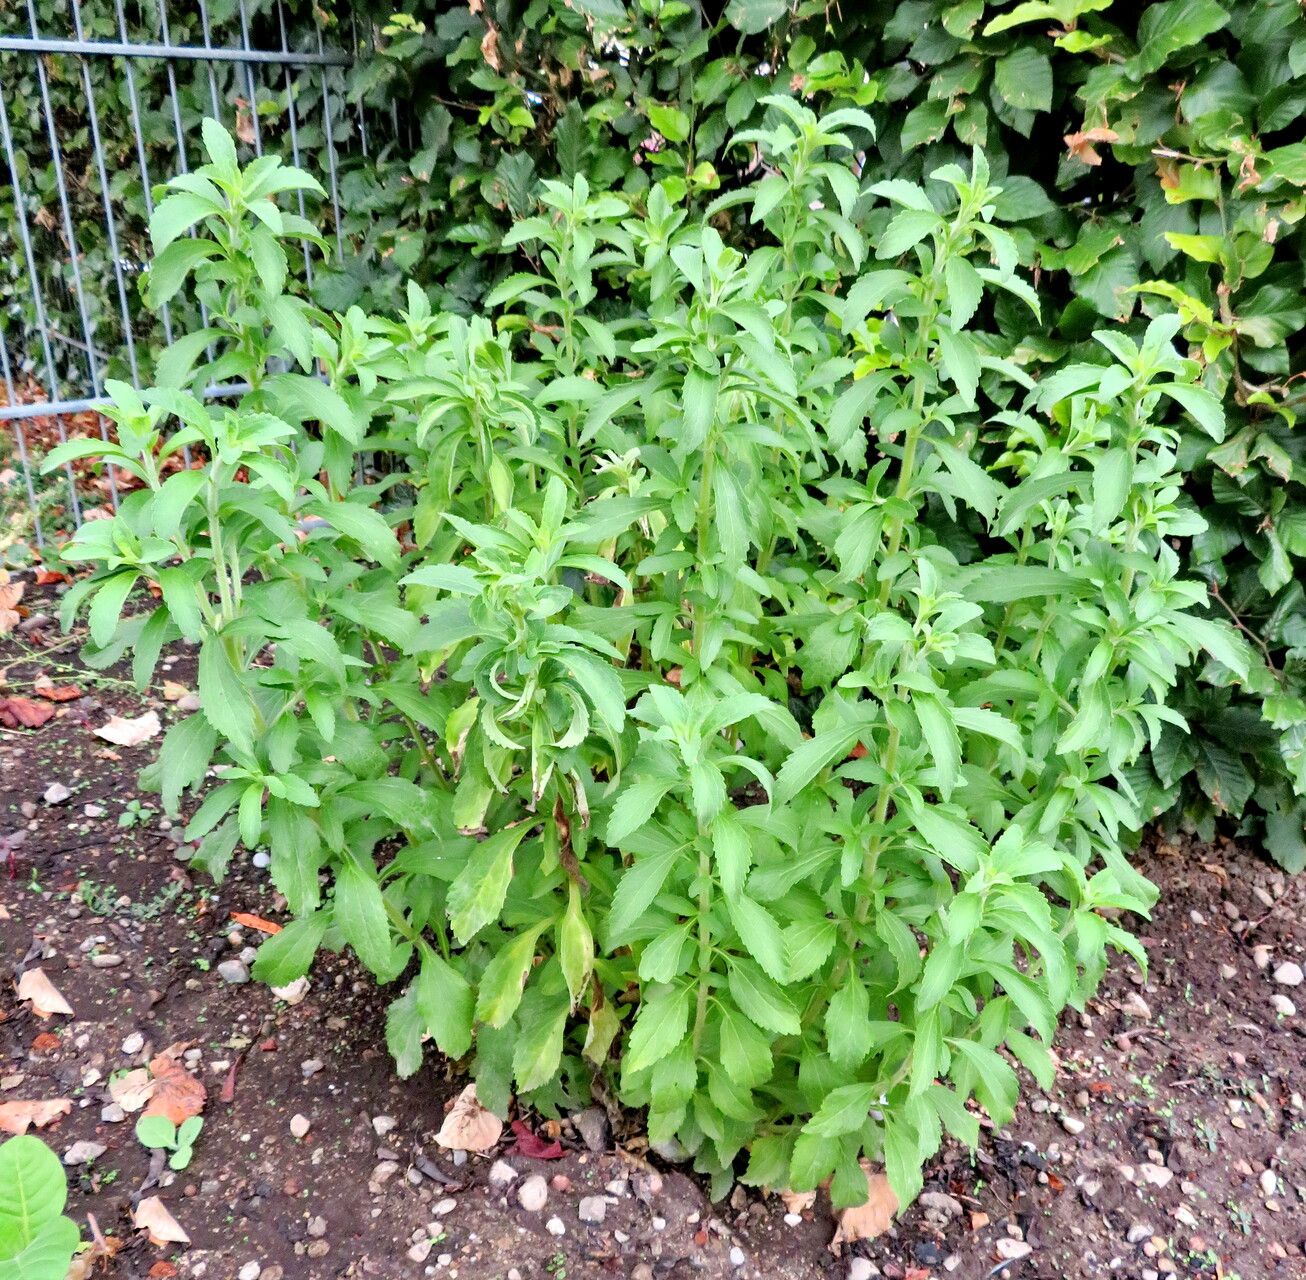
Oh, hello there! So glad you’re interested in bringing more of that lovely, natural sweetness into your life. Growing your own Stevia, or Stevia rebaudiana as it’s known to its friends, is such a rewarding endeavor. There’s something truly special about snipping a fresh leaf to sweeten your tea or morning smoothie, knowing you grew it yourself. And the best part? You can easily make more plants to share or expand your sweet harvest. For beginners, I’d say Stevia is a moderately easy plant to propagate, especially if you get the timing just right. It requires a little attention, but the payoff is well worth it.
The Best Time to Start
When it comes to Stevia, late spring to early summer is truly your golden window. Think about when your plants are in their most vigorous growth phase. After the last frost has passed and the days are getting longer and warmer, your Stevia plants will be sending out lots of fresh, healthy shoots. This is prime time for taking cuttings. Trying to propagate when the plant is stressed or dormant, like in the fall or winter, will likely lead to disappointment. We want happy, energetic plants for the best results!
Supplies You’ll Need
Gathering your supplies beforehand makes the whole process smooth sailing. Here’s what I keep on hand:
- Sharp Pruning Shears or a Craft Knife: Clean cuts are key, so make sure your tool is sharp and sanitized.
- Rooting Hormone (Optional but Recommended): This gel or powder really gives your cuttings a helpful boost.
- Small Pots or Seed Starting Trays: With drainage holes, of course!
- A Lightweight Potting Mix: I love a blend of half peat moss or coco coir and half perlite. It keeps things airy and drains beautifully. You can also use a good quality seed starting mix.
- Clear Plastic Bags or a Propagator Lid: To create a humid environment.
- Watering Can or Spray Bottle: For gentle watering.
Propagation Methods
There are a couple of ways to get more Stevia plants, but my go-to method is stem cuttings, as it’s generally the most reliable and effective.
Stem Cuttings:
- Choose Your Cuttings: Look for healthy, non-flowering stems on your mature Stevia plant. You want to select stems that are about 4-6 inches long. It’s best to take them from the side shoots rather than the main, woody stem.
- Make the Cut: Using your clean, sharp shears, make a clean cut just below a leaf node. A leaf node is where a leaf attaches to the stem. This is where the magic happens and roots will emerge.
- Prepare the Cuttings: Gently remove the lower leaves from your cuttings, leaving just a couple of leaves at the very top. If the remaining leaves are quite large, you can even snip them in half to reduce water loss.
- Apply Rooting Hormone (If Using): Dip the bottom inch of each cutting into your rooting hormone, tapping off any excess.
- Plant Your Cuttings: Fill your small pots or trays with your prepared potting mix. Make a small hole in the center of each pot with your finger or a pencil.
- Insert and Water: Gently place each cutting into its hole, ensuring the leaf nodes are buried in the soil. Firm the soil around the stem. Water thoroughly but gently, so the soil is moist but not waterlogged.
- Create Humidity: Cover the pots with a clear plastic bag, making sure the bag doesn’t touch the leaves too much, or use a propagator lid. Place them in a bright spot that receives indirect sunlight. Avoid direct sun, which can scorch the delicate cuttings.
Water Propagation (A Simpler Alternative):
If you prefer to skip the soil at first, this is a lovely option.
- Follow steps 1-3 from the stem cutting method.
- Place in Water: Fill a small jar or glass with clean water and place your prepared cuttings into it.
- Watch and Wait: Place the container in a bright spot with indirect light. Change the water every few days to keep it fresh. You should start to see tiny roots appearing within a couple of weeks, often from the leaf nodes.
- Pot Up: Once the roots are about an inch long, you can carefully transplant them into your potting mix, following step 5 and 6 from the stem cutting method. Be extra gentle with these newly rooted plants.
The “Secret Sauce” (Pro Tips)
You know, after years of playing with plants, you pick up a few little tricks that make all the difference.
- Don’t Let Those Leaves Touch the Water (If Water Propagating): When you’re water propagating, if the lower leaves stay submerged, they’ll rot. They need to be above the waterline. It’s such a simple thing, but it’s a game-changer for preventing mildew and rot.
- Bottom Heat is Your Friend: Stevia roots love a little warmth. If your home is on the cooler side, consider placing your pots on a heating mat designed for seedlings. It encourages faster root development. Just make sure it’s not so hot that it dries out the soil too quickly.
- Patience with the Patience: Stevia can be a bit slow to show progress, especially with cuttings. Don’t get discouraged if you don’t see much happening after a week or two. Keep them consistently moist and in that bright, indirect light. Rooting can take anywhere from 3-6 weeks, so settle in for the ride and check for new growth at the base.
Aftercare & Troubleshooting
Once you see signs of new growth – a tiny leaf unfurling or the cutting feeling a bit more secure when gently tugged – you know you’ve got roots!
Caring for Your New Sprouts:
- Gradual Acclimation: Once your cuttings have a good root system, you’ll want to gradually acclimate them to lower humidity. If you used a plastic bag, start opening it for a few hours each day, extending the time until you can remove it entirely.
- Watering: Continue to water them when the top inch of soil feels dry. They’re still delicate, so avoid overwatering.
- Light: They can slowly be moved to a spot with a bit more gentle light, but still avoid harsh, direct afternoon sun.
Common Signs of Trouble:
- Yellowing Leaves: This can be a sign of overwatering or poor drainage. Check your soil moisture and ensure those pots are draining well.
- Wilting or Limp Cutting: This is usually due to dehydration or rot. If it’s dry, give it a good water. If the stem feels slimy at the base or is blackening, it’s likely rot, and unfortunately, that cutting is probably lost. This is where good drainage and avoiding waterlogged soil are absolutely crucial.
- Mold or Fungus: This is often a sign of too much humidity combined with poor air circulation. Make sure your cuttings aren’t packed too tightly and that you’re allowing for some airflow.
Happy Gardening!
Propagating Stevia is a wonderful way to extend your harvest and share the sweetness. Remember to be patient with your plant babies. Each snipped stem is a promise of future sweetness. Enjoy the process, observe your plants, and celebrate every tiny sign of success. Happy growing, and may your tea always be perfectly sweet!
Resource:
https://identify.plantnet.org/k-world-flora/species/Stevia%20rebaudiana%20(Bertoni)%20Bertoni/data