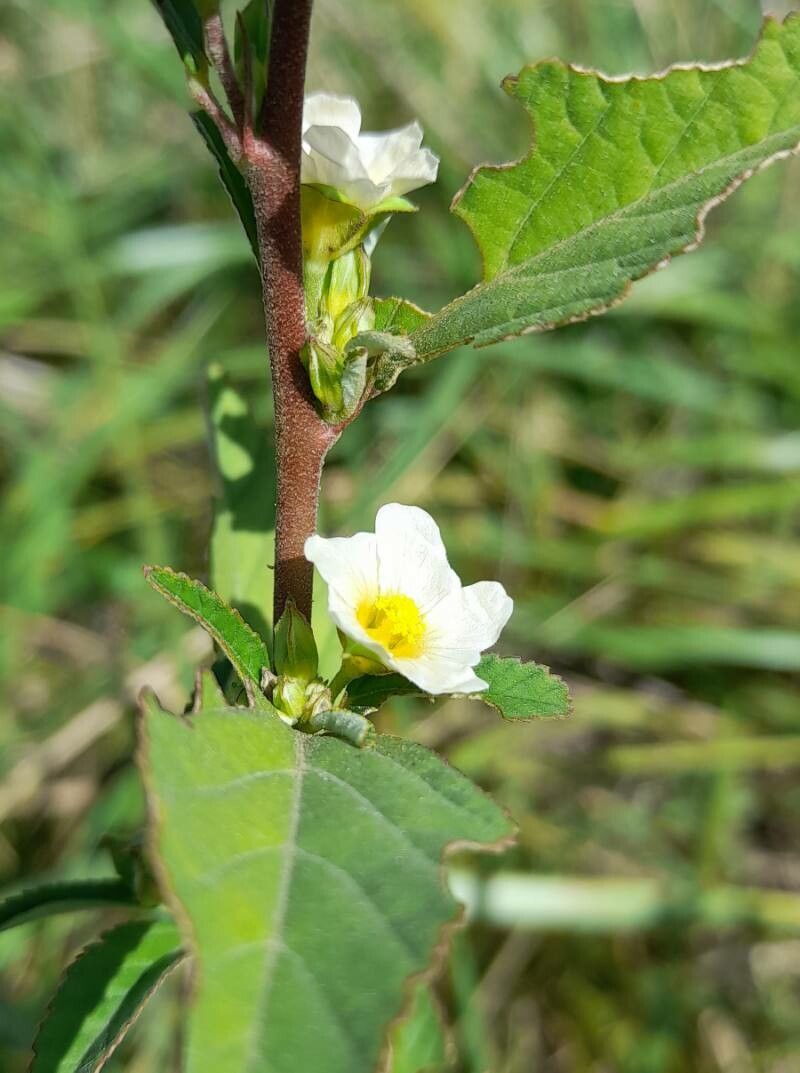
Hello fellow plant lovers! Today, we’re diving into the wonderful world of propagating Sida spinosa, also known as Prickly Sida or Thorny Sida. Now, I know that name might sound a little intimidating, but trust me, this plant is a real charmer in the garden. It’s got these lovely, cheerful yellow flowers that keep blooming for ages, attracting all sorts of beneficial insects. Plus, watching a tiny cutting transform into a thriving plant is one of the most satisfying parts of gardening, don’t you think? I find Sida spinosa to be a really rewarding plant to propagate, and I’d say beginners will find it quite manageable.
The Best Time to Start
For the best chance of success, I always recommend working with Sida spinosa in the late spring or early summer. This is when the plant is actively growing and has plenty of energy to put into developing new roots. You’ll want to take cuttings from healthy, new growth that hasn’t yet flowered. Think of it as borrowing a bit of that youthful vigor!
Supplies You’ll Need
Gathering your tools beforehand makes the whole process much smoother. Here’s what I usually have on hand:
- Sharp pruning shears or a clean knife: For taking nice, clean cuttings.
- Small pots or seedling trays: With drainage holes, of course!
- A good potting mix: I like a mix that’s light and airy. A blend of peat moss, perlite, and a little compost usually does the trick. You want something that drains well but still holds a bit of moisture.
- Rooting hormone (optional but helpful): While Sida spinosa can root without it, a little dab can speed things up.
- A watering can or spray bottle: For gentle watering.
- A clear plastic bag or a propagator lid: To create a humid environment.
Propagation Methods
I’ve found the most reliable way to increase my Sida spinosa collection is through stem cuttings. It’s straightforward and usually gives great results.
- Take Your Cuttings: Find a healthy stem and use your sharp shears to cut a piece about 4-6 inches long. Make the cut just below a leaf node (where a leaf attaches to the stem). This is where the magic happens!
- Prepare the Cuttings: Gently remove the leaves from the bottom half of your cutting. You can leave one or two sets of leaves at the top to help with photosynthesis. If your leaves are quite large, you can even snip them in half to reduce water loss.
- Apply Rooting Hormone (if using): Dip the cut end of the stem into your rooting hormone powder or gel. Tap off any excess.
- Plant Your Cuttings: Fill your pots or trays with your prepared potting mix. Make a small hole in the center of the mix with your finger or a pencil. Gently insert the cut end of your Sida spinosa cutting into the hole, ensuring it’s snug.
- Water Gently: Water the soil lightly, just enough to settle the mix around the cutting. You don’t want to drown them!
- Create Humidity: Place your pots inside a clear plastic bag, sealing it loosely, or cover them with a propagator lid. This creates a mini-greenhouse, keeping the humidity high which is crucial for cuttings to root.
The “Secret Sauce” (Pro Tips)
Now for a couple of my little secrets that have made a big difference for me:
- Bottom Heat is Your Friend: If you can, place your pots on a propagation mat or a warm windowsill. Sida spinosa roots much faster when its feet are warm. It’s like giving them a gentle heating pad to encourage those roots to unfurl.
- Don’t Overcrowd: Give your cuttings some space in their pots. When cuttings are too close together, they compete for light and air, and sometimes diseases can spread more easily. A little breathing room goes a long way!
- “Air Out” Regularly: Even with a loose bag, it’s a good idea to lift the plastic or lid for a few minutes each day. This helps prevent fungal issues and ensures fresh air circulation.
Aftercare & Troubleshooting
Once your cuttings are planted, place them in a bright spot but out of direct, scorching sunlight. Keep the soil consistently moist but not soggy. You’ll know your cuttings have rooted when you see new leaf growth appearing or when you gently tug on the cutting and feel resistance. This usually takes a few weeks.
The most common issue you might encounter is rot. This usually happens if the soil is too wet for too long, or if there isn’t enough air circulation. If you see a cutting looking mushy or discolored, sadly, it’s probably a goner. Just remove it immediately to prevent it from affecting others. Sometimes, cuttings just don’t take – and that’s okay! Gardening is all about learning and trying again.
A Encouraging Closing
Propagating Sida spinosa is a journey, and like all good journeys, it’s about the experience. Be patient with your little plant babies, observe them, and celebrate every bit of progress. Happy propagating, and enjoy the satisfaction of growing your very own Sida spinosa plants!
Resource:
https://identify.plantnet.org/k-world-flora/species/Sida%20spinosa%20L./data