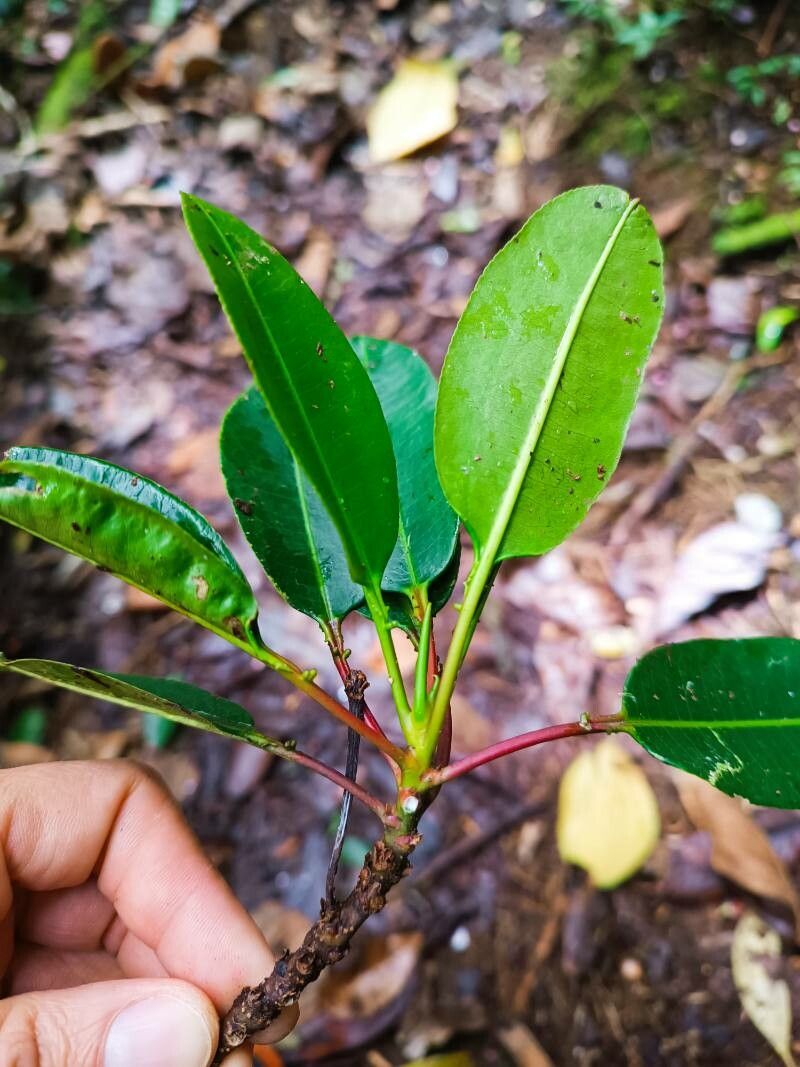
Oh, hello there! Come on in and grab a mug. I’m so glad you’re interested in propagating Sapium stylare, or as some of us affectionately call it, the “star sapium.” This plant is an absolute joy. Its glossy, often dark leaves have a beautiful sheen, and when it’s happy, it can put on a really attractive display. Plus, there’s something incredibly satisfying about watching a tiny cutting transform into a thriving new plant. For beginners, I’d say Sapium stylare falls into the moderately easy category. It’s not quite a “throw it in a pot and forget it” kind of plant for propagation, but with a little attention, you’ll be successful.
The Best Time to Start
For the most success with Sapium stylare, aim for the late spring or early summer. This is when the plant is actively growing and has plenty of energy to spare. You’ll want to take cuttings from stems that are firm but not woody. Think of it like this: you want new growth, but it needs to have a bit of substance to it. Avoid taking cuttings from very soft, floppy new shoots or from completely old, established wood.
Supplies You’ll Need
Gathering your supplies beforehand makes the whole process so much smoother. Here’s what I usually have on hand:
- Sharp pruning shears or a clean, sharp knife: For making clean cuts.
- Rooting hormone: A powder or gel form works well. It really gives your cuttings a helping hand.
- Small pots or seed trays: With good drainage holes, of course!
- A well-draining potting mix: I like a blend of peat moss, perlite, and a little coarse sand. You can also find specific cactus or succulent mixes that work nicely.
- A spray bottle: For keeping your cuttings and soil lightly moist.
- Plastic bags or a propagator lid: To create a humid environment.
Propagation Methods
We’ll focus on the most reliable method for Sapium stylare: stem cuttings.
- Select Your Stems: Look for healthy stems that are about 4-6 inches long. You want at least a couple of leaf nodes along the stem.
- Make the Cut: Using your clean pruning shears or knife, make a cut just below a leaf node. This is where the magic happens for root formation.
- Prepare the Cutting: Gently remove the lower leaves from the stem, leaving just two or three leaves at the top. This prevents them from rotting when buried in the soil.
- Apply Rooting Hormone: Dip the cut end of the stem into your rooting hormone, tapping off any excess. This step is really beneficial.
- Potting Up: Fill your small pots or trays with your well-draining potting mix. Make a small hole in the center of the mix with your finger or a pencil.
- Planting the Cutting: Insert the cut end of the Sapium stylare cutting into the hole, ensuring the leaf nodes are buried under the soil. Gently firm the soil around the stem.
- Watering: Water lightly to settle the soil. You want the mix to be moist, but not waterlogged.
- Create Humidity: Cover the pots loosely with a clear plastic bag or place them in a propagator with a lid. This keeps the moisture in and your cutting from drying out.
The “Secret Sauce” (Pro Tips)
Now, for a few things I’ve learned over the years that can really boost your success:
- Avoid Waterlogging, But Don’t Let Them Dry Out: This is a delicate balance. Your cuttings need moisture to root, but too much sitting water will encourage rot, which is the enemy! I often find that when I use a plastic bag, I only need to water very sparingly, maybe once every week or two. If you see condensation building up excessively on the bag, whip it off for a few hours to let things air out.
- Gentle Bottom Heat is Your Friend: If you can, placing your pots on a gentle heat mat designed for seedlings can make a huge difference. It encourages root development from the bottom up and really speeds things along. You don’t want it too hot, just a gentle warmth.
Aftercare & Troubleshooting
Once your cuttings have been planted, place them in a spot with bright, indirect light. Avoid direct sun, as this can scorch the young leaves. Keep the soil consistently lightly moist.
You should start to see signs of rooting after 4-8 weeks. You can gently tug on a cutting; if you feel resistance, roots are forming! Once they’re well-rooted, you can transplant them into slightly larger pots.
The most common issue you’ll face is rot. If you see your cutting turning black and mushy, it’s usually a sign of too much moisture and not enough air circulation. Unfortunately, at that point, it’s often best to discard it and start again. Another sign of failure is if the leaves start to wilt and turn yellow, usually indicating it’s too dry.
A Encouraging Closing
Propagating plants is a journey, and sometimes it requires a bit of patience. Don’t get discouraged if your first attempt isn’t perfect. Each cutting you take is a learning experience. Enjoy the process of nurturing these new little lives. You’ve got this! Happy propagating!
Resource:
https://identify.plantnet.org/k-world-flora/species/Sapium%20stylare%20Müll.Arg./data