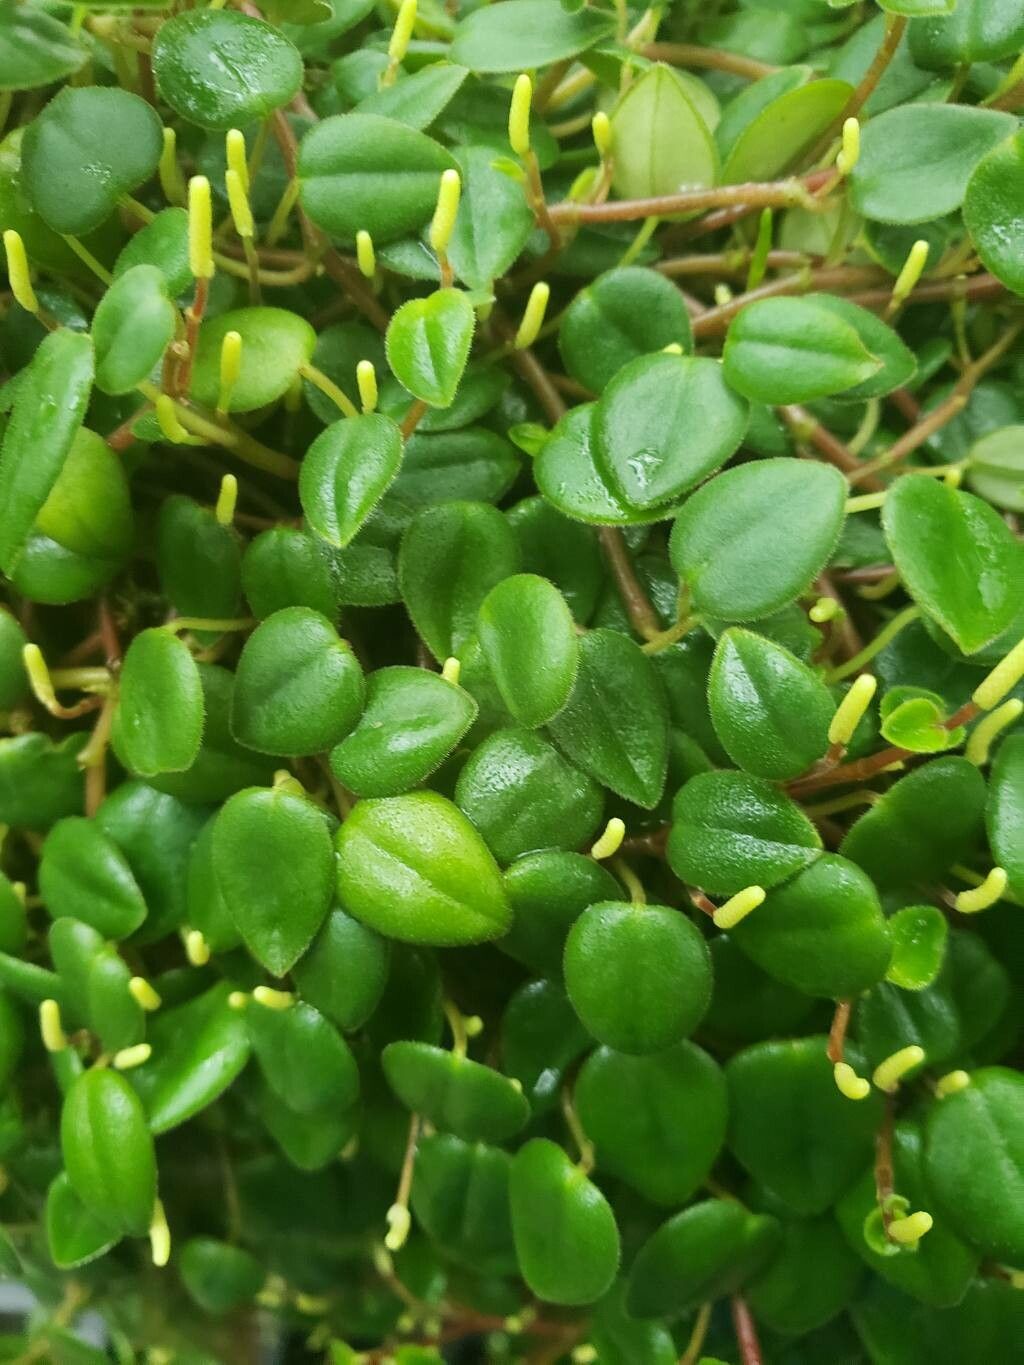
Hello fellow plant lovers! Today, we’re diving into the wonderful world of Peperomia fagerlindii. If you’ve ever admired its uniquely shaped, almost architectural leaves – those little rippled beauties that look like tiny watermelon slices – then you’re in for a treat. Propagating these gems is incredibly rewarding. It’s how I’ve filled my home with these charming plants, and I’m so excited to show you how you can too. Honestly, for beginners, this is a wonderfully accessible plant to try your hand at propagation!
The Best Time to Start
The sweet spot for propagating Peperomia fagerlindii is definitely during its active growing season. Think spring and summer. The plant is full of energy then, and new cuttings will have the best chance of rooting quickly and happily. Trying in the dead of winter can be a bit more of a gamble, as growth slows down.
Supplies You’ll Need
Gathering your tools beforehand makes the whole process so much smoother. Here’s what I always have on hand:
- Sharp, clean pruning shears or a knife. Sterilizing them with rubbing alcohol is a must!
- A well-draining potting mix. I usually combine regular potting soil with perlite and a bit of orchid bark for extra aeration.
- Small pots or propagation trays. These don’t need to be big at all.
- Clear plastic bags or a propagation dome. This helps create a humid environment.
- Rooting hormone (optional, but can speed things up).
- A spray bottle filled with water.
- Labels for your cuttings – trust me, you’ll thank me later!
Propagation Methods
Peperomia fagerlindii is a trooper and is quite forgiving. Here are my go-to methods:
Stem Cuttings
This is usually my first choice.
- Find a healthy stem. Look for a mature, healthy stem that’s at least a few inches long.
- Make a clean cut. Just below a leaf node (where the leaf attaches to the stem), make a clean cut with your sterilized shears.
- Prepare the cutting. Gently remove the lower leaves. You want at least two or three leaves remaining at the top. If the leaves are very large, you can even cut them in half to reduce water loss.
- Apply rooting hormone (optional). Dip the cut end into rooting hormone if you’re using it.
- Plant it. Fill your small pot with your prepared potting mix. Make a small hole with your finger or a pencil, and gently insert the stem cutting, ensuring the leaf nodes are buried. Firm the soil gently around the stem.
- Water and cover. Water the soil lightly. Then, cover the pot with a clear plastic bag or place it under a propagation dome. This creates a mini greenhouse.
Leaf Cuttings
You can also propagate from just a leaf, which is pretty neat!
- Select a healthy leaf. Choose a plump, healthy leaf.
- Cut the leaf. Carefully cut the leaf off at the stem, making sure to get a small piece of the stem attached.
- Prepare the cutting. If the leaf is very large, you can cut the leaf in half vertically, down the midrib.
- Plant it. Insert the cut end (the part that was attached to the stem) into your potting mix. Make sure the cut is making good contact with the soil.
- Water and cover. Water gently and cover with a plastic bag or dome.
The “Secret Sauce” (Pro Tips)
Here’s a little bit of what I’ve learned over the years:
- Don’t let the leaves touch the water if you’re water propagating. If you opt for water propagation (which also works!), make sure only the stem is submerged, not the leaves themselves. Soggy leaves are a fast track to rot.
- Bottom heat is your friend. Providing a little warmth from underneath, perhaps with a seedling heat mat set to a low temperature, can significantly speed up root development. It mimics the warmth of spring soil.
- Patience is key with leaf cuttings. For leaf cuttings, don’t get discouraged if it takes a few weeks. You’re waiting for new baby plants to emerge from the soil near the base of the leaf.
Aftercare & Troubleshooting
Once your cuttings have established roots (you’ll know when they resist a gentle tug or you see new leaf growth), it’s time for a bit more attention.
- Gradually acclimate. Slowly start removing the plastic bag or dome over a few days to get your new plants used to normal humidity.
- Watering. Water when the top inch of soil feels dry. Avoid waterlogging.
- Light. Place them in bright, indirect light. Direct sun can scorch young leaves.
What if things go wrong? The most common issue is rot. If your cutting turns mushy and black, it’s usually a sign of too much moisture and not enough air circulation. If you see signs of rot, remove the affected part immediately and try to improve drainage and air flow around your other cuttings. Yellowing leaves can sometimes mean it’s getting too much water, while wilting can indicate it’s too dry.
A Word of Encouragement
Propagating plants is truly a journey, and Peperomia fagerlindii is a delightful travel companion. Don’t be afraid to experiment, and remember that every cutting is a learning opportunity. Be patient, enjoy the process of nurturing new life, and before you know it, you’ll have an abundance of these lovely plants to admire and share. Happy growing!
Resource:
https://identify.plantnet.org/k-world-flora/species/Peperomia%20fagerlindii%20Yunck./data