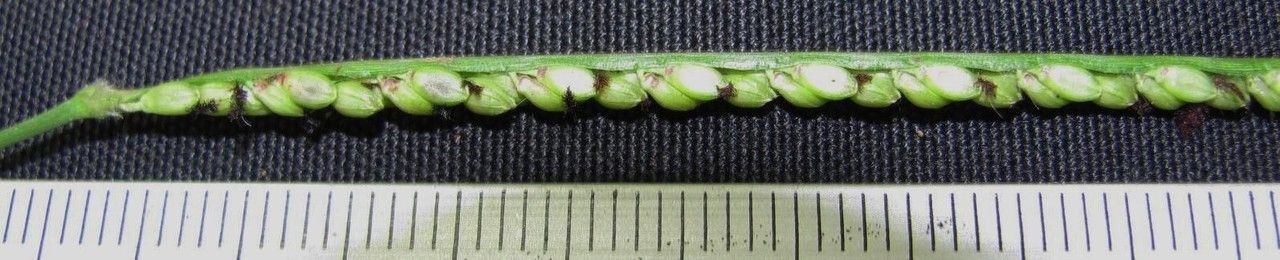
Hello there, fellow plant enthusiasts! It’s so lovely to have you join me for a chat about Paspalum pilosum. If you’re like me, you’ve probably fallen for its elegant, arching blades and its subtle, whispering charm in the garden. It’s one of those grasses that adds a layer of soft texture and movement, a real breath of fresh air. And the best part? Bringing more of this beauty into your life is surprisingly easy, making it a wonderfully rewarding project for even those just dipping their toes into the gardening world. You’ll be amazed at how quickly you can fill those empty spots or share your love with friends.
The Best Time to Start
For Paspalum pilosum, patience is key, and timing is everything. The absolute best time to get your propagation on is during its active growing season. Here in my neck of the woods, that generally means late spring through early to mid-summer. You’re looking for healthy, vigorous growth. Avoid trying to propagate from plants that are stressed, dormant, or just coming out of winter. Think of it like baking – you want your ingredients to be at their peak for the best results!
Supplies You’ll Need
Gathering your tools before you begin makes the whole process flow so much smoother. Here’s what I always have on hand:
- Sharp Pruning Shears or a Clean Knife: For making nice, clean cuts.
- Rooting Hormone (Optional but Recommended): A little boost never hurts. Look for one with IBA (indole-3-butyric acid).
- Well-Draining Potting Mix: I like a blend of equal parts peat moss, perlite, and coarse sand. Or, for a quicker option, a good quality seed-starting or cactus mix works wonders.
- Small Pots or Trays: Clean, with drainage holes, of course! Seedling pots or small nursery pots are perfect.
- Watering Can or Spray Bottle: For gentle watering.
- Plastic Bags or a Propagator: To create a humid microclimate.
Propagation Methods
Paspalum pilosum is wonderfully versatile, and you can have success with a couple of different approaches. I usually lean towards these two:
1. Stem Cuttings
This is my go-to method for Paspalum pilosum. It’s efficient and you can get multiple plants from one parent.
- Select Your Mother Plant: Find a healthy Paspalum pilosum with plenty of new, green growth.
- Take Your Cuttings: Using your sharp pruners, snip off healthy stem sections that are about 4-6 inches long. Look for stems that have at least two nodes (where leaves attach to the stem). Remove the lower leaves from the cutting, leaving just one or two at the very top.
- Prepare the Cutting: If you’re using rooting hormone, dip the cut end into it, tapping off any excess. This helps encourage root formation.
- Plant Your Cuttings: Fill your small pots or trays with your prepared potting mix. Make a small hole with your finger or a pencil and insert the cut end of the Paspalum pilosum cutting about an inch deep. Gently firm the soil around the stem.
- Water Gently: Give your cuttings a light watering. You want the soil to be moist but not soggy.
- Create Humidity: Cover the pots loosely with a plastic bag or place them in a propagator. This keeps the humidity high, which is crucial for cuttings while they’re developing roots. Poke a few small holes in the bag for a bit of air circulation.
2. Division
This method is perfect when your Paspalum pilosum has become a bit too large for its pot, or if you want to rejuvenate a clump in the garden.
- Prepare Your Plant: Water the Paspalum pilosum thoroughly a day or two before you plan to divide it. This helps the root ball stay together.
- Remove from Pot (if applicable): If the plant is in a pot, carefully tip it out. If it’s in the ground, gently dig around the perimeter and lift the entire clump.
- Divide the Clump: You can use your hands, a clean trowel, or even two forks to gently pull the root ball apart into smaller sections. Each section should have plenty of roots and some healthy foliage. Don’t be afraid to be a little firm, but avoid tearing the roots unnecessarily.
- Replant Immediately: You can pot up these divisions into their own containers or replant them directly into the garden. Use the same well-draining potting mix if potting.
- Water Well: Water each new division generously to help them settle in.
The “Secret Sauce” (Pro Tips)
Here are a few little tricks I’ve picked up over the years that really make a difference:
- Think “Cleanliness is Next to Godliness”: Always use sterilized tools. That means wiping down your pruners or knife with rubbing alcohol between cuts, especially if you’re working with multiple plants. This prevents the spread of any nasty bugs or diseases.
- Bottom Heat is Your Friend (for cuttings): For stem cuttings, placing them on a heat mat designed for propagation can significantly speed up root development. It mimics the warmth of spring soil and gives those roots a gentle nudge to get growing. Just a little warmth can make a world of difference!
- Don’t Drown Your Dreams (or your cuttings): Overwatering is the number one killer of cuttings. The soil should be consistently moist, like a wrung-out sponge, not waterlogged. If you see water pooling in the bottom of the pot, you’ve gone too far.
Aftercare & Troubleshooting
Once your Paspalum pilosum cuttings have started to show signs of life – usually new leaf growth appearing at the top – it’s time for a little tender loving care.
- Acclimatize: Gradually reduce the humidity by opening up the plastic bag or propagator a little each day over a week or two. This helps your new plant get used to regular room air.
- Light: Place your propagated plants in bright, indirect light. Avoid direct, scorching sun, which can be too intense for these delicate newcomers.
- Watering: Continue to water when the top inch of soil feels dry. As the plant matures and develops a stronger root system, you can treat it like any other established Paspalum pilosum.
Now, what if things aren’t quite going to plan? The most common issues you might encounter are rot (mushy stems at the soil line) or wilting. Rot is almost always a sign of overwatering, so ease up on the water and ensure good drainage. Wilting can happen if the cutting is too dry or hasn’t developed enough roots to support the foliage yet. Re-check your humidity levels and ensure the soil is consistently moist. Don’t be discouraged if a few don’t make it – it’s all part of the learning process!
A Encouraging Closing
There you have it! Propagating Paspalum pilosum is a delightful way to multiply your garden’s beauty. Be patient with your new plants, celebrate every little sign of progress, and most importantly, enjoy the incredibly satisfying journey of nurturing life from a simple cutting or division. Happy gardening!
Resource:
https://identify.plantnet.org/k-world-flora/species/Paspalum%20pilosum%20Lam./data