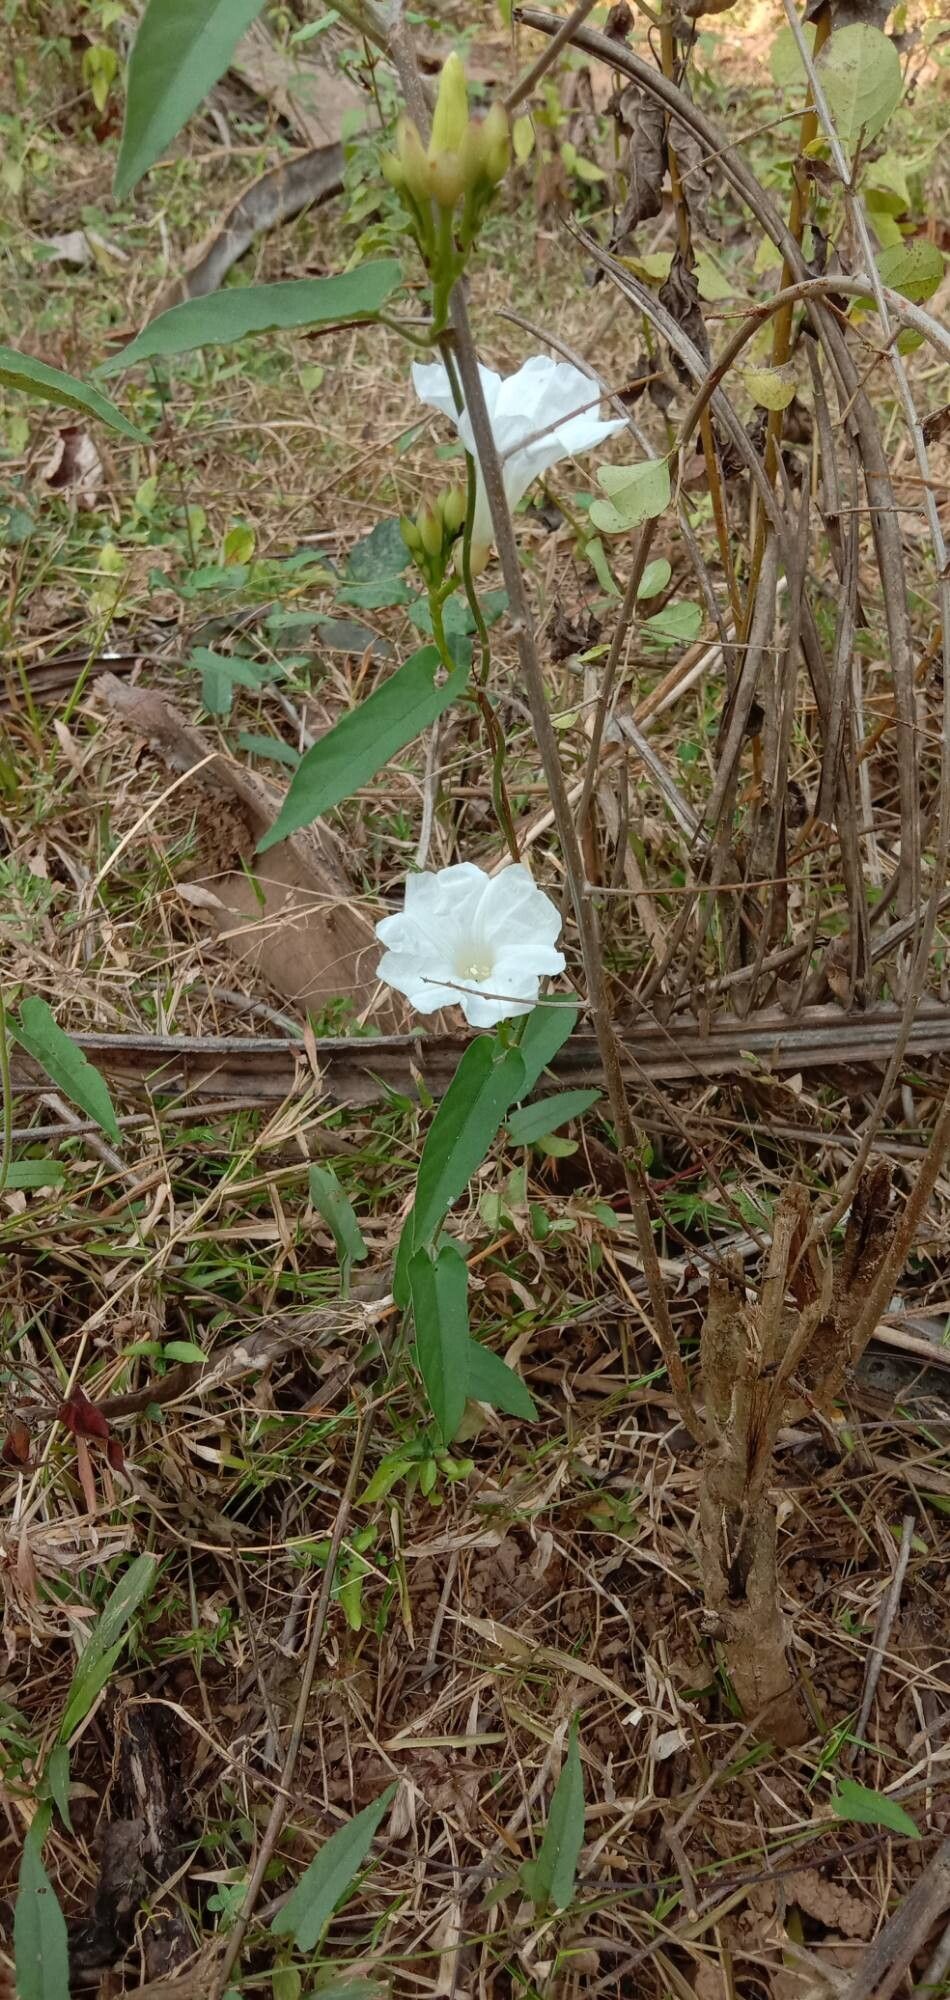
Hello there, green thumbs! Today, we’re diving into the wonderful world of propagating Operculina turpethum, also known as the Indian Jalap. If you’re drawn to its beautiful trumpet-shaped flowers, or perhaps its fascinating medicinal history, you’re in for a treat. Growing new plants from your existing ones is one of the most satisfying parts of gardening, and I’m excited to share how you can successfully propagate this lovely vine.
Now, about beginners – I’d say Operculina turpethum is moderately easy to propagate. It’s not a fiddly plant, but a little understanding of its needs goes a long way. Don’t be discouraged if your first attempt isn’t perfect; gardening is always a learning journey.
The Best Time to Start
For the highest success rate with Operculina turpethum, I always reach for my pruners in late spring or early summer. This is when the plant is actively growing, and the new stems have the best energy reserves to put into rooting. You’re looking for stems that are a bit firm but still pliable – not brand new, floppy growth, and definitely not old, woody material.
Supplies You’ll Need
Gathering your tools beforehand makes the process so much smoother. Here’s what I usually have on hand:
- Sharp, clean pruning shears or a sharp knife: Essential for making clean cuts.
- Rooting hormone (optional, but recommended): A powder or gel to encourage faster root development.
- A well-draining potting mix: I like a blend of peat moss, perlite, and a bit of compost. For this plant, good drainage is key.
- Small pots or seedling trays: Clean and with drainage holes.
- Plastic bag or propagation dome: To create a humid environment.
- Watering can or spray bottle: For gentle watering.
- Labels: To remember what you’ve planted where and when!
Propagation Methods
While Operculina turpethum can be grown from seed, stem cuttings are generally the most reliable and straightforward method for us home gardeners.
Stem Cuttings
- Select your cuttings: As mentioned, aim for healthy, semi-hardwood stems. Look for sections that have at least two to three sets of leaves.
- Make the cut: Using your sharp shears, take stem cuttings that are about 4-6 inches long. Make the cut just below a leaf node. This is a critical spot where roots are most likely to form.
- Prepare the cuttings: Gently remove the lower leaves from the cutting, leaving just the top one or two sets. If the leaves are very large, you can even cut them in half horizontally to reduce water loss through transpiration.
- Apply rooting hormone (optional): Dip the cut end of the stem into your rooting hormone, tapping off any excess.
- Plant the cuttings: Fill your small pots or trays with your prepared, well-draining potting mix. Moisten the soil lightly. Make a small hole with a pencil or your finger in the center of the pot.
- Insert the cuttings: Place the cut end of the stem into the hole, ensuring that at least one leaf node is buried beneath the soil surface. Gently firm the soil around the cutting.
- Create humidity: Water the soil gently. Then, cover the pot with a plastic bag, propping it up with stakes so it doesn’t touch the leaves. Alternatively, use a clear propagation dome. This creates a mini-greenhouse effect, which is crucial for cuttings to root.
The “Secret Sauce” (Pro Tips)
Here are a few things I’ve learned over the years that make a real difference:
- Bottom warmth is your friend: Many plants, including Operculina turpethum, root much faster when their base is kept warm. I highly recommend using a heat mat designed for seedlings. It can dramatically cut down rooting time. Place your pots on top of it.
- Don’t drown them: While you want the soil to stay consistently moist, it should never be waterlogged. If you’re using a clear pot or tray, you’ll be able to see the roots forming. Once they appear, you can start watering a bit less frequently, allowing the top layer of soil to dry slightly between waterings.
- Patience with leaves: If you choose water propagation (which can work for Operculina turpethum, though I often prefer soil), make absolutely sure that no leaves are submerged in the water. Only the stem should be in the water. Leaves sitting in water tend to rot, which can then infect the stem.
Aftercare & Troubleshooting
Once you start seeing tiny white roots emerging from the drainage holes, or new leaves unfurling, you’ve got it made!
- Gradual acclimatization: Slowly remove the plastic bag or dome over a few days to get your new plant used to the ambient humidity.
- Pricking out: Once the cuttings have a good root system, you can transplant them into slightly larger pots with your regular potting mix.
- Watering: Continue to keep the soil consistently moist but not soggy. As the plant grows, you can settle into a regular watering schedule, checking the soil moisture with your finger.
What if things go wrong? The most common culprit is root rot, usually caused by overwatering or poor drainage. If your cutting turns black and mushy, it’s best to discard it and start again. Another sign of trouble is wilting that doesn’t improve even when watered. This might indicate the cutting is simply not taking, or it could be a sign of disease. Don’t be disheartened by failures; they are simply opportunities to learn and improve.
A Encouraging Closing
So there you have it! Propagating Operculina turpethum is a rewarding endeavor that allows you to multiply the beauty and interest in your garden. Be patient, pay attention to your plant’s needs, and enjoy the process of nurturing these new little lives. Happy propagating!
Resource: