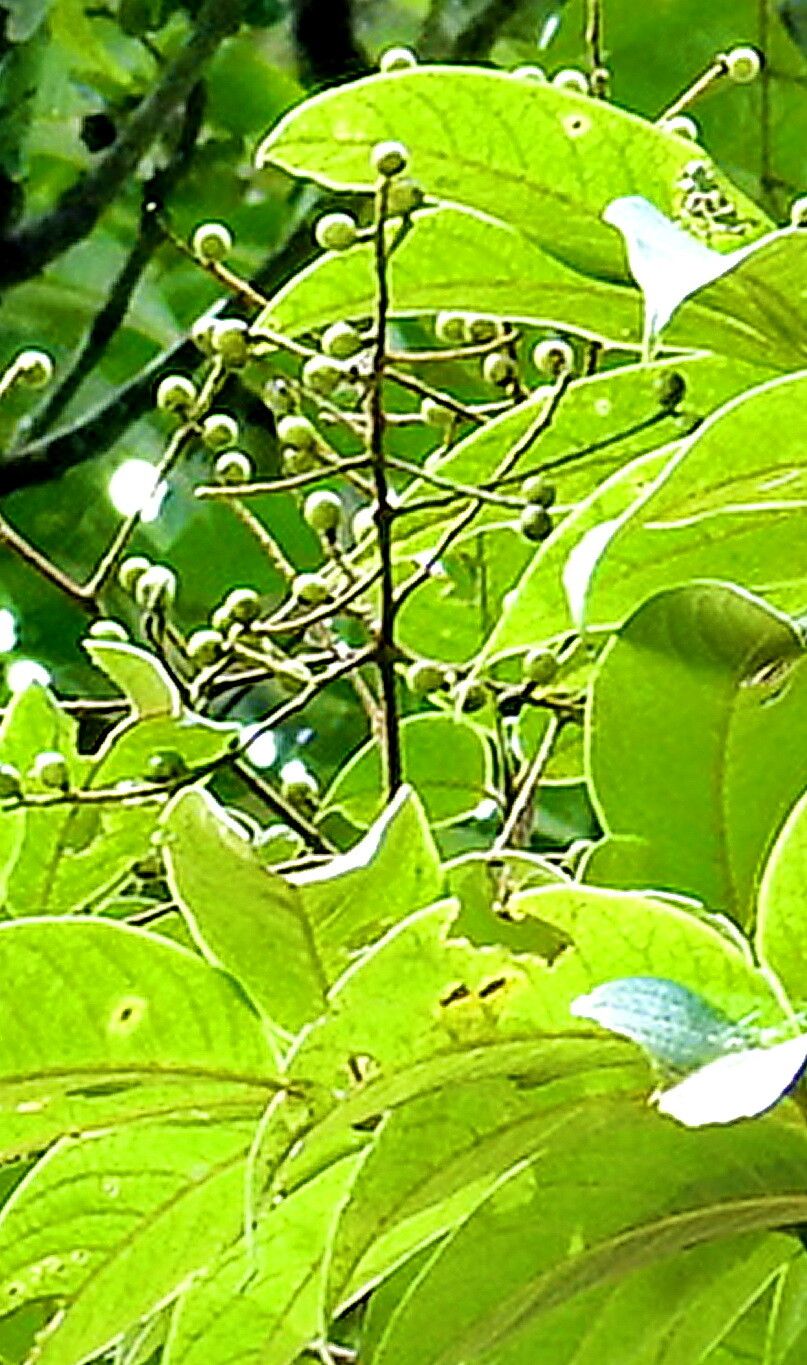
Oh, Meliosma pinnata! If you’ve ever admired its elegant, feathery foliage and delicate little white flowers that perfume the air with the faintest hint of jasmine, you know why this plant is a special one to have in the garden. Getting more of these beauties to grow yourself is such a satisfying endeavor. And while it might sound a little fancy, propagating Meliosma pinnata is actually quite do-able. We’ll break it down together.
The Best Time to Start
For the highest chance of success, I always recommend starting your Meliosma pinnata propagation in late spring or early summer. This is when the plant is actively growing and has plenty of energy reserves to put into developing new roots. We’re looking for what we call “softwood cuttings” – shoots that are new and flexible, but not brand new and floppy.
Supplies You’ll Need
Gathering your supplies beforehand makes the whole process much smoother. Here’s what you’ll want on hand:
- Sharp, clean pruning shears or a sharp knife: For making nice, clean cuts.
- Rooting hormone (optional but recommended): A powder or gel that encourages roots to form.
- Small pots or containers: Clean ones are key!
- A well-draining potting mix: I like to use a blend of peat moss or coco coir, perlite, and a little bit of coarse sand. Think airy!
- Plastic bags or propagation domes: To create a humid environment.
- Water: For misting and, well, for the plants!
- Labels and a marker: So you don’t forget what’s what!
Propagation Methods
Stem cuttings are our go-to for Meliosma pinnata. It’s straightforward and generally gives us the best results.
- Take Your Cuttings: On a beautiful morning, select a healthy shoot that’s about 4-6 inches long. Using your sharp shears, make a clean cut just below a leaf node (that little bump where a leaf attaches to the stem). Remove the lower leaves, leaving just two or three at the very top.
- Prepare the Cuttings: If you’re using rooting hormone, dip the cut end of the stem into it, tapping off any excess. Don’t be shy with the hormone if you have it!
- Pot Them Up: Fill your clean pots with your prepared potting mix. Make a small hole in the center of each pot with your finger or a pencil. Gently insert the cutting into the hole, ensuring the leaf nodes are below the surface of the soil. Firm the soil gently around the base of the cutting.
- Create Humidity: Water the soil thoroughly but gently. Then, cover the pot with a plastic bag, creating a mini-greenhouse. You can use stakes to keep the bag from touching the leaves. Alternatively, a propagation dome works wonderfully. Place the pots in a bright spot that doesn’t get direct, hot sun.
The “Secret Sauce” (Pro Tips)
Here are a couple of things I’ve learned over the years that really nudge things in the right direction:
- Don’t let the leaves touch the water: If you happen to be trying a water propagation method (though cuttings in soil are usually more reliable here), ensure that only the stem is submerged. Any leaves in the water are just asking for trouble and can lead to rot.
- Bottom heat makes a difference: If you have a seedling heat mat, placing your pots on it can significantly speed up root development. New roots love a little warmth from below!
Aftercare & Troubleshooting
Once your cuttings are happily nestled in their new pots, keep the soil consistently moist but not waterlogged. Misting the leaves occasionally also helps maintain humidity. You can gently tug on a cutting after a few weeks to see if it resists – that’s a good sign roots are forming!
The biggest challenge you might face is rot. If you see your cutting turning mushy and black, it’s usually a sign of too much moisture and not enough air circulation. Don’t be discouraged! It happens to the best of us. Just toss the rotten bit and try again, perhaps with slightly less water or a bit more perlite in your mix.
A Encouraging Closing
Propagating plants is a beautiful dance with nature. Be patient with your Meliosma pinnata cuttings. It might take a few weeks, or even a couple of months, for roots to establish. Celebrate each tiny success, and enjoy the rewarding journey of growing your own little piece of that lovely plant. Happy propagating!
Resource:
https://identify.plantnet.org/k-world-flora/species/Meliosma%20pinnata%20(Roxb.)%20Maxim./data