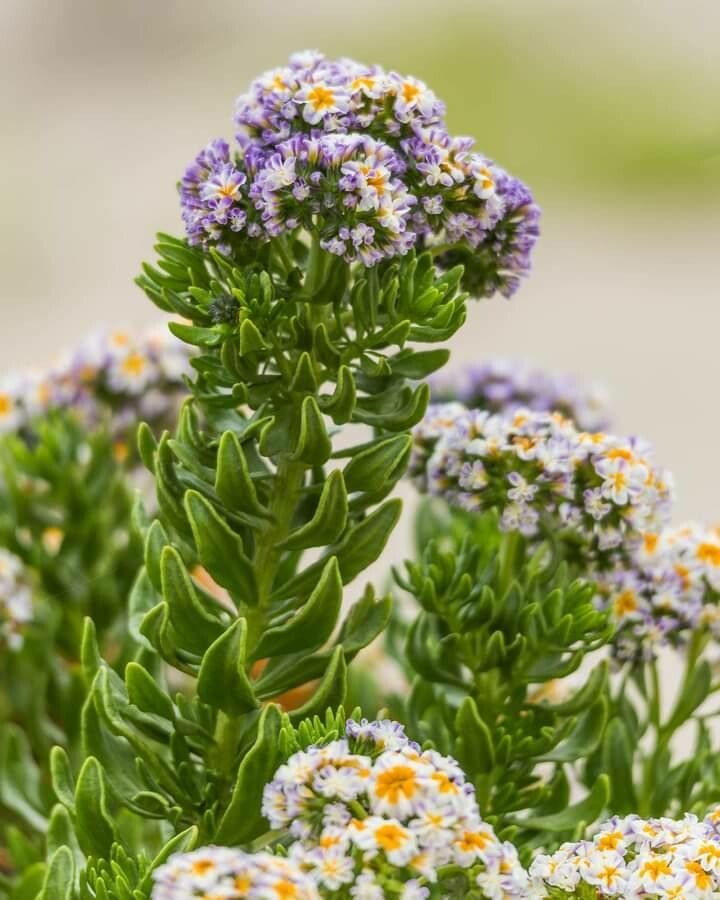
Oh, hello there! Pull up a chair and let’s chat about one of my absolute favorite garden treasures: Heliotropium chenopodiaceum, or as many of us affectionately call it, the fragrant heliotrope. Isn’t its scent just divine? That sweet, vanilla-like perfume that drifts through the garden on a warm evening is pure magic. And the beautiful clusters of tiny blue flowers? They’re like little jewels against the foliage.
If you’ve ever fallen in love with this plant, you’ll be thrilled to know that growing more of them is surprisingly achievable. It’s a wonderfully rewarding process, and I’m excited to share how I do it. For beginners, I’d say taking cuttings is moderately easy, but with a few key pointers, your success rate will skyrocket.
The Best Time to Start
When it comes to coaxing new life from existing plants, timing is everything. For heliotrope, the sweet spot is late spring to mid-summer. This is when the plant is in its most vigorous growth phase. You’ll be taking cuttings from healthy, actively growing stems, which have the best chance of rooting quickly and successfully. Trying to propagate from tired, old wood just won’t give you the same results.
Supplies You’ll Need
Gathering your tools beforehand makes the whole process much smoother. Here’s what I always have on hand:
- Sharp, clean pruning shears or a sharp knife: Cleanliness is crucial to prevent introducing diseases.
- Small pots or trays: Yogurt cups with drainage holes poked in the bottom work in a pinch!
- A good quality seed-starting mix or a light potting mix: Something well-draining is key. I often mix in a bit of perlite for extra aeration.
- Rooting hormone (optional but recommended): This little helper gives cuttings a significant boost.
- A clear plastic bag or a propagator lid: To create a humid environment for your cuttings.
- Water: For misting.
- A spray bottle: For gentle watering.
- A dibber or a pencil: To make planting holes.
Propagation Methods: Stem Cuttings
This is my go-to method for heliotrope, and I find it yields the most reliable results.
- Select Your Cuttings: From a healthy, mature plant, choose young, non-flowering shoots. Look for stems that are flexible but not floppy. You want stems that are a few inches long.
- Make the Cut: Using your clean shears or knife, take cuttings just below a leaf node. A leaf node is where a leaf attaches to the stem. This is where the magic happens, where root-forming cells are concentrated.
- Prepare the Cuttings: Gently remove the lower leaves from the cutting, leaving only two or three leaves at the very top. This prevents them from rotting in the soil and reduces moisture loss. If your leaves are quite large, I sometimes snip them in half.
- Apply Rooting Hormone (Optional): If you’re using rooting hormone, dip the cut end of the stem into the powder or gel. Tap off any excess.
- Pot Them Up: Fill your small pots or trays with your prepared potting mix. Make a hole in the center with your dibber or a pencil. Gently place the cutting into the hole, ensuring the node where you removed the leaves is buried in the soil. Firm the soil gently around the stem.
- Water and Cover: Water the soil lightly. Then, cover the pots with a clear plastic bag or a propagator lid. This creates a mini-greenhouse, keeping the humidity high, which is vital for cuttings to root. You can secure the bag with a rubber band.
The “Secret Sauce” (Pro Tips)
Now, for a few little tricks that have made all the difference in my propagation journey:
- Don’t let those precious leaves touch the water! If you’re doing water propagation (which you can certainly try with heliotrope, though I find cuttings in soil more successful), make sure only the stem is submerged, not the leaves. Leaves sitting in water are a fast track to rot.
- Bottom heat is your friend. If you have a heat mat designed for seedlings, placing your pots on it can speed up rooting considerably. It mimics the warmth of the soil in the summer, encouraging those roots to explore.
- Patience is a virtue, but observation is key. Don’t constantly pull up your cuttings to check for roots! Trust the process. Instead, look for signs of new growth at the top of the stem, or give the cutting a very gentle tug. If you feel resistance, you’ve got roots.
Aftercare & Troubleshooting
Once you see tiny roots peeking out from the drainage holes or new growth appearing, your cutting has officially rooted!
- Gradual Acclimatization: Gradually remove the plastic bag or propagator lid over a few days. This allows the new plant to adjust to the drier air of your home or greenhouse.
- Watering: Water when the top inch of soil feels dry. Avoid overwatering, as this is the most common culprit for failure.
- Light: Place your newly rooted plants in a bright spot, but avoid direct, harsh sunlight until they are well-established.
- Repotting: Once the roots have filled the small pot, you can carefully transplant them into slightly larger containers.
The most common sign of trouble is sudden wilting and blackening of the stem or leaves. This is usually a sign of rot, often caused by overwatering or poor drainage. If you spot this, it’s often best to discard the affected cutting to prevent it from spreading. Sometimes, a cutting might just fail to root and stay stubbornly inert. Don’t get discouraged! It happens to all of us. Just try again.
A Word of Encouragement
See? It’s not as daunting as it might seem! Propagating heliotrope is a delightful way to multiply your garden’s beauty and fragrance. Be patient with your little plant babies, give them the right conditions, and celebrate each success. Happy propagating, and may your gardens be filled with the sweet scent of heliotrope!
Resource: