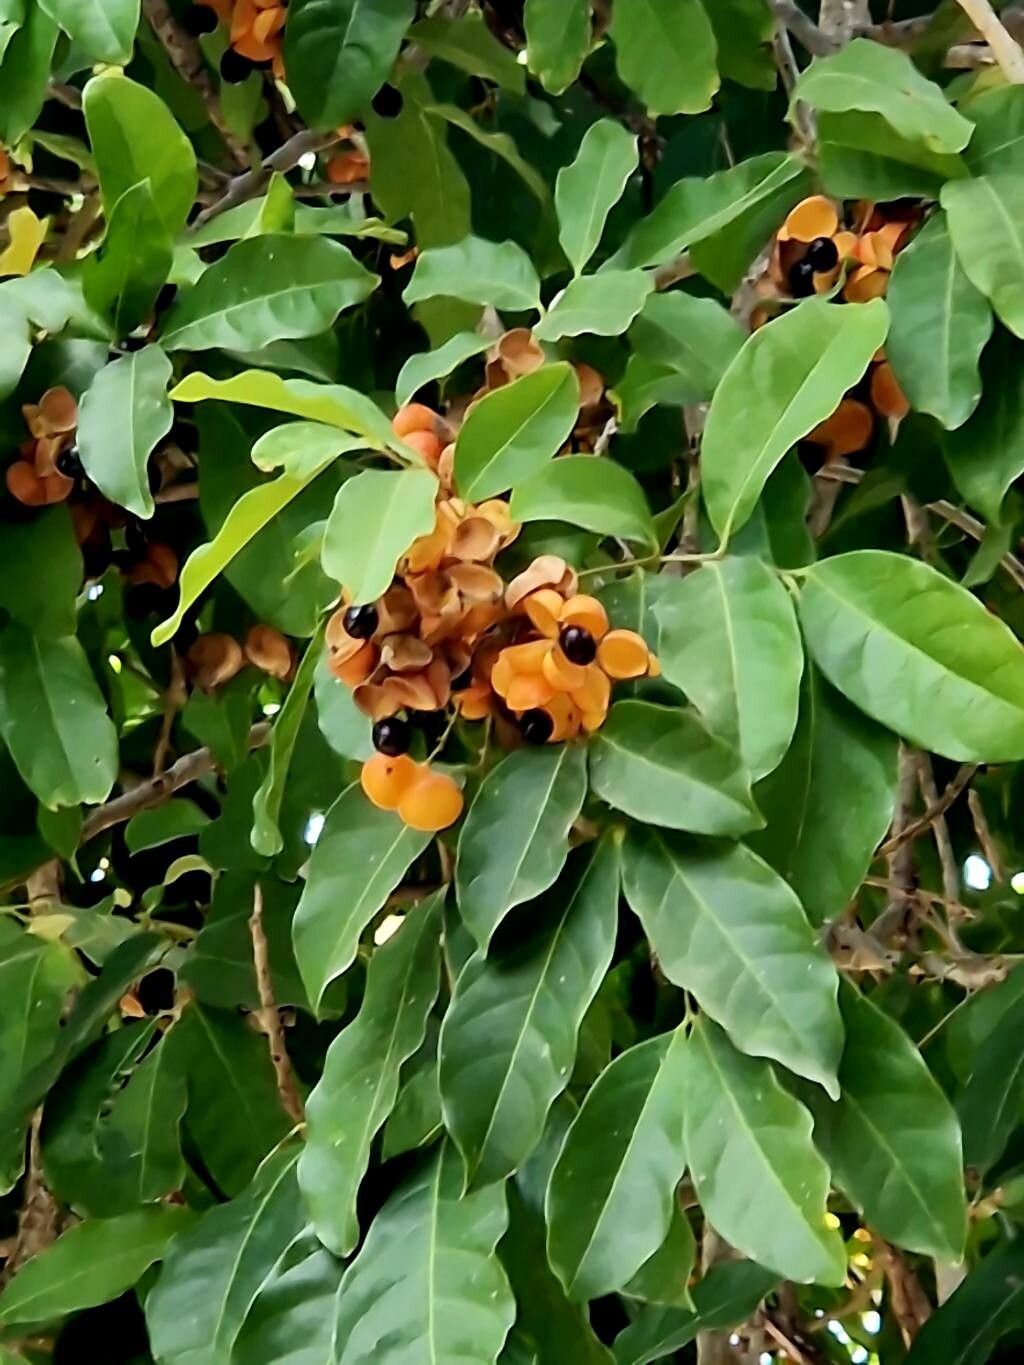
Oh, Harpullia pendula! If you’ve ever seen this beauty gracing a garden, you know exactly why I’m so excited to share this with you. Its graceful branches, adorned with that lovely glossiness, and those intriguing, often brightly colored seed pods – it’s a real showstopper. And the best part? Bringing new life into your garden by propagating your own specimens is incredibly rewarding. Don’t worry, it’s not as daunting as it might sound, and I’m here to walk you through it.
The Best Time to Start
For Harpullia pendula, I find the late spring to early summer is your sweet spot. This is when the plant is actively growing, and those new shoots have the best energy reserves to form roots. You’re looking for stems that are flexible but not too soft – think of wood that’s starting to firm up.
Supplies You’ll Need
Gathering your tools beforehand makes the whole process so much smoother. Here’s what I usually have on hand:
- Sharp, clean pruning shears or a sharp knife: Essential for making clean cuts.
- Rooting hormone (optional but recommended): A powder or gel that encourages root development.
- Well-draining potting mix: I like a blend of perlite, coco coir, and a bit of compost.
- Small pots or seed trays: Whatever you have that can hold your cuttings and is clean.
- Plastic bags or a propagator: To create a humid environment.
- Watering can or spray bottle: For gentle watering.
- Labels: To keep track of what you’ve propagated and when.
Propagation Methods
The most reliable way I’ve found to propagate Harpullia pendula is through stem cuttings. It’s straightforward and usually yields great results.
- Take Your Cuttings: Select healthy, semi-hardwood stems that are about 4-6 inches long. Make a clean cut just below a leaf node (that’s where the leaves emerge from the stem).
- Prepare the Cuttings: Gently remove the lower leaves, leaving just a few at the top. This directs the plant’s energy towards root formation rather than leaf production.
- Apply Rooting Hormone (If Using): Dip the cut end of the stem into the rooting hormone, tapping off any excess.
- Plant Your Cuttings: Fill your pots with the well-draining potting mix. Make a small hole with a pencil or a stick and insert the cutting, ensuring the leaf nodes are below the soil surface. Gently firm the soil around the stem.
- Create Humidity: Water the soil gently. Then, you can either cover the pot with a clear plastic bag, securing it with a rubber band, or place it in a propagator. Make sure the leaves aren’t touching the plastic if you’re using a bag.
The “Secret Sauce” (Pro Tips)
Over the years, I’ve learned a few tricks that really up the success rate:
- Bottom Heat is Your Friend: If you can, place your pots on a heat mat designed for plants. This gentle warmth from below encourages root development much faster than room temperature alone. It’s a game-changer, especially if your air temperature is a bit cool.
- Don’t Drown Your Dreams: While humidity is key, overwatering is a fast track to rot. The soil should be consistently moist but never soggy. I like to let the surface of the soil start to feel a little dry before watering again. A good spray of water from a misting bottle can also help keep things fresh.
- Patience, Young Grasshopper: I know it’s tempting to constantly check for roots, but try to leave them be. Resist the urge to pull them up to “see.” When they’re ready, you’ll see new leaf growth.
Aftercare & Troubleshooting
Once you start seeing little leaves unfurling, that’s your cue that roots have formed! It can take anywhere from 4-8 weeks, sometimes longer. Gradually acclimate your new plants to normal humidity by opening the plastic bag a little more each day over a week. Continue to keep the soil moist.
The most common issue you might encounter is rot. If you see your cuttings turning mushy or black at the base, it’s usually a sign of too much moisture and not enough air circulation. If you catch it early, you might be able to salvage a healthy tip by quickly resealing it and ensuring the soil isn’t waterlogged. In some cases, it’s just part of the learning process, and you try again!
A Encouraging Closing
There you have it – my tried-and-true methods for coaxing new Harpullia pendula plants into existence. Remember, gardening is a journey of observation and patience. Don’t be discouraged if your first attempt isn’t perfect. Each cutting you take, each pot you fill, is a learning experience. So, grab those shears, get your hands dirty, and enjoy the magic of growing something beautiful from scratch. Happy propagating!
Resource: