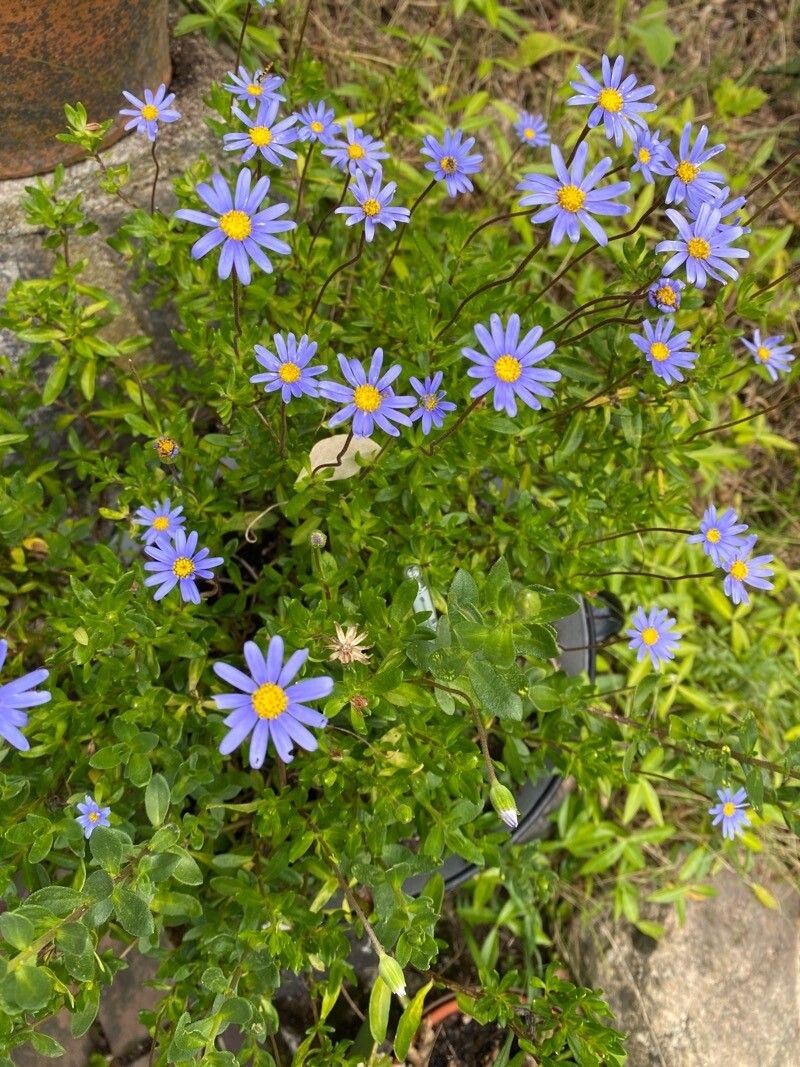
Hello fellow plant lovers! If you’ve ever admired the cheerful, daisy-like blooms of Felicia aethiopica, that lovely sky-blue stunner, you’re in for a treat. Growing them from scratch is incredibly satisfying, and honestly, rather straightforward once you know a few tricks. This isn’t a plant that will keep you guessing in the garden; it’s a wonderfully rewarding experiment for beginners and seasoned gardeners alike. Let’s get growing!
When to Get Your Hands Dirty
The sweet spot for propagating Felicia aethiopica, especially from cuttings, is generally late spring through early summer. This is when the plant is actively growing and has plenty of young, pliable stems. You want to select stems that are semi-hardwood – that means they’re not brand new and floppy, but not quite woody and stiff either. Think of it as that perfect stage between super tender and totally mature.
Your Propagation Toolkit
Gathering your supplies beforehand makes the whole process much smoother. Here’s what you’ll want to have on hand:
- Sharp Pruning Shears or a Craft Knife: For clean cuts that heal well.
- Rooting Hormone (Optional but Recommended): Encourages faster and stronger root development.
- A Well-Draining Potting Mix: I like a blend of perlite, peat moss, and coarse sand. You can also buy a commercial seed-starting or succulent mix.
- Small Pots or Trays: Clean pots are key to preventing disease.
- A Watering Can or Spray Bottle: For gentle hydration.
- Plastic Bags or a Clear Dome: To create a humid environment.
- Labels: To remember what you planted and when!
Multiplying Your Blue Beauties
Felicia aethiopica is wonderfully amenable to propagation via stem cuttings. It’s my go-to method, and I think you’ll find it very successful.
- Take Your Cuttings: Using your clean pruning shears or craft knife, select several healthy stems from your mature Felicia. Aim for cuttings that are about 4-6 inches long. Make a cut just below a leaf node (where a leaf attaches to the stem).
- Prepare the Cuttings: Gently remove the lower leaves from the stem, leaving just a couple of leaves at the top. This prevents leaves from rotting in the soil and directs the plant’s energy to root formation.
- Apply Rooting Hormone (Optional): Dip the cut end of each stem into rooting hormone, tapping off any excess. This step really gives your cuttings a boost!
- Plant Your Cuttings: Fill your clean pots with your well-draining potting mix. Make a small hole in the center of the soil with your finger or a pencil. Insert the cut end of a Felicia cutting into the hole, and gently firm the soil around it.
- Water Gently: Water the soil thoroughly but gently. You don’t want to wash the cuttings out, but you want the soil to be moist.
- Create Humidity: Place the potted cuttings inside a plastic bag or cover them with a clear dome. This is crucial. Seal the bag loosely or ensure there’s a bit of airflow. You want to create a mini-greenhouse effect to keep the humidity high, which prevents the cuttings from drying out before they can root.
My Little “Secret Sauce” for Success
Here are a couple of things I’ve learned over the years that really make a difference:
- Bottom Heat is Your Friend: If you can, place your pots on a gentle heating mat. This warmth encourages root growth from below, significantly speeding up the process. It’s like a cozy foot rub for your cuttings!
- Don’t Overwater – Ever!: This is the most common pitfall. While humidity is essential, soggy soil will lead to rot. Stick your finger about an inch into the soil; if it feels moist, leave it. Only water when the top layer starts to feel dry.
What to Do Once Roots Appear (and What to Watch For!)
You’ll know your cuttings are happy when you see new growth appearing at the top. It usually takes 3-6 weeks for roots to develop sufficiently. You can gently tug on a cutting; if there’s resistance, you’ve got roots!
Once they’ve rooted, carefully remove the plastic bag or dome gradually over a few days to acclimate them to normal humidity. Continue to water when the soil feels dry. When the new plants are a few inches tall and have established a good root system, you can transplant them into their own individual pots or directly into the garden if the weather is warm and settled.
Keep an eye out for wilting or yellowing leaves, which can be a sign of overwatering or insufficient light. Brown, mushy stems are a definite sign of rot, usually from too much moisture and not enough air circulation. If you see rot, it’s often best to discard the affected cutting and try again, ensuring your soil is well-draining and you’re watering judiciously.
Growing plants from cuttings is such a rewarding journey. It connects you to the rhythm of nature and gives you a wonderful sense of accomplishment. Be patient with your little Felicia babies, give them good care, and soon you’ll have a whole garden full of those cheerful blue daisies to enjoy. Happy gardening!
Resource:
https://identify.plantnet.org/k-world-flora/species/Felicia%20aethiopica%20(Burm.f.)%20Grau/data