Oh, hello there, fellow plant lover! Pull up a chair, grab your cuppa, and let’s chat about a truly special orchid: Cynorkis anacamptoides. If you’re drawn to unique blooms and the quiet satisfaction of growing something from its very beginnings, you’re in for a treat.
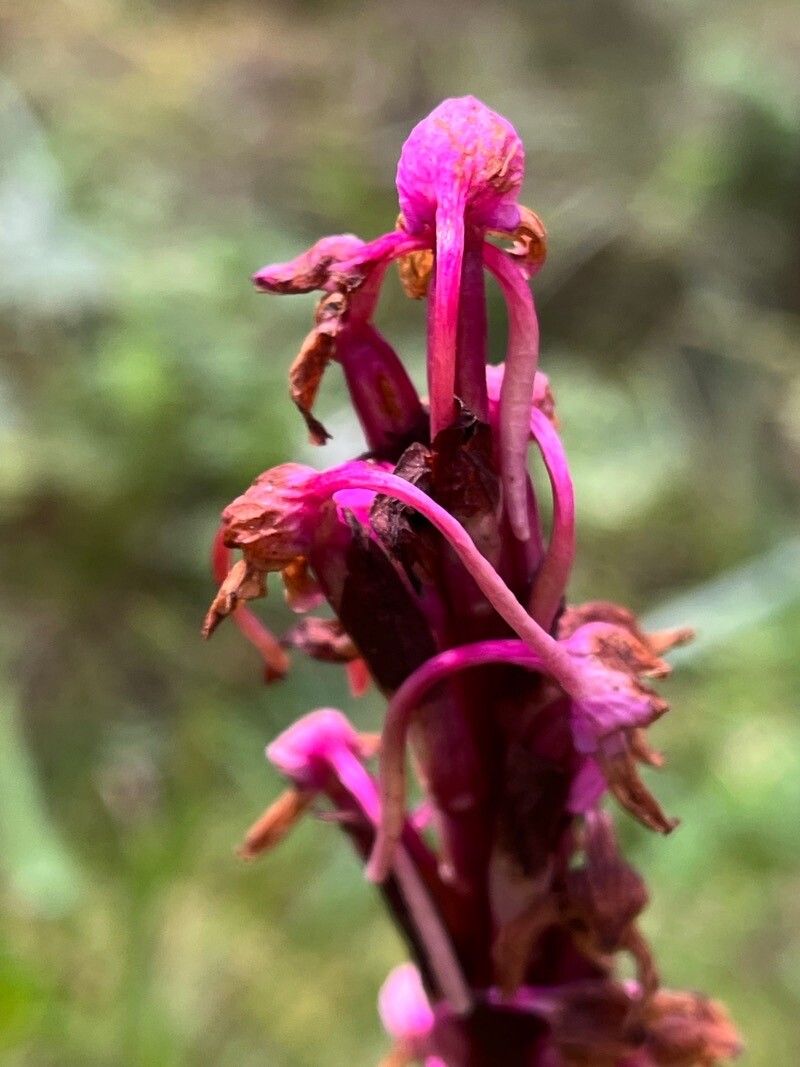
Cynorkis anacamptoides is a real charmer. It brings delicate, spidery flowers in shades of pink and magenta, often with a beautiful speckling that makes each bloom a tiny work of art. They have this lovely, almost ethereal quality to them. Now, I won’t lie to you – propagating orchids can sometimes feel a bit like advanced gardening. But fear not! While Cynorkis might not be the absolute easiest plant for a complete beginner, it’s certainly achievable, and the rewards are immense. Watching a new little plant unfurl is just… magical.
The Best Time to Start
For Cynorkis anacamptoides, the sweet spot for propagation is generally when the plant is actively growing and has reached a good size. Think late spring or early summer. You’ll see the most vigorous growth then, which means the plant will have the energy to bounce back and produce those precious new babies. Avoid attempting this when the plant is dormant or looking a bit tired.
Supplies You’ll Need
You won’t need anything too fancy, but having the right tools makes all the difference:
- Sharp, sterile pruning shears or a clean knife: For making clean cuts.
- Well-draining potting mix: I swear by a blend of sphagnum moss, perlite, and orchid bark. It needs to drain quickly to prevent rot.
- Small pots or seed trays: Clean ones are a must!
- A spray bottle: For gentle watering.
- (Optional) Rooting hormone: For an extra boost, though not always strictly necessary for Cynorkis.
- (Optional) A clear plastic bag or cloche: To create a humid environment.
- (Optional) A heating mat: For that gentle bottom warmth.
Propagation Methods
When it comes to Cynorkis anacamptoides, division is your most reliable friend. These beauties tend to form little clumps as they mature, and each clump is a potential new plant.
- Prepare the Plant: Gently remove your Cynorkis from its pot. Be careful not to damage the roots. You might need to tap the pot or carefully run a knife around the edge if it’s stuck.
- Locate the Divisions: Look for natural growing points where new shoots or pseudobulbs are forming. You’ll want to separate these with as many roots attached as possible.
- Make the Cut: Using your sterile shears or knife, carefully cut between the divisions. Aim for clean separation. If you’re struggling to see a clear separation, don’t force it. It’s better to lose a few roots than to damage a healthy part of the plant.
- Pot Up: Plant each division into its own small, clean pot filled with your well-draining mix. Make sure the pseudobulbs are just at or slightly above the surface of the soil.
- Initial Watering: Water very lightly after potting. You want the soil to be evenly moist, but not soggy.
- Provide Humidity: This is where that plastic bag or cloche comes in handy. Place the potted divisions inside to help retain moisture and encourage root development. Make sure to open it daily for a few minutes to allow for air circulation and prevent fungal issues.
The “Secret Sauce” (Pro Tips)
Now, for those little nuggets of wisdom that come from years of trial and (a few!) errors:
- Don’t overwater early on. This is probably the biggest culprit for failure with orchids. New divisions are sensitive, and consistently wet soil is a fast track to rot. Let the top layer of soil dry out slightly between waterings.
- Bottom heat is your friend. Cynorkis, like many orchids, loves a bit of warmth at its roots. A gentle heating mat can significantly speed up root formation. You’re aiming for around 75-80°F (24-27°C).
- Patience with roots. While you might not see much top growth immediately, new roots could be forming beneath the surface. Resist the urge to constantly dig them up and check! Give them at least a month to settle in before you start peeking.
Aftercare & Troubleshooting
Once your divisions start showing signs of new growth – tiny leaves or plump pseudobulbs – you’re well on your way! Gradually introduce them to more light and allow the humidity dome to be removed over a week or two. Continue to water as needed, allowing that soil to dry slightly between waterings.
The most common issue you’ll encounter is rot. If a division looks mushy, black, or smells off, it’s likely succumbed to rot. This is usually due to overwatering or poor drainage. Don’t despair if a few don’t make it; it happens to everyone! The key is to remove any rotting material immediately to prevent it from spreading to other plants.
A Gentle Closing
Growing something new is always an adventure, and with Cynorkis anacamptoides, it’s an especially beautiful one. Be patient with your little ones. They take their time, and that’s part of their charm. Celebrate each new leaf, each tiny root, and enjoy the journey of nurturing these delicate orchids into thriving plants. Happy growing!
Resource:
https://identify.plantnet.org/k-world-flora/species/Cynorkis%20anacamptoides%20Kraenzl./data