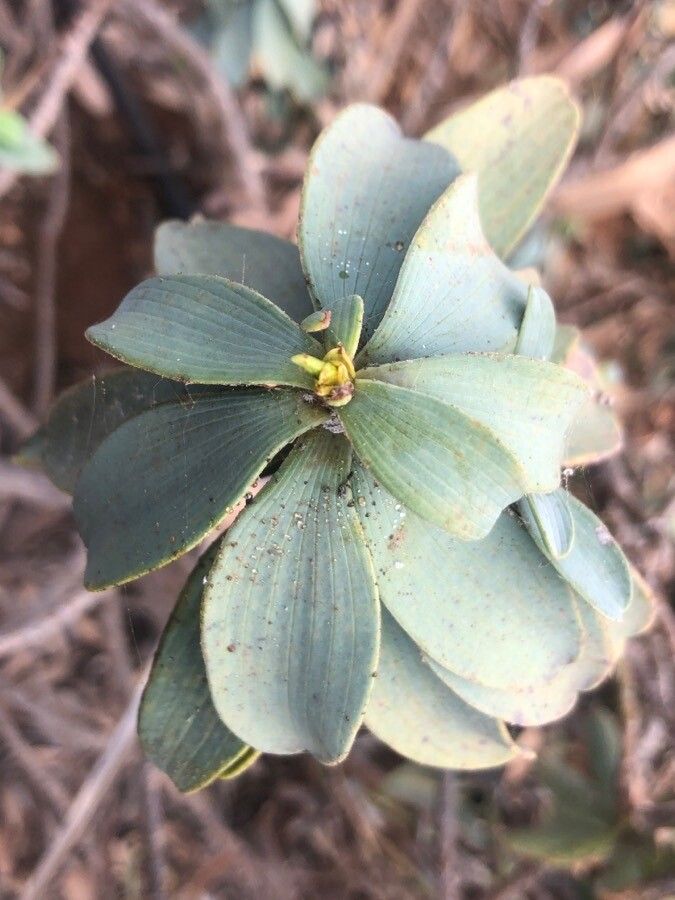
Oh, Bupleurum handiense! Isn’t she a beauty? I’ve always adored its delicate, almost airy clusters of chartreuse blooms, and the way it adds such a lovely, airy texture to a garden bed. Plus, it’s a magnet for pollinators – I love watching the bees and butterflies weave through those tiny flowers. Propagating it yourself is incredibly rewarding. You get to multiply that garden charm for free, and there’s a deep satisfaction in nurturing a new life from a little piece of the parent plant.
Now, for the honest truth: Bupleurum handiense can be a little fussy. While not impossible for a complete beginner, it does require a bit of attention and a gentle touch. Don’t let that deter you, though! With a few key insights, you’ll be well on your way to success.
The Best Time to Start
For Bupleurum handiense, I’ve found the sweet spot for propagation is usually late spring or early summer. This is when the plant is actively growing and has good energy reserves. Aim to take cuttings when the stems are somewhat mature but still flexible – not too woody and not too soft. Think of it as striking when the iron’s hot, but not scalding!
Supplies You’ll Need
Here’s what I always have on hand when I’m propagating:
- Sharp, clean pruning shears or a sharp knife: Hygiene is paramount to prevent disease introduction.
- A well-draining potting mix: I like to use a standard potting mix with a good amount of perlite or coarse sand added to improve drainage. A mix specifically for succulents or cacti can also work wonders.
- Small pots or seedling trays: Clean, small containers are perfect for starting cuttings.
- Rooting hormone (optional but recommended): This little helper can significantly increase your success rate by encouraging root development. Look for a powdered or gel form.
- A mister or spray bottle: For keeping things lightly moist.
- Plastic bags or a propagation dome: To create a humid environment, which is crucial for cuttings.
- A dibber or pencil: To make small holes for planting.
Propagation Methods
I find stem cuttings to be the most reliable method for Bupleurum handiense. Here’s how I do it:
- Select Your Cuttings: With your clean shears, take cuttings that are about 4-6 inches long. Look for stems that have at least two sets of leaves, and remove the lower leaves. You want a clean stem section to insert into the soil.
- Prepare the Cuttings: If you’re using rooting hormone, dip the cut end of each stem into the hormone powder or gel, tapping off any excess.
- Plant Your Cuttings: Fill your small pots or trays with the well-draining potting mix. Use your dibber or pencil to create a small hole in the center of the soil. Carefully insert the cut end of the stem into the hole, making sure the nodes where the leaves were removed are below the soil surface. Gently firm the soil around the stem.
- Create Humidity: Water the soil lightly. Then, cover the pot or tray with a clear plastic bag or a propagation dome. You want to create a mini greenhouse effect to keep the humidity high.
The “Secret Sauce” (Pro Tips)
Here are a few little tricks I’ve picked up over the years that can make a big difference:
- Don’t let the leaves touch the water in humidity domes. If you’re using a plastic bag, prop it up slightly so it doesn’t rest directly on the foliage. Excess moisture on the leaves can lead to rot, and we want to avoid that like the plague!
- Consider bottom heat. While not strictly necessary for Bupleurum handiense in a warm climate, placing your propagation setup on a gentle seed-starting heat mat can really speed up root formation, especially if your home tends to be on the cooler side. Just a gentle warmth can encourage those roots to get going.
- Mist sparingly, but consistently. The goal is to keep the soil lightly moist, not soggy. A daily spritz with your mister is usually enough to maintain that humid environment without waterlogging the soil. Check the soil moisture with your finger; it should feel damp, not wet.
Aftercare & Troubleshooting
Once your cuttings have rooted – this can take anywhere from 3 to 8 weeks, so be patient! – you’ll see new growth emerging. This is a good sign!
- Acclimate them slowly: Once rooted, gradually remove the plastic bag or dome over a few days. Wean them off the high humidity so they can adjust to the drier air.
- Water gently: Continue to water when the top inch of soil feels dry.
- Pot them up: When the new plants are robust enough to handle, pot them into larger containers with fresh potting mix.
The most common issue you might encounter is rot. If a cutting turns black and mushy, or if the leaves start to yellow and drop before any roots form, it’s usually a sign of too much moisture and poor drainage. This is why a good, airy soil mix and careful watering are so important. Don’t get discouraged if you lose a few; it happens to all of us! Just learn from it and try again.
So there you have it! Propagating Bupleurum handiense is a journey, not a race. Take your time, be gentle, and enjoy the satisfaction of watching those little roots take hold. Happy gardening, my friend!
Resource:
https://identify.plantnet.org/k-world-flora/species/Bupleurum%20handiense%20(Bolle)%20G.Kunkel/data