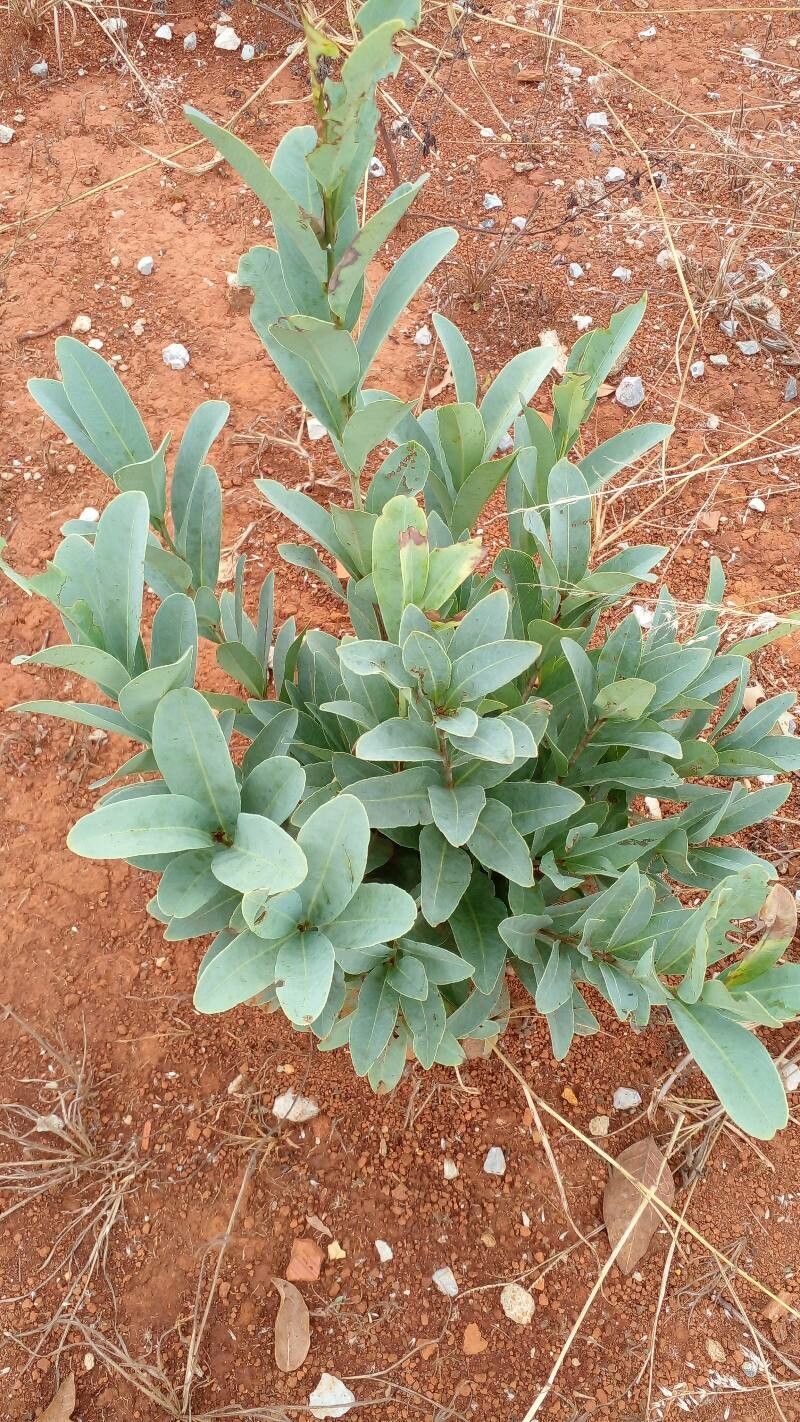
Oh, hello there, fellow plant enthusiast! Pull up a chair, let’s chat about a real beauty: Anemopaegma glaucum. You know, that gorgeous vine with the stunning blue trumpet flowers? It’s one of those plants that just makes your heart sing when it’s in full bloom. And the best part? You can easily bring that magic into more corners of your garden, or even share it with friends! Propagating Anemopaegma glaucum is a truly rewarding experience, and I’m excited to guide you through it. Don’t let the fancy name scare you; it’s a lot more welcoming than you might think, even for those of you just dipping your toes into the wonderful world of plant propagation.
The Best Time to Start
For the highest success rate with Anemopaegma glaucum, I’ve found that the late spring through early summer is absolutely ideal. This is when the plant is actively growing, brimming with energy, and more likely to put out those strong, healthy stems that root beautifully. You want to catch it after its main flowering push but before things start to wind down for the season.
Supplies You’ll Need
Here’s a little arsenal to get you started:
- Sharp, clean pruning shears or a sharp knife: Essential for making clean cuts.
- Rooting hormone (optional but helpful): Especially for stem cuttings, this can give them a boost.
- Well-draining potting mix: I like a blend of peat moss, perlite, and a bit of sand. A commercial succulent or cactus mix works well too.
- Small pots or seed trays: With drainage holes, of course!
- Plastic bags or a propagation dome: To create a humid environment.
- Watering can with a fine rose or spray bottle: For gentle watering.
- Labels and a marker: To keep track of your propagated beauties!
Propagation Methods
Let’s dive into how we can create more of these lovely plants.
Stem Cuttings
This is my go-to method for Anemopaegma glaucum.
- Select your stems. Look for healthy, non-flowering stems that are about pencil-thick and roughly 6-8 inches long. Avoid old, woody growth or brand-new, wispy shoots.
- Take your cuttings. Using your clean shears, make a clean cut just below a leaf node. A leaf node is that little bump where a leaf attaches to the stem. This is where the magic happens for rooting.
- Prepare the cuttings. Gently remove the leaves from the bottom half of the cutting. You want to expose those leaf nodes, as this is where roots will form. Leave just one or two sets of leaves at the very top.
- Apply rooting hormone (if using). Dip the cut end into your rooting hormone powder or gel. Tap off any excess.
- Pot them up. Fill your small pots with your prepared potting mix. Make a small hole in the center of each pot with your finger or a pencil.
- Insert the cuttings. Place the cut end of each stem into the hole, pushing it down so that at least one leaf node is buried in the soil. Gently firm the soil around the stem.
- Water lightly. Water the soil thoroughly but gently.
- Create humidity. Cover each pot with a clear plastic bag, making sure the leaves don’t touch the sides, or place the pots inside a propagation dome. This traps moisture around the cuttings.
Water Propagation
This method is a bit more visual and can be satisfying to watch.
- Select and prepare stems just as you would for stem cuttings. Again, focus on healthy, semi-woody stems.
- Remove lower leaves so that no leaves will be submerged in water.
- Place cuttings in water. Put the prepared cuttings into a clean jar or vase filled with fresh, room-temperature water. Make sure the leaf nodes are submerged.
- Find a bright spot. Place the jar in a location that receives bright, indirect light.
- Change the water regularly. Every few days, change out the water to keep it fresh and prevent rot.
The “Secret Sauce” (Pro Tips)
After many years of experimenting, I’ve picked up a few tricks that can really make a difference.
- Bottom heat is your friend! If you can, place your pots on a seedling heat mat. This consistent, gentle warmth from below encourages root development much faster and more reliably than ambient room temperature alone.
- Don’t over-water! This is probably the most common mistake. While the cuttings need moisture, waterlogged soil leads to rot. The soil should feel damp, not soggy. For water propagation, it’s crucial to keep the water clean.
- Patience is key. Some plants root in a few weeks, others can take months. Anemopaegma glaucum is usually quite good, but don’t despair if you don’t see action immediately. Check gently for roots by giving a very light tug – if there’s resistance, you’ve got them!
Aftercare & Troubleshooting
Once you see signs of new growth or feel nice resistance when you give a gentle tug to your cuttings, it’s time for a little different care.
- Gradually acclimate. Start by opening the plastic bags or propagation dome for a few hours each day to let the young plants get used to drier air.
- Keep them consistently moist. Water when the top inch of soil starts to feel dry.
- Transition to a slightly larger pot. Once they have a good root system, pot them up into slightly larger containers with regular potting soil.
- Watch for rot. If your cuttings turn black and mushy, it’s a sign of rot, usually caused by too much moisture and poor air circulation. If this happens, sadly, it’s time to start over. Make sure your soil drains well and you aren’t overwatering.
- Leggy growth? If your cuttings are getting long and spindly with few leaves, they might not be getting enough light. Move them to a brighter spot, but still avoid direct, scorching sun.
A Little Bit of Encouragement
Watching a new plant emerge from a simple cutting is one of those gardening miracles that never gets old. Be patient with your Anemopaegma glaucum cuttings; nature has its own timeline. Enjoy the process, celebrate every little root and leaf, and soon you’ll have a garden filled with these beautiful blue blooms. Happy propagating!
Resource:
https://identify.plantnet.org/k-world-flora/species/Anemopaegma%20glaucum%20Mart.%20ex%20DC./data