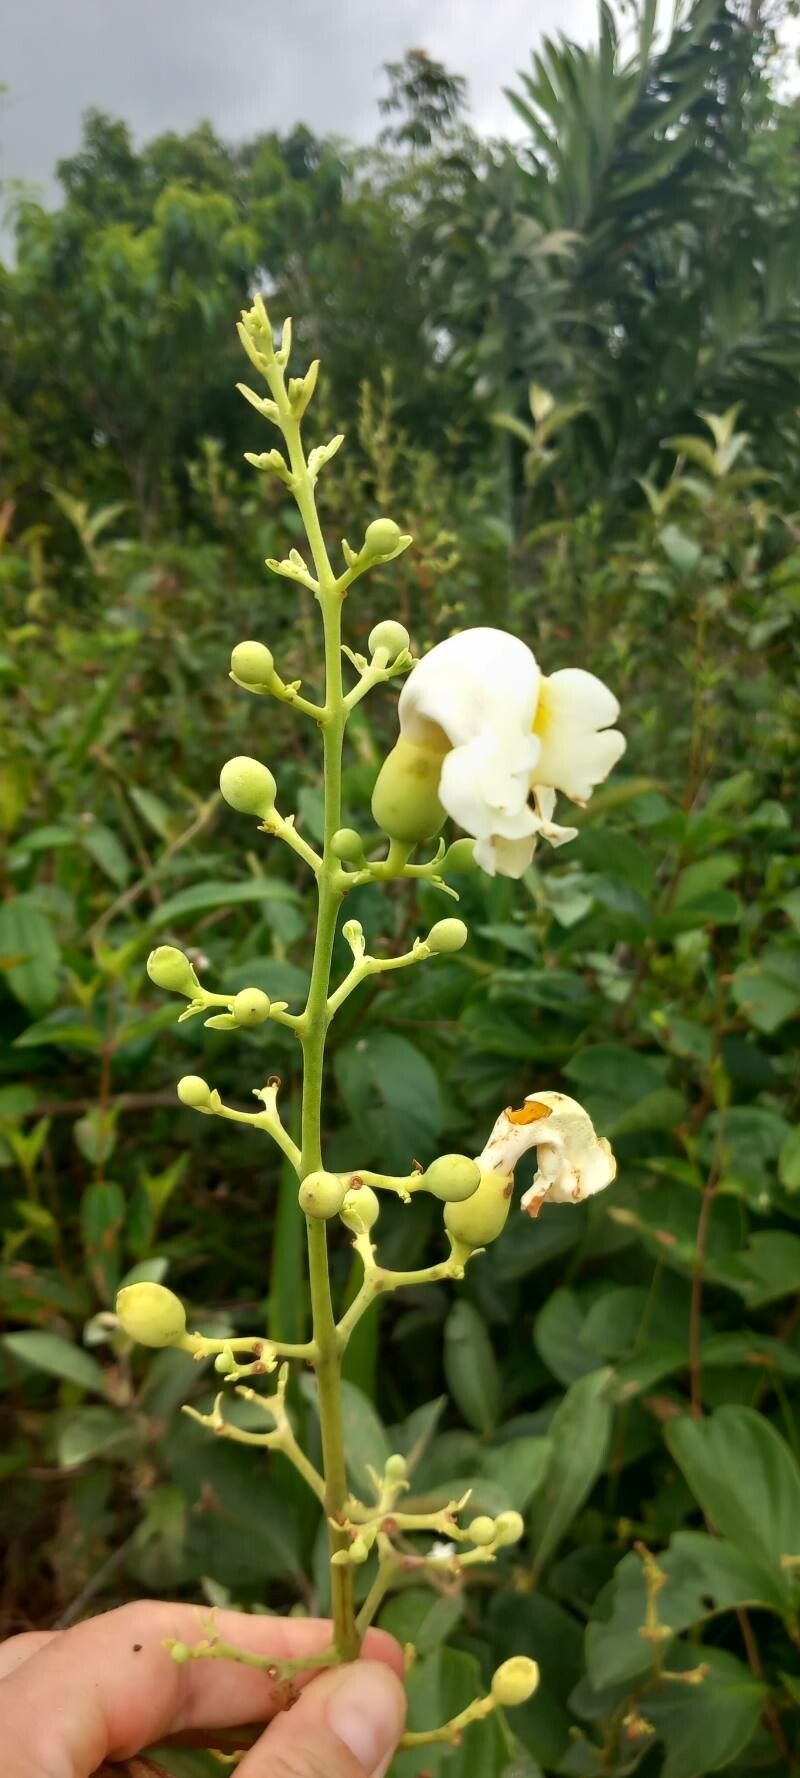
Hello garden friends! I’m so excited to share a little bit about one of my favorite flowering vines: Amphilophium racemosum, often called the Yellow Bell Vine. If you’ve ever seen its cascading sprays of vibrant, trumpet-shaped yellow blooms, you know exactly why it’s so captivating. It’s a real showstopper, and the best part? You can unlock the secret to growing more of this beauty yourself!
Propagating plants, especially something as lovely as the Yellow Bell Vine, is incredibly rewarding. It feels like a little bit of magic, doesn’t it? Seeing a tiny cutting transform into a thriving plant is pure joy. And the good news is, Amphilophium racemosum is a relatively forgiving plant to propagate, even for those of you who are just starting your green-thumb journey.
The Best Time to Start
The sweet spot for propagating Amphilophium racemosum is typically late spring to early summer. You want to catch it when it’s actively growing, not stressed from extreme heat or dormancy. Look for stems that are semi-hardwood – they’re no longer super floppy and green, but not yet woody and tough. This stage offers the best balance for rooting.
Supplies You’ll Need
Gathering your supplies beforehand makes the whole process smoother. Here’s what I usually have on hand:
- Sharp, clean pruning shears or a sharp knife: Essential for making clean cuts that heal well.
- Rooting hormone (optional but recommended): This is like an extra little boost to encourage root development. Gel or powder forms work well.
- A well-draining potting mix: I like a blend of 50% peat moss or coco coir and 50% perlite or coarse sand. This keeps things airy and prevents soggy roots.
- Small pots or seedling trays: Clean, with drainage holes, of course!
- Plastic bags or a clear dome: To create a humid environment for your cuttings.
- Watering can or spray bottle: For gentle watering.
- Labels and a marker: So you don’t forget what you planted!
Propagation Methods
Stem cuttings are the most reliable way to multiply your Yellow Bell Vine. Here’s how I tackle it:
- Take Your Cuttings: On a pleasant morning, select a healthy stem from your mature plant. Using your clean shears or knife, make a cut just below a leaf node (where a leaf attaches to the stem). You want cuttings that are about 4-6 inches long. Remove any flowers or developing seed pods from your cutting; these take energy away from root formation.
- Prepare the Cuttings: Gently strip off the leaves from the bottom half of the cutting. You want to leave just one or two sets of leaves at the top. If your remaining leaves are very large, I often snip them in half to reduce water loss through transpiration.
- Dip in Rooting Hormone (Optional): If you’re using rooting hormone, lightly dip the cut end of the stem into the powder or gel, tapping off any excess.
- Plant Your Cuttings: Fill your pots with your prepared potting mix, moistening it slightly. Make a small hole in the center of each pot with your finger or a pencil. Insert the cut end of your stem cutting into the hole, ensuring it’s deep enough that the node(s) you cleared of leaves are buried. Gently firm the soil around the base of the cutting.
- Create a Humid Environment: Water the soil gently. Then, immediately cover the pot with a clear plastic bag, securing it around the rim with a rubber band or tape, or place it under a clear propagation dome. This traps in humidity, which is crucial for cuttings to root.
The “Secret Sauce” (Pro Tips)
These little tricks have saved many a cutting for me over the years!
- Bottom Heat is Your Friend: If you can, place your potted cuttings on a heat mat designed for seedlings. This gently warms the soil and encourages root development from below. It’s a game-changer for many plants, and the Yellow Bell Vine appreciates it!
- Don’t Drown Them! While humidity is key, soggy soil is the enemy of cuttings. The mix should be consistently moist, but not waterlogged. Check the moisture with your finger; if the top inch feels dry, give it a gentle watering or misting.
- Patience with Puncturing: Once you’ve planted your cuttings and covered them, resist the urge to peek too often. Every time you lift that cover, you lose precious humidity. Trust the process!
Aftercare & Troubleshooting
Once you start seeing new leaf growth, that’s a great sign! It usually means roots are forming. You can gently tug on a cutting – if there’s resistance, roots are developing. Once the cuttings are well-rooted (you’ll see roots emerging from the drainage holes), you can gradually acclimate them to normal room humidity by opening the plastic bag or dome a little more each day over a week. Then, transplant them into their own small pots.
The most common issue you’ll face is rot. If a cutting turns black and mushy, it’s likely succumbed to rot due to too much moisture and not enough airflow. Clean out that pot and start again, making sure your soil drains well and your humidity isn’t too extreme. Another sign of failure is a cutting that just shrivels up and dies; this can happen if it dries out too much or if it simply isn’t genetically programmed to root easily.
A Warm Farewell
Growing new plants from cuttings is a beautiful journey. It teaches you so much about a plant’s life cycle and resilience. Be patient with your Amphilophium racemosum cuttings, celebrate every little sign of growth, and enjoy the process. Soon you’ll have your own little Yellow Bell Vine family to share! Happy propagating!
Resource: