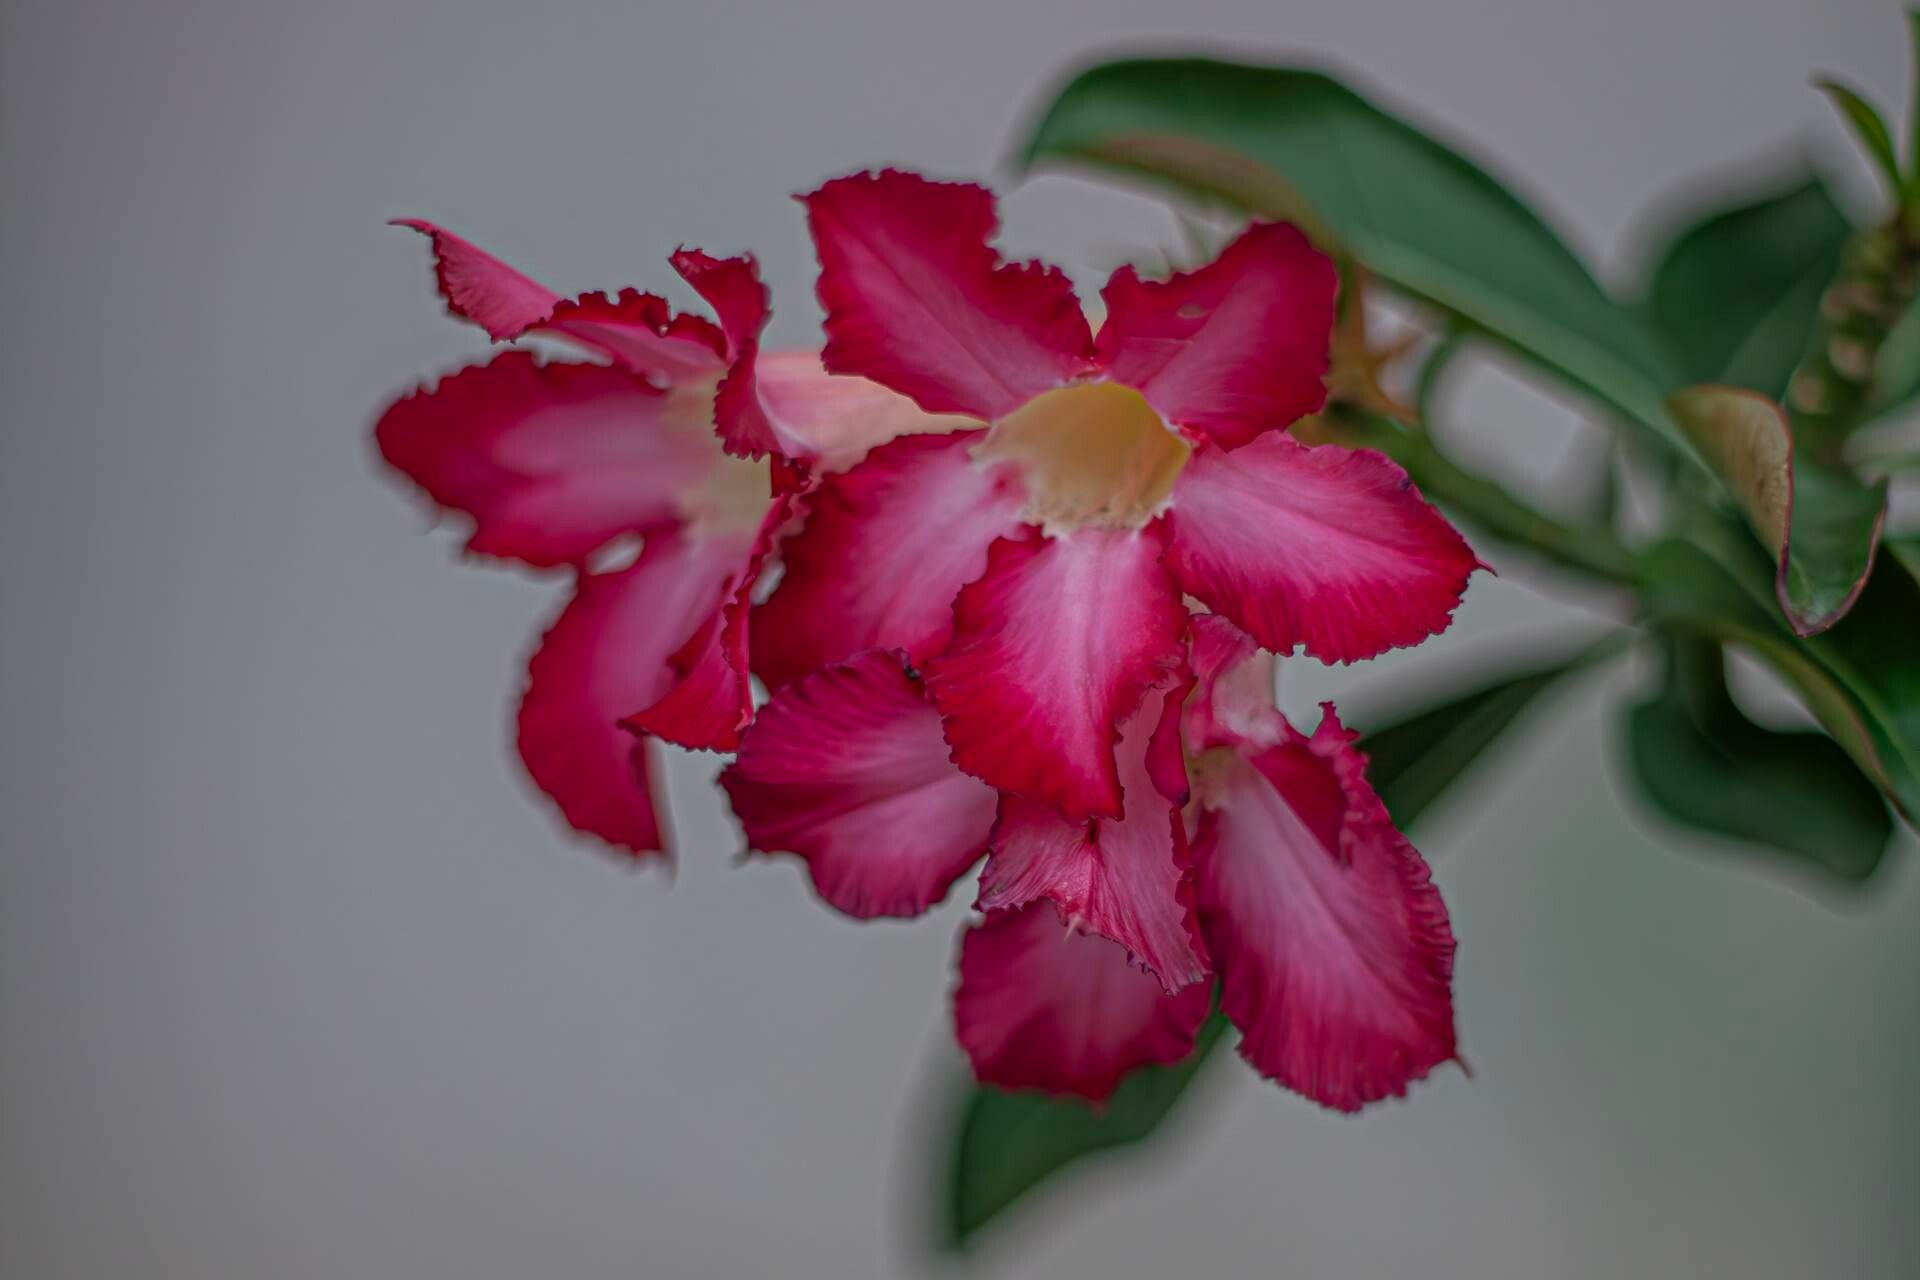
Well hello there, fellow plant enthusiast! It’s so good to have you here. Today, we’re diving into the glorious world of Adenium obesum, those stunning desert roses that are just bursting with character. If you haven’t grown one of these beauties yet, you’re in for a treat. Their swollen caudexs (that’s the bulbous base, folks!) and vibrant, trumpet-shaped flowers make them real showstoppers.
Propagating them is incredibly rewarding. You get to multiply that joy, share it with friends, or simply build your own collection without breaking the bank. Now, I’ll be honest, Adeniums can be a little fussier than your average houseplant, but with a bit of care and the right approach, you’ll be successful. It’s definitely achievable, especially if you follow along with me.
The Best Time to Start
Timing is everything, right? For Adeniums, the happiest time to propagate is during their active growing season. Think late spring right through summer. This is when they’re full of energy, producing new growth and generally feeling robust. Trying to propagate in the cooler, dormant months is like asking a sleepy bear to run a marathon – it’s just not going to go well. You want them to have that good, strong energy to put into making roots.
Supplies You’ll Need
Gathering your tools beforehand makes the whole process much smoother. Here’s what I always have on hand:
- Sharp Pruning Shears or a Clean Knife: Essential for taking clean cuts. Disinfect them before and after use to prevent disease.
- Well-Draining Potting Mix: This is crucial! A mix for cacti and succulents works well, or you can create your own with equal parts potting soil, perlite, and coarse sand.
- Small Pots or Seed Trays: Clean ones, of course!
- Rooting Hormone (Optional but Recommended): This can give your cuttings a helpful boost, especially if they’re a bit reluctant.
- A Spray Bottle: For gentle misting.
- Labels and a Marker: Don’t forget to label your precious new babies!
- Plastic Bags or Clear Domes (for some methods): To maintain humidity.
- A Sunny, Warm Location: Where your new propagations can thrive.
Propagation Methods
Let’s get our hands dirty! There are a couple of excellent ways to bring new Adeniums into the world.
Stem Cuttings
This is my go-to method. It’s straightforward and usually yields good results.
- Select a Healthy Stem: Look for a piece of semi-hardwood that’s about 4-6 inches long. You want something that’s not too woody and not too soft and green. A stem that has recently finished flowering is often a good candidate.
- Make a Clean Cut: Using your sharp shears or knife, make a clean cut just below a leaf node (where a leaf attaches to the stem). Remove the lower leaves, leaving just a few at the top.
- Let it Heal (Crucial!): This is perhaps the most important step for Adeniums. Allow the cut end to dry and callus over for at least 24-48 hours, or even longer in humid conditions. You want to see a dry, papery scab form. This prevents rot, which is the biggest enemy of Adenium propagation.
- Apply Rooting Hormone (Optional): If you’re using it, dip the callused end into the rooting hormone powder, tapping off any excess.
- Pot it Up: Fill your small pot with your well-draining mix. Make a small hole in the center with your finger or a pencil. Insert the callused end of the cutting into the hole. Gently firm the mix around the stem.
- Water Sparingly: Water lightly, just enough to moisten the soil. You don’t want to drench it.
- Create a Greenhouse Effect: Place the pot inside a clear plastic bag (loosely tied, or use a clear dome) to maintain humidity. Place it in a bright, indirect light location. Avoid direct sun at this stage.
Water Propagation
This method is visually satisfying, though I find it a bit more prone to rot if you’re not careful.
- Prepare Your Cutting: Follow steps 1 and 2 from the stem cutting method. You don’t necessarily need to let the cut end callus over with this method, but a very brief drying period (a few hours) can still be beneficial.
- Place in Water: Find a clean jar or vase and fill it with fresh water. Ensure that none of the leaves are submerged in the water, only the cut stem. This is vital to prevent rot.
- Change Water Regularly: Change the water every few days to keep it fresh and oxygenated.
- Provide Bright, Indirect Light: Place the jar somewhere with good light but out of harsh direct sun.
- Watch for Roots: You should start to see tiny roots emerge from the cut end within a few weeks.
- Pot it Up: Once the roots are about an inch long, you can carefully transfer your cutting to your well-draining potting mix, following step 5 from the stem cutting method. Water sparingly.
The “Secret Sauce” (Pro Tips)
After years of nurturing these desert beauties, I’ve picked up a few tricks that make a world of difference:
- The Callus is Your Best Friend: I can’t stress this enough! For stem cuttings, a fully dried and callused wound is your primary defense against rot. Be patient with this step. Sometimes, letting a cutting air dry for a few days is better than rushing it into soil.
- Bottom Heat is a Game Changer: Adeniums love warmth, especially when they’re trying to root. Placing your pots on a seedling heat mat set to a gentle warmth (around 70-80°F / 21-27°C) can significantly speed up root development. It mimics the warm soil they’d find in their native desert environment.
- Don’t Mist Too Much: While humidity is good, over-misting the leaves can sometimes encourage fungal issues. A light misting when you first pot them, and then letting the soil dry out almost completely between waterings, is often best.
Aftercare & Troubleshooting
Once you see those first little roots peeking out (hooray!), it’s time for a gentle shift in care.
- Gradual Acclimation: If your cutting was in a plastic bag, start to gradually open the bag over a few days to let it adjust to normal humidity.
- Watering: Start watering a bit more consistently, but always allow the soil to dry out significantly between waterings. Adeniums are drought-tolerant plants, and overwatering is the fastest way to kill a new propagation.
- Light: Continue to provide bright, indirect light. As the plant establishes, you can slowly introduce it to more direct sunlight, but watch for any signs of scorching.
Now, what if things go wrong? The main culprit is usually rot. If your cutting turns black and mushy, or starts to wilt dramatically without any signs of rot in the soil, it might be a sign of fungal issues. Unfortunately, if rot sets in, it’s often game over. Ensure good air circulation, perfectly draining soil, and that well-healed cut.
A Encouraging Closing
So there you have it! Propagating Adenium obesum is a journey, and like any adventure, it requires a little patience and a lot of observation. Don’t be discouraged if your first attempt isn’t a roaring success. Keep experimenting, learn from each cutting, and most importantly, enjoy the process of nurturing these unique plants. Happy propagating, and may your desert roses bloom magnificently!
Resource: