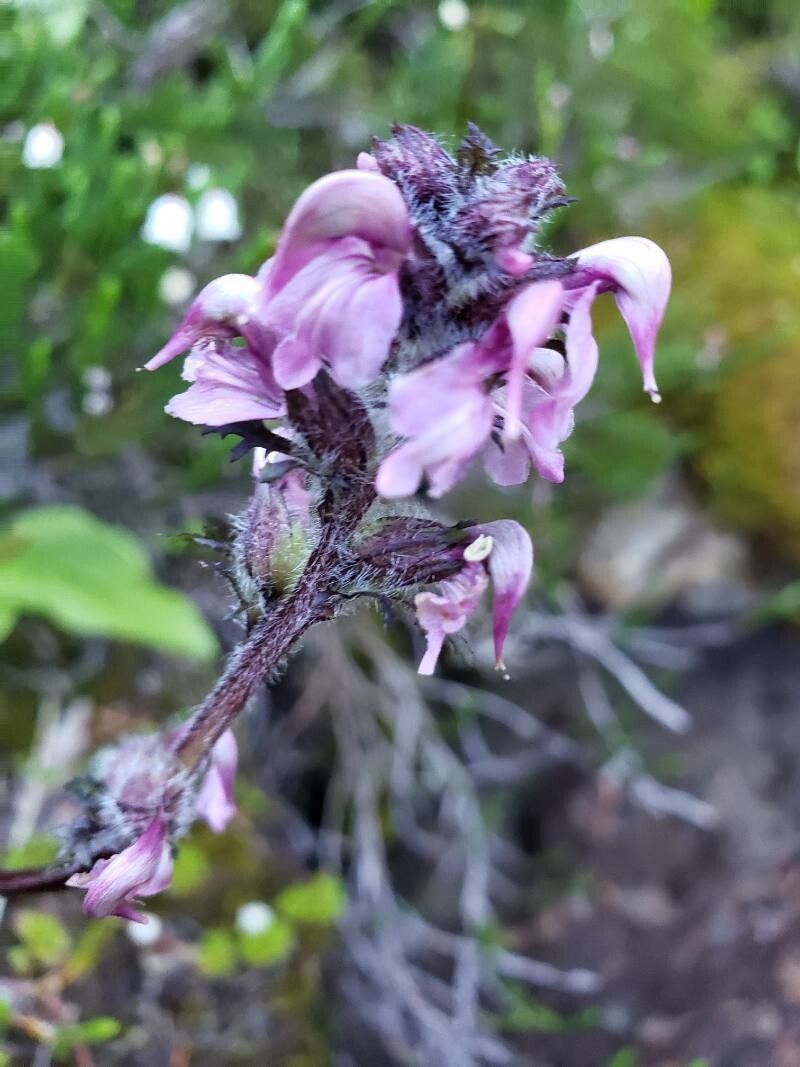
Well hello there, fellow garden enthusiasts! Today, I want to share a little bit about a darling plant that has truly captured my heart over the years: Pedicularis ornithorhynchos. Its whimsical, bird-like blooms are a sight to behold, adding such a unique charm to any garden bed. And the joy of growing more of these beauties from your own stock? Pure gardening gold! Now, I have to be upfront – while I adore this plant, propagating it can be a bit of a gentle challenge. It’s not a “stick it in the ground and forget it” kind of thing, but with a little care, you’ll be rewarded handsomely.
The Best Time to Start
When it comes to Pedicularis ornithorhynchos, my experience tells me that late spring to early summer is your sweet spot. This is when the plant is actively growing and has plenty of energy to spare for making new roots. You’re looking for new, non-flowering shoots that are about 3-4 inches long. If you try to take cuttings from older, woody stems, you’ll likely be disappointed.
Supplies You’ll Need
Before we get our hands dirty, let’s gather our tools. You won’t need anything too fancy, but having the right bits and bobs makes all the difference:
- Sharp, clean pruning shears or a sharp knife: For making clean cuts.
- Rooting hormone powder or gel: This gives your cuttings that extra boost.
- Well-draining potting mix: I often use a blend of seed-starting mix and perlite (about a 50/50 ratio) to ensure good aeration.
- Small pots or propagation trays: Clean ones are a must to prevent disease.
- Plastic bags or a propagation dome: To create a humid environment.
- Watering can with a fine rose: For gentle watering.
- Labels: So you don’t forget what you planted where!
Propagation Methods: Taking Cuttings
For Pedicularis ornithorhynchos, the most reliable method I’ve found is through stem cuttings. It’s a straightforward process, but requires attention to detail.
- Select your cutting: Look for those vibrant, young, non-flowering shoots that I mentioned earlier. Gently twist or cut them from the parent plant, aiming for pieces that are 3-4 inches long. Try to get a cutting that has at least a couple of sets of leaves.
- Prepare the cutting: Carefully remove the lower leaves from the bottom inch or so of the stem. This prevents them from rotting when they’re buried in the soil. You can leave the top few leaves intact.
- Apply rooting hormone: Dip the cut end of the stem into your rooting hormone powder or gel. Tap off any excess – you don’t want a huge blob, just a light coating.
- Plant the cutting: Fill your small pots with your prepared, moistened potting mix. Make a small hole in the center with your finger or a pencil. Gently insert the cutting into the hole, ensuring the end with the removed leaves is below the surface. Firm the soil gently around the stem.
- Create humidity: Water the soil lightly. Then, cover the pot with a plastic bag or place it under a propagation dome. This is crucial for keeping the cuttings from drying out. If using a bag, you can prop it up with a few sticks so it doesn’t touch the leaves.
- Placement: Find a bright spot that doesn’t get direct, intense sunlight. A windowsill that gets bright, indirect light is perfect.
The “Secret Sauce” (Pro Tips)
Now, here are a couple of little tricks that have helped me out over the years achieving better success rates with these delicate beauties:
- Don’t let the leaves touch the water (if you were tempted to try water propagation): While I primarily recommend soil cuttings, if you ever experiment with water, make sure none of the leaves are submerged. Leaves sitting in water are a prime invitation for rot.
- Bottom heat makes a difference: If you have a seedling heat mat, placing your pots on it can significantly speed up root development. This gentle warmth mimics spring conditions and really encourages the cuttings to get to work.
Aftercare & Troubleshooting
Once your cuttings are planted, the real waiting game begins. Keep the soil consistently moist but not soggy. Check the soil moisture by gently touching it. If the top feels dry, it’s time for a mild watering. You’ll also want to open the bag or dome for a few minutes each day to allow for air circulation and prevent fungal issues.
You’ll know your cutting has rooted when you see new leaf growth or feel a gentle tug when you lightly pull on the stem. This can take anywhere from a few weeks to a couple of months.
The biggest issue you might encounter is rot, which usually shows up as a black, mushy stem. This is almost always due to overwatering or poor air circulation. If you see this, it’s best to discard the cutting. Damping off, a fungal disease that causes seedlings to collapse at the soil line, is also a possibility, which is why using clean tools and a well-draining mix is so important.
A Little Patience Goes a Long Way
Growing new plants is always a journey, and Pedicularis ornithorhynchos certainly teaches us the virtue of patience. Don’t get discouraged if your first few attempts don’t pan out. Each cutting is a learning experience. So, gather your supplies, find a sunny spot, and give it a try. The satisfaction of seeing those tiny new plants unfurl is truly one of gardening’s greatest rewards. Happy propagating!
Resource:
https://identify.plantnet.org/k-world-flora/species/Pedicularis%20ornithorhynchos%20Benth./data