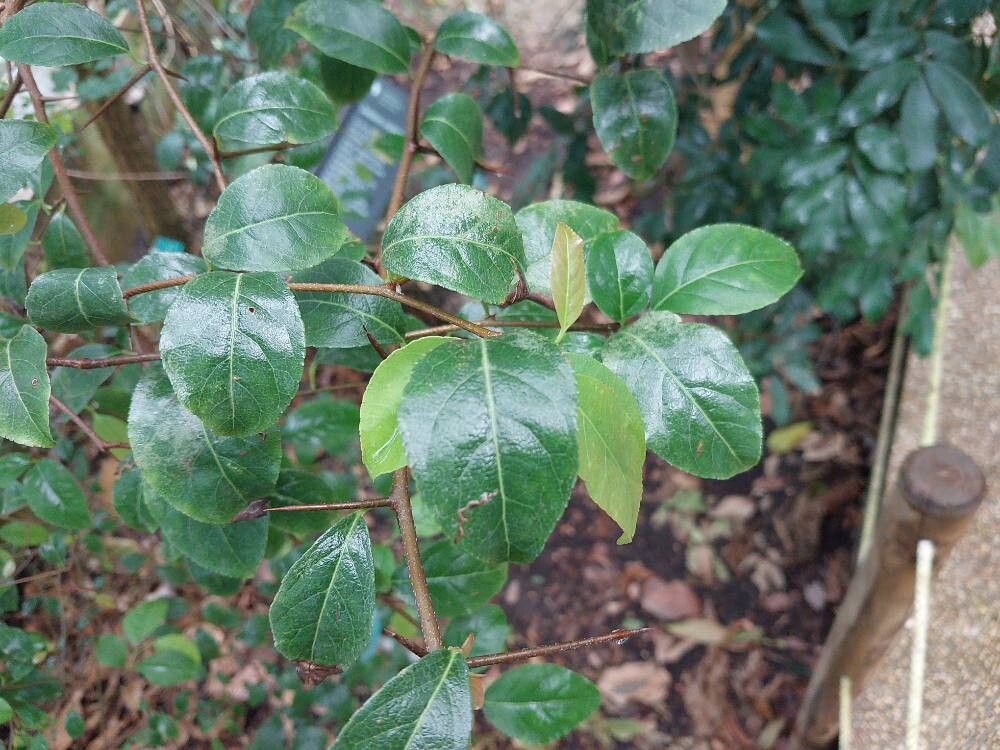
Hello fellow garden enthusiasts! Today, we’re diving into the delightful world of Oncoba spinosa, also known as the Snapping Thistle or Wild Paraguayan Tea. This shrub is a real charmer, with its beautiful white, star-shaped flowers that often have a lovely fragrance. It’s a fantastic way to bring a touch of the exotic to your own patch, and the satisfaction that comes from growing your own from scratch is truly unmatched. Now, I’ll be honest, Oncoba spinosa isn’t the absolute easiest plant to propagate for absolute beginners, but with a little patience and following these steps, you’ll be well on your way to success. Think of it as a rewarding challenge, not an impossible feat!
The Best Time to Start
For the highest success rate with Oncoba spinosa, I find that late spring to early summer is your golden window. This is when the plant is actively growing, and the new growth is often more responsive to propagation. Look for softwood or semi-hardwood cuttings – they’re flexible enough to root but have started to toughen up a bit.
Supplies You’ll Need
Gathering your tools beforehand makes the whole process so much smoother. Here’s what I typically have on hand:
- Sharp pruning shears or a clean, sharp knife: For taking your cuttings cleanly.
- Rooting hormone: A powder or gel specifically designed for cuttings. This really gives them a boost!
- Potting medium: A well-draining mix is crucial. I like a blend of 50% perlite and 50% peat moss or coco coir. You can also buy specialized succulent or cutting mixes.
- Small pots or seed trays: Clean pots are a must to prevent disease.
- Gloves: To keep your hands clean and protect your skin.
- Clear plastic bags or a propagator: To create a humid environment for your cuttings.
- Watering can with a fine rose: For gentle watering.
- Optional: Bottom heat mat: This can significantly speed up rooting.
Propagation Methods: Stem Cuttings
This is my go-to method for Oncoba spinosa. It’s reliable and allows you to multiply your plants efficiently.
- Select your stems: On a healthy, actively growing Oncoba spinosa plant, find stems that are about pencil-thick. You want pieces that are roughly 4-6 inches long. Gently bend a stem; if it snaps cleanly, it’s good – that’s semi-hardwood. If it’s too flexible, it’s too soft; if it’s too stiff and woody, it’s too mature.
- Make your cuts: Using your sharp shears or knife, make a clean cut just below a leaf node (where a leaf attaches to the stem). This is where the magic happens for root formation.
- Prepare the cuttings: Remove the lower leaves from the cutting, leaving just a couple at the very top. This prevents them from rotting in the soil. If you have particularly large top leaves, you can even snip them in half to reduce water loss.
- Apply rooting hormone: Dip the cut end of the stem into your rooting hormone, tapping off any excess. Don’t be shy with it; this is where the encouragement comes from.
- Plant your cuttings: Fill your clean pots with your well-draining potting mix. Make a hole with a pencil or your finger, and gently insert the prepared cutting. Firm the soil gently around the stem.
- Water gently: Water the soil thoroughly but avoid waterlogging. You want it moist, not soggy.
- Create humidity: This is key! Cover the pot with a clear plastic bag (make sure the leaves don’t touch the inside of the bag) or place it in a propagator. This traps moisture and mimics the humid environment the cutting needs to root.
- Provide light and warmth: Place your cuttings in a bright spot, but out of direct harsh sunlight. If you have a bottom heat mat, place the pots on it. It’s like giving them a warm hug from below.
The “Secret Sauce” (Pro Tips)
After many years of trial and error, I’ve picked up a few tricks that I swear by.
- The scraping trick: For slightly tougher stems, just before dipping in rooting hormone, I’ll gently scrape away a tiny sliver of bark from one side of the bottom inch of the stem. This exposes the cambium layer and can encourage faster root development.
- Don’t disturb the roots early: Resist the urge to constantly tug at your cuttings to see if they have roots! Patience is a gardener’s greatest virtue. I usually wait at least 4-6 weeks before I even think about giving them a gentle tug. If there’s resistance, they’re rooting.
- Humidity maintenance champion: If you’re using the plastic bag method, open the bag for a few minutes each day or every other day to allow for some air circulation. This helps prevent mold and fungus, which are the bane of new cuttings.
Aftercare & Troubleshooting
Once you start to see new growth, that’s a great sign! It means roots are forming.
- Gradually acclimate: When your cuttings have developed a decent root system (you can often see roots poking out the drainage holes or feel resistance when gently tugged), it’s time to start weaning them off their humid environment. Gradually remove the plastic bag over a few days, opening it for longer periods each time.
- Continue gentle watering: Keep the soil consistently moist but not waterlogged. As the plant grows, you can gradually transition to a more typical watering schedule.
- Watch for rot: The most common sign of failure is if the stem turns black and mushy. This is usually caused by too much moisture and not enough air circulation. If you see this, unfortunately, that cutting is likely lost. Remove it immediately to prevent it from spreading. Sometimes, if a cutting is too old or too young, it just won’t take. It happens to all of us! Don’t get discouraged.
Happy propagating! Remember, gardening is a journey of learning and experimentation. Enjoy the process of nurturing these tiny beginnings, and soon you’ll have your own beautiful Oncoba spinosa to admire.
Resource:
https://identify.plantnet.org/k-world-flora/species/Oncoba%20spinosa%20Forssk./data