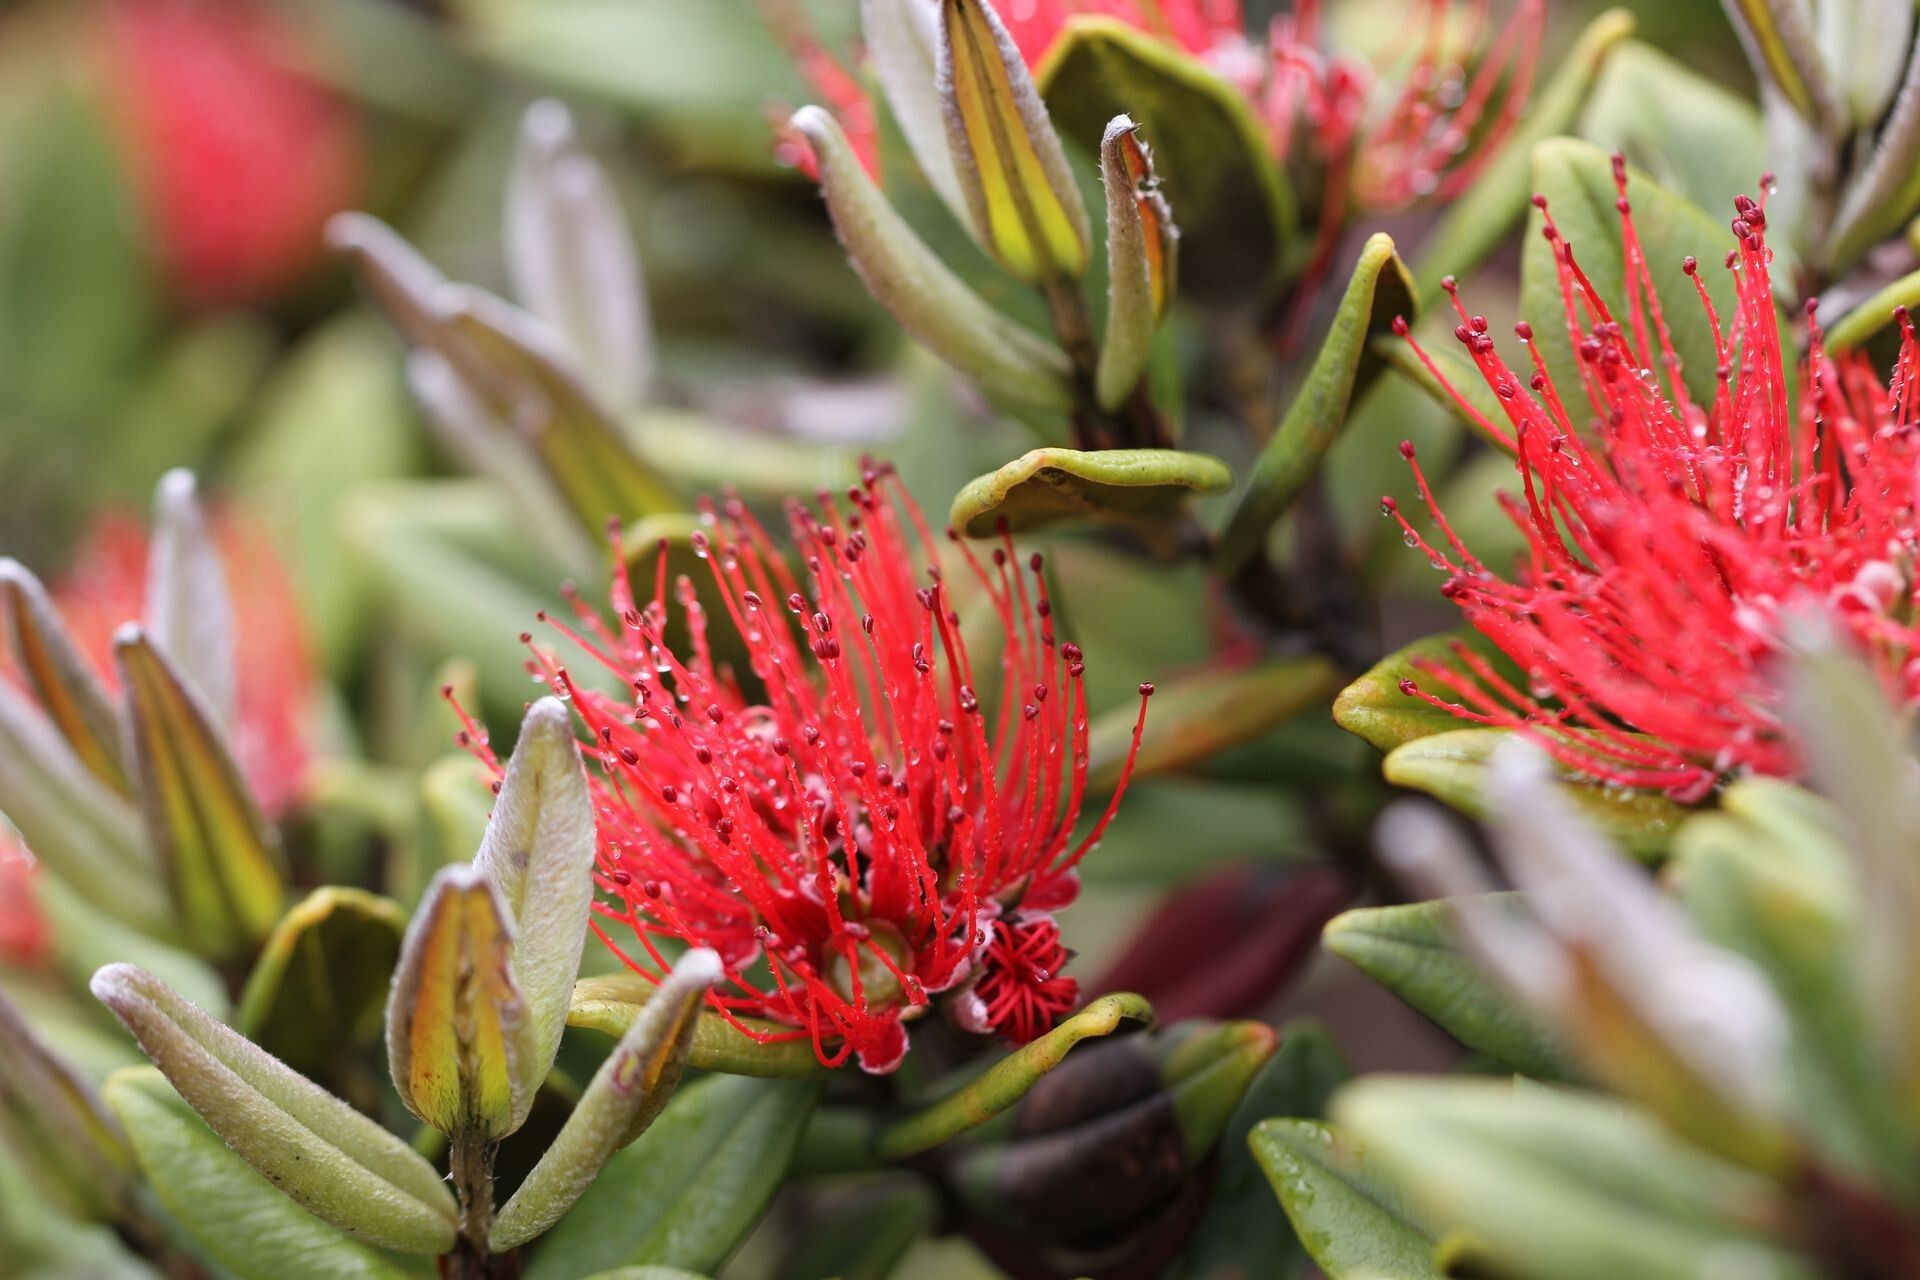
Hello, fellow plant lovers! If you’ve ever admired the vibrant, bottle-brush-like blooms and lush, silvery foliage of Metrosideros humboldtiana, you’re not alone. This New Zealand native, often known as the coastal rosemary, brings such a unique splash of color and texture to any garden. And honestly, one of the most satisfying things I do in my garden is to create more of these beauties. Propagating them yourself? It’s a wonderfully rewarding experience, a chance to multiply your joy and share it with others. Now, is it a beginner-friendly plant to propagate? I’d say it’s moderately easy. With a bit of care and the right approach, you’ll be well on your way.
The Best Time to Start
For Metrosideros humboldtiana, the sweet spot for propagating is definitely late spring through early summer. This is when the plant is actively growing and has plenty of energy. You’re looking for semi-hardwood cuttings. These are stems that are no longer brand new and soft, but not yet fully woody and mature. They should snap cleanly when bent, rather than just bending limply. Starting around May or June gives your cuttings the longest growing season to establish themselves before cooler weather arrives.
Supplies You’ll Need
To get started on your propagation adventure, gather these goodies:
- Sharp pruning shears or a clean knife: For making those crucial cuts. Sterilize them before and between plants!
- Rooting hormone powder (optional but helpful): This really gives your cuttings a boost. Look for one formulated for woody plants.
- A well-draining potting mix: I find a blend of equal parts perlite and peat moss or coco coir works wonderfully. You can also use a good quality seed-starting mix.
- Small pots or seed trays: Make sure they have drainage holes!
- A spray bottle: For misting.
- Plastic bags or a propagator: To create a humid environment.
- A small trowel or dibber: For making planting holes.
- Labels and a waterproof marker: So you don’t forget what you’ve planted!
Propagation Methods: Stem Cuttings
This is my go-to method for Metrosideros humboldtiana. It’s reliable and yields great results.
- Take Your Cuttings: Using your clean shears, select healthy, non-flowering stems from your mature plant. Cut sections that are about 4-6 inches long. Make your cut just below a leaf node (where a leaf attaches to the stem).
- Prepare Your Cuttings: Gently remove the lower leaves. You want to leave one or two sets of leaves at the top of the cutting. This reduces water loss and prevents leaves from rotting in the soil. If the remaining leaves are very large, you can trim them in half.
- Apply Rooting Hormone (Optional): Dip the cut end of each cutting into the rooting hormone powder. Tap off any excess.
- Plant Your Cuttings: Fill your pots with your prepared potting mix and water it thoroughly. Use your trowel or dibber to make a hole in the soil. Gently insert the cutting, ensuring the leaf nodes that were stripped of leaves are below the soil surface. Firm the soil around the base of the cutting.
- Create Humidity: Once all your cuttings are planted, water them gently again. Then, cover the pots with a clear plastic bag or place them in a propagator. Make sure the leaves don’t touch the sides of the bag, as this can encourage rot. If using a bag, you can use skewers to prop it up.
The “Secret Sauce” (Pro Tips)
Here are a few things I’ve learned over the years that can really make a difference:
- Don’t overcrowd: Give your cuttings some breathing room in the pot. This improves air circulation and reduces the chance of fungal diseases spreading.
- Bottom Heat is Your Friend: If you have a propagator, using a heat mat underneath can significantly speed up root formation. Metrosideros loves a bit of warmth to get things going.
- Water Wisely: Once established in their pots, let the potting mix dry out slightly between waterings. Overwatering is the quickest way to kill a promising cutting. Stick your finger into the soil – if it feels damp, wait.
Aftercare & Troubleshooting
Once your cuttings have been planted, place them in a bright spot with indirect light. Avoid direct sun, which can scorch those tender new shoots. Keep the humidity high by misting the leaves daily, especially if you don’t have a propagator. The goal is to keep the cuttings turgid and happy.
You’ll know your cuttings are rooting when you see new growth appearing. This can take anywhere from 4 to 10 weeks, sometimes longer. Don’t be impatient! You can also give a gentle tug on a cutting – if there’s resistance, the roots are likely forming.
The most common sign of failure is rot. Your cuttings will turn mushy and black, often at the soil line. This is usually due to too much moisture and poor air circulation. If you see this, pull out the affected cutting immediately to prevent it from spreading. Yellowing leaves can sometimes indicate too much water or not enough light, but new growth is the best indicator of success.
Once your cuttings have a good root system – you can usually see roots emerging from the drainage holes or feel firm resistance – it’s time to pot them up into slightly larger individual pots. Continue to grow them on in bright, indirect light, gradually acclimatizing them to a little more direct sun as they get stronger.
So there you have it! Propagating Metrosideros humboldtiana is a journey, and like any good garden project, it requires a little patience and a lot of love. Don’t be discouraged if not every cutting makes it. That’s part of the learning process. Celebrate the successes, learn from the setbacks, and most importantly, enjoy the magic of growing new life from a tiny stem. Happy propagating!
Resource:
https://identify.plantnet.org/k-world-flora/species/Metrosideros%20humboldtiana%20Guillaumin/data