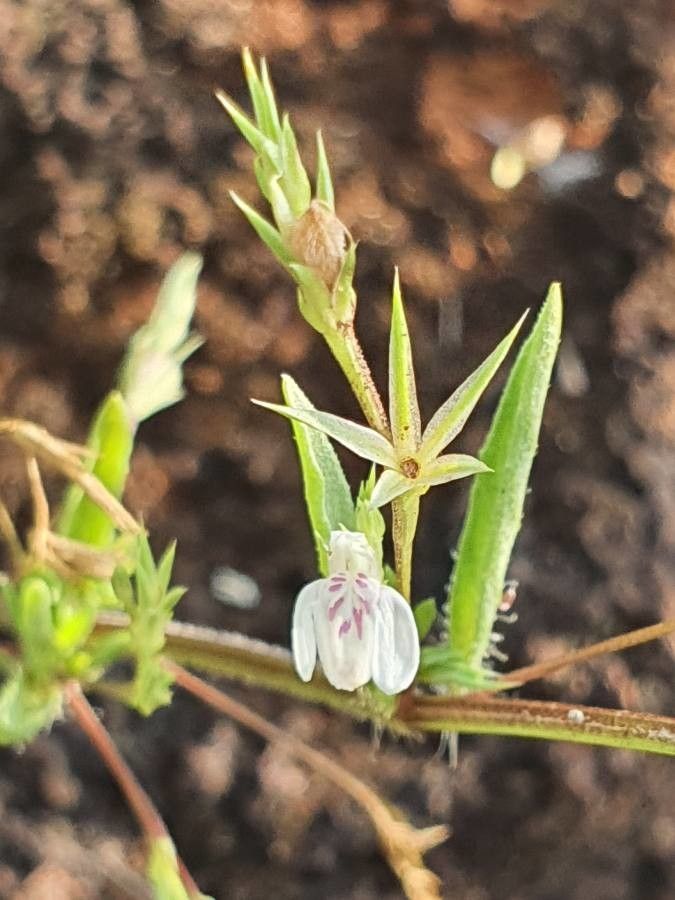
Well hello there, fellow garden enthusiasts! I’m so delighted you’ve stopped by. Today, we’re diving into the wonderful world of propagating Justicia matammensis, also known as the Strawberry Firecracker plant. If you’ve ever seen this beauty with its vibrant crimson flower spikes that truly look like tiny fireworks, you know just how captivating it is. And the best part? It’s wonderfully rewarding to share this cheer with other gardeners by growing new plants yourself. For those of you just starting your plant journey, I’m happy to say this one is quite forgiving. You’ll likely have great success!
The Best Time to Start
Timing is everything in gardening, and for Justicia matammensis, the sweetest spot is late spring or early summer. This is when the plant is actively growing, buzzing with energy. You want to take cuttings from healthy, new growth that’s still a bit soft and pliable, not woody. Think of it as harvesting a delicious piece of the season’s bounty.
Supplies You’ll Need
Gathering your supplies beforehand makes the whole process much smoother. Here’s what I always have on hand:
- Sharp pruning shears or a clean knife: For making neat cuts.
- A good quality potting mix: Something that drains well. A mix of peat moss, perlite, and a bit of compost works wonders. Alternatively, a seed-starting mix is excellent.
- Small pots or trays: Clean pots are crucial to prevent diseases.
- Rooting hormone (optional but helpful): This gives your cuttings a little boost.
- A spray bottle: For misting.
- Plastic bags or a propagation dome: To create a humid environment.
- A warm location: A sunny windowsill or a place with gentle bottom heat.
Propagation Methods
Let’s get our hands dirty! I find stem cuttings to be the most reliable method for Justicia matammensis.
Stem Cuttings: My Go-To
- Select your stem: Find a healthy, non-flowering stem on your mother plant. Look for growth that is about 4-6 inches long.
- Make the cut: Using your sharp shears or knife, make a clean cut just below a leaf node. A leaf node is where a leaf attaches to the stem – this is where roots love to emerge.
- Prepare the cutting: Gently remove the lower leaves from the bottom half of the cutting. You want to expose a few leaf nodes. If the remaining leaves are very large, I like to cut them in half. This reduces water loss while the cutting is trying to root.
- Dip in rooting hormone (optional): If you’re using it, dip the cut end into the rooting hormone. Tap off any excess.
- Plant your cutting: Fill your small pots with your chosen potting mix. Make a small hole in the center with your finger or a pencil. Insert the cutting into the hole, ensuring the leaf nodes you exposed are below the soil surface. Gently firm the soil around the stem.
- Water gently: Water the soil thoroughly until it drains from the bottom of the pot.
- Create humidity: Place the potted cutting inside a plastic bag or under a propagation dome. Ensure the plastic doesn’t touch the leaves. This creates a mini-greenhouse to keep the humidity high.
Water Propagation (A Fun Alternative!)
This method is more visual and can be quite satisfying to watch.
- Select and prepare your cutting: Follow steps 1-3 from the stem cutting method.
- Place in water: Put the prepared cutting in a small glass or jar filled with clean water. Make sure no leaves are submerged below the water line – this will cause them to rot.
- Change water regularly: Change the water every few days to keep it fresh and prevent bacterial growth.
- Wait for roots: Place the jar in a bright spot out of direct sunlight. You should start to see tiny roots appearing in a few weeks.
- Pot up: Once the roots are at least an inch long, carefully pot the cutting into your well-draining potting mix.
The “Secret Sauce” (Pro Tips)
Here are a few little tricks I’ve picked up over the years that really boost success rates.
- Don’t let the leaves touch the water (for water propagation): I know I mentioned this, but it’s worth repeating! Rot is the enemy of cuttings, and submerged leaves are a fast track to that unhappy outcome.
- Bottom heat is your friend: Justicia matammensis absolutely loves a bit of warmth radiating from below. If you’re struggling to get them to root, consider investing in a seedling heat mat. It makes a significant difference, especially during cooler months.
- Patience with the humidity dome: Resist the urge to lift that plastic bag or dome too often! While it’s tempting to check on your new babies, frequent opening allows precious humidity to escape. Let nature do its work inside.
Aftercare & Troubleshooting
Once you see new growth or sturdy roots poking out of the bottom of the pot, congratulations! Your cutting is on its way.
- Acclimatize slowly: If you used a humidity dome or plastic bag, gradually introduce your new plant to drier air. Start by removing the cover for an hour or two each day, increasing the time until it can be left off entirely.
- Watering: Water when the top inch of soil feels dry. Avoid overwatering, as this can lead to root rot.
- Light: Once established, Justicia matammensis enjoys bright, indirect light. Avoid direct, scorching sun, especially when it’s young.
Troubleshooting: The most common issue you might encounter is rot. This usually happens from overwatering or poor drainage. If you see your stem turning black or mushy, sadly, it’s likely too late for that cutting. Don’t be discouraged! Just start again with fresh material and ensure your soil and watering habits are just right.
A Warm Encouragement
Propagating plants is a little act of faith, isn’t it? You’re taking a piece of something living, giving it a chance, and marveling as it takes root and thrives. Be patient with your little ones, celebrate every new leaf and developing root, and most importantly, enjoy the wonderful journey of making more green in your life. Happy planting!
Resource: