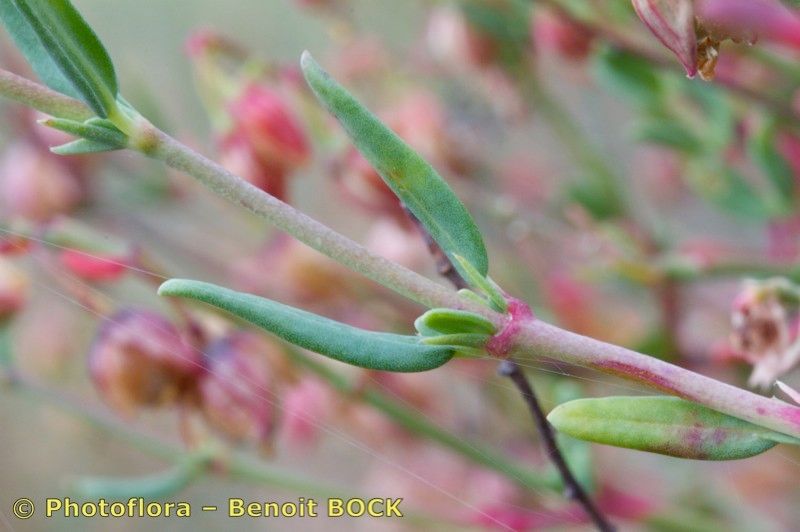
Hey there, fellow garden enthusiasts! Today, I want to chat about one of my absolute favorites: Helianthemum neopiliferum, also known as Rock Rose or Sun Rose. Honestly, their cheerful, cup-shaped flowers in shades of pink, white, and yellow just brighten any garden corner. And the best part? They’re incredibly rewarding to grow from cuttings or divisions. If you’re looking for a propagation project that offers a good chance of success, this is definitely one to try. It’s not overly finicky, so I’d say it’s quite beginner-friendly.
The Best Time to Start
For the highest success rate with Helianthemum neopiliferum, late spring to early summer is your golden window. This is when the plant is actively growing, and you’ll find plenty of young, flexible shoots that are perfect for taking cuttings. Aim for stems that have started to stiffen up a bit but aren’t woody yet.
Supplies You’ll Need
Gathering your supplies beforehand makes the whole process so much smoother. Here’s what I always have on hand:
- Sharp pruning shears or a clean knife: For making precise cuts.
- Rooting hormone (powder or gel): While not strictly essential for Helianthemum, it can give your cuttings a helpful boost.
- Well-draining potting mix: A standard seed starting mix works well, or you can create your own with equal parts peat moss or coco coir and perlite or coarse sand.
- Small pots or trays: Clean pots with drainage holes are a must.
- A watering can with a fine rose: For gentle watering.
- A plastic bag or propagation dome: To create a humid environment around your cuttings.
- Labels and a marker: To keep track of what you’ve planted and when.
Propagation Methods
I’ve had the most luck with stem cuttings for Helianthemum neopiliferum. It’s straightforward and yields great results!
Stem Cuttings:
- Select your stems: Look for healthy, non-flowering shoots that are about 4-6 inches long.
- Make the cut: Using your clean shears or knife, take a cutting just below a leaf node (where a leaf attaches to the stem). This is where new roots are most likely to form.
- Prepare the cutting: Gently remove the lower leaves from the cutting, leaving just a few at the top. This prevents them from rotting in the soil. If any flower buds have formed, pinch those off too.
- Apply rooting hormone: Dip the cut end of the stem into your rooting hormone, tapping off any excess.
- Plant the cuttings: Fill your small pots with the well-draining potting mix. Make a small hole with your finger or a pencil and insert the cutting, ensuring the lowest leaf node is just under the surface. Gently firm the soil around it.
- Water and cover: Water the soil gently. Then, cover the pot with a plastic bag or place it under a propagation dome. This is crucial for maintaining humidity. You can prop up the bag with a few skewers so it doesn’t touch the leaves.
The “Secret Sauce” (Pro Tips)
After years of hands-on experience, I’ve picked up a few tricks that seem to make a real difference.
- Think “snappy” not “woody”: When you’re selecting your stems, you want them to be bendy enough to snap cleanly, not bend and feel tough like old twigs. These younger stems have more vigor to grow.
- Bottom heat can be a game-changer: If you have access to a heat mat, placing your pots on it can really encourage root development. It mimics the warmth of spring soil and speeds things along. Just make sure the mat is designed for plants!
- Don’t rush the removal of the dome: I like to keep those cuttings covered in their humid little world for at least 2-3 weeks. Only lift off the bag or dome for a few minutes each day for ventilation, gradually increasing the time until roots have formed.
Aftercare & Troubleshooting
Once you start to see signs of new growth – tiny leaves emerging or a gentle tug on the cutting showing resistance – you know your Helianthemum is rooting!
- Transitioning: Gradually introduce your rooted cuttings to normal conditions by removing the plastic bag or dome for longer periods over a week.
- Potting up: Once they have a good root system, you can pot them up into slightly larger pots with your regular potting mix. Keep them in a bright spot, but out of direct scorching sun for the first few weeks.
- Signs of trouble: The most common issue you might face is rot. If you see your cuttings turning mushy and black, it’s usually a sign of too much moisture and not enough air circulation. Make sure your soil is always well-draining and don’t let them sit in standing water. If you’re using the dome, ensure you’re ventilating it regularly.
A Little Patience Goes a Long Way
Propagating plants is a wonderful way to connect with nature and expand your garden without spending a fortune. Be patient with your little Helianthemum cuttings. Nature works on its own schedule, and there’s such a thrill in seeing those new roots develop. Happy propagating, and enjoy the beautiful blooms you’ll create!
Resource: